
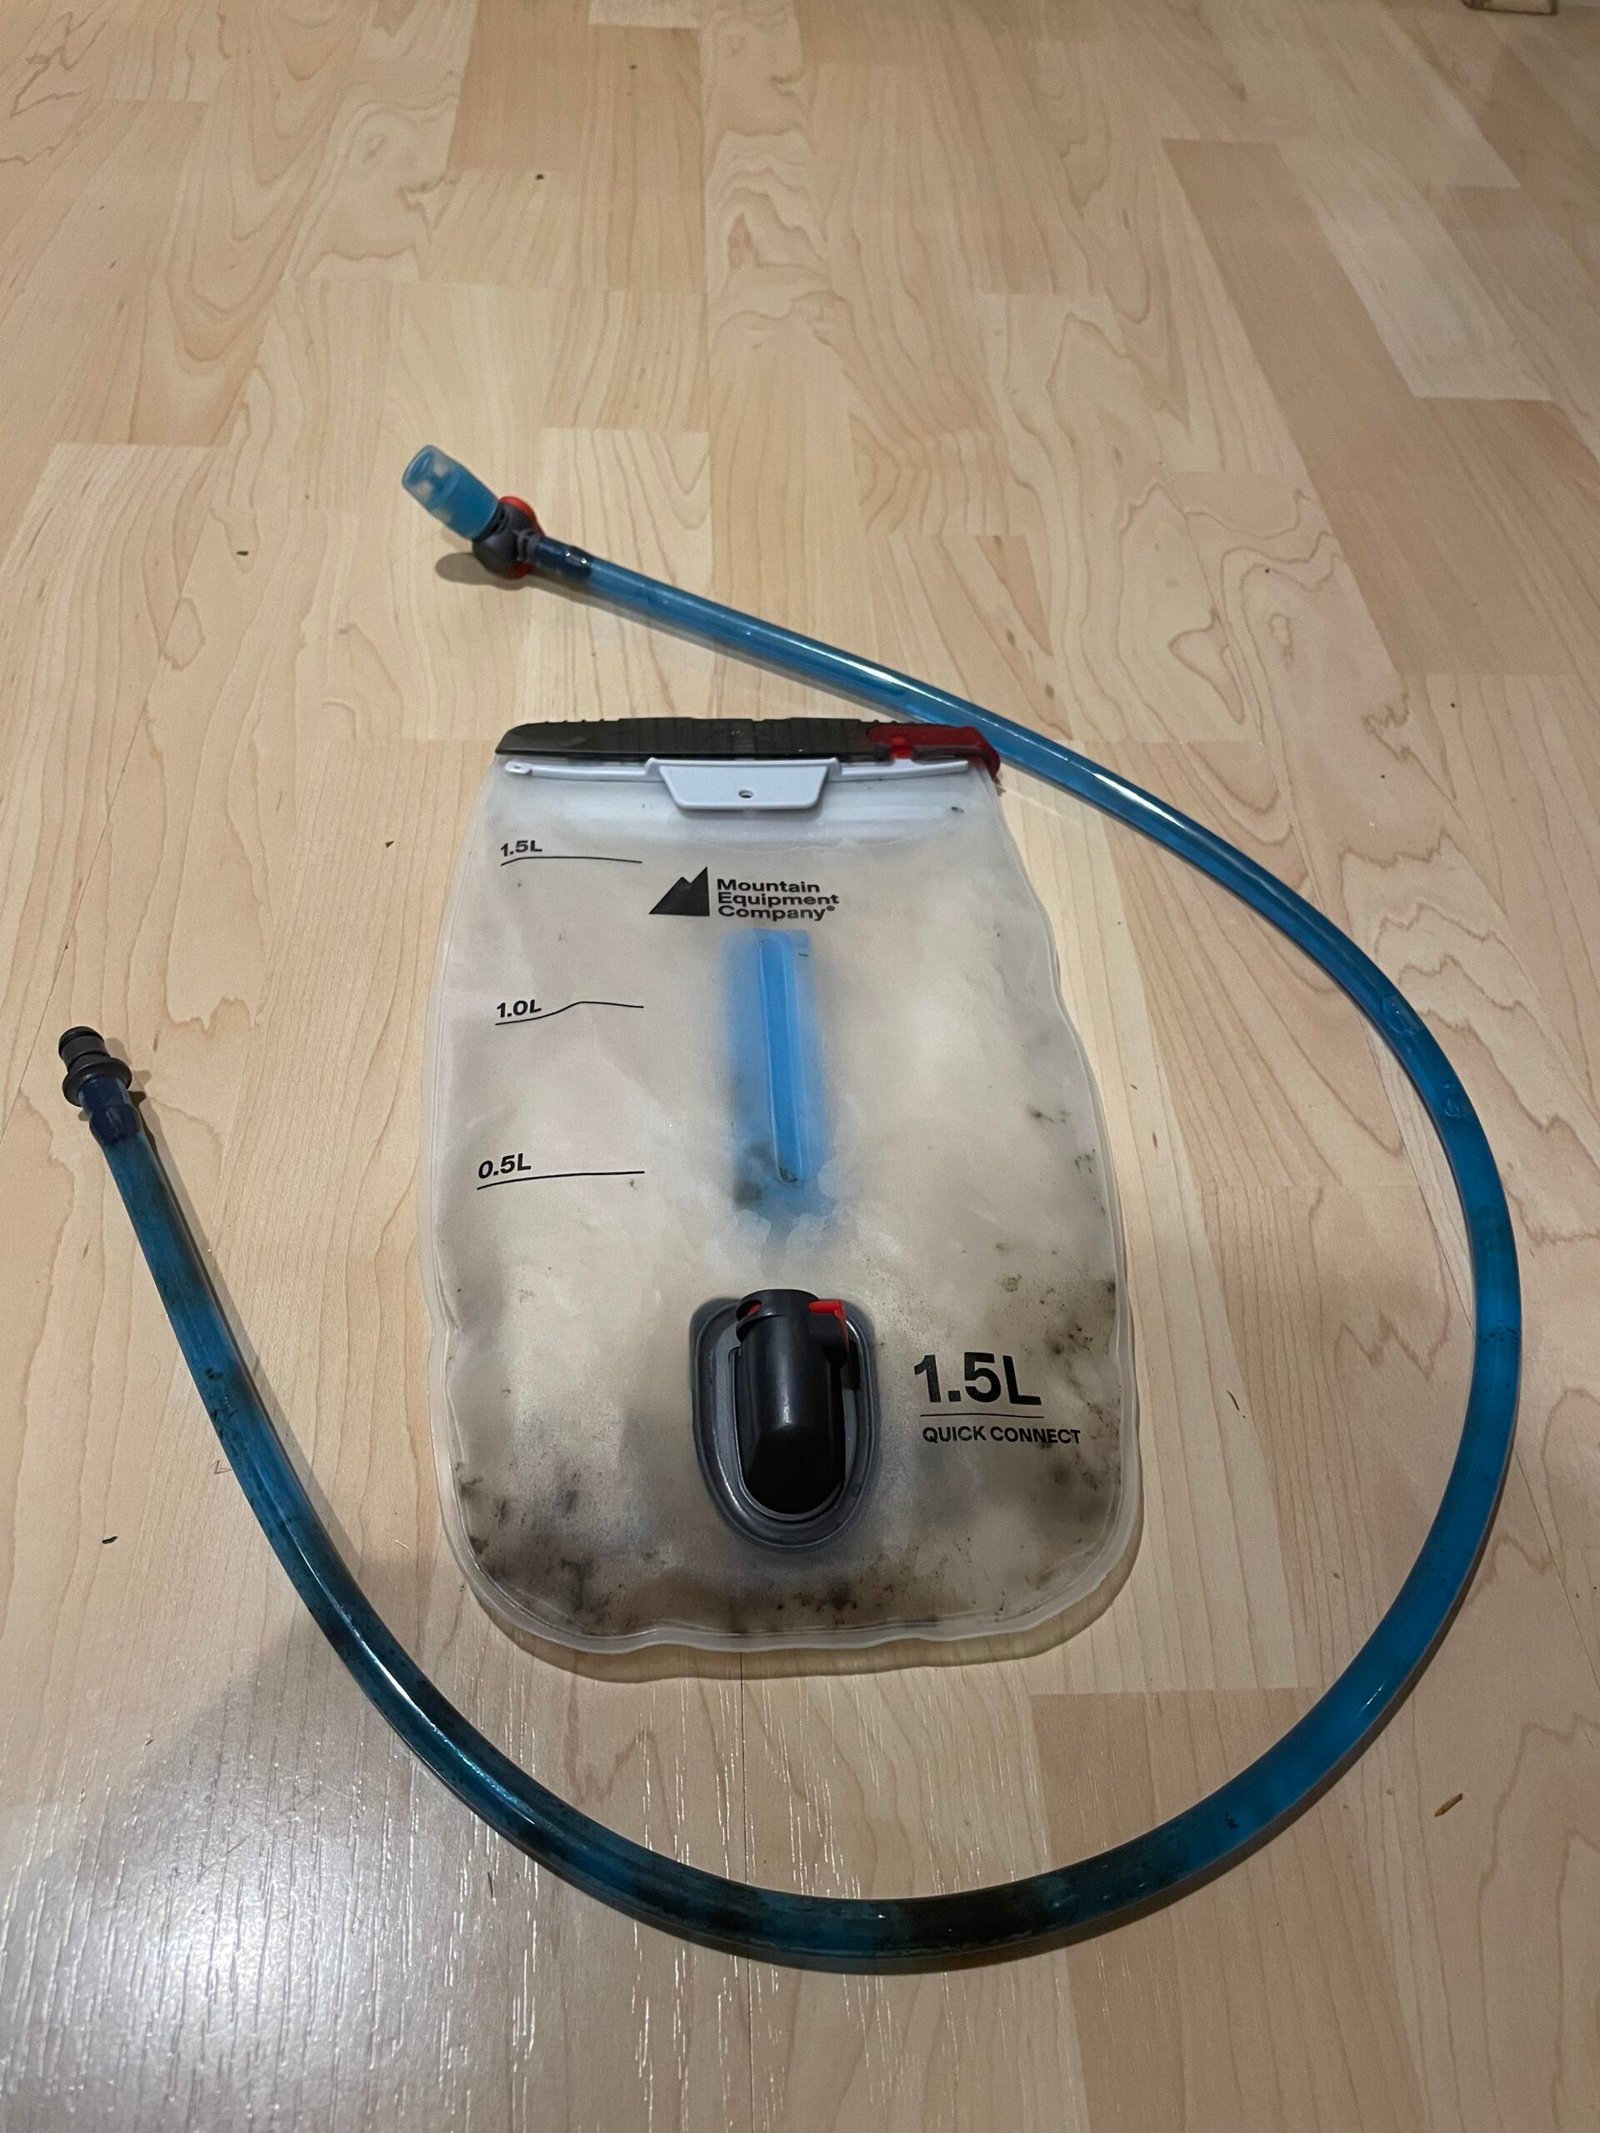
You take a sip after a long hike and taste something… off. A faint plastic funk, maybe a little swampy. That’s biofilm. It means your Lunchbox hydration pack isn’t really clean. That covers it, so rinsing with water alone doesn’t cut it.
The good news: this guide shows exactly how to clean a Lunchbox hydration pack so the water stays fresh and you don’t get sidelined by moldy gear. No complicated tools, no weird chemicals.
TL; DR
- Rinse the bladder with warm water and a drop of mild soap after each use to stop biofilm from forming in the first place.
- Deep clean every 3-5 uses using chlorine-free effervescent tablets (like Bottle Bright) or a mix of lemon juice and baking soda.
- Scrub the tube with a long flexible brush, soak the bite valve separately, then prop the bladder open with a kitchen whisk to dry completely before storing in the freezer.
Key Point
- The drinking tube is where real problems start — you need a snake brush to scrub its interior. Just shaking soapy water through it won’t remove the gunk.
- Temperature matters more than you think. Water over 140°F can ruin the TPU seals, and freezing a still-damp bladder creates ice crystals that stress the material.
- Drying is the hardest part but the most critical. After a weekend festival, I once forgot to dry mine and the next trip the water tasted like a forgotten lunchbox. Now I use a kitchen whisk to hold the bladder open and it works better than an expensive plastic hanger.
- Cleaning kits run $15 to $25 and they’re worth it just for the tube brush. Without it, you’re missing the primary mold hotspot.
What You’ll Need
A complete cleaning session takes about 25 minutes and needs only a handful of household items plus a couple of inexpensive accessories.
- Warm water (never hotter than 140°F / 60°C)
- Mild liquid dish soap, no bleach or degreasers
- Long flexible tube brush (often sold as part of a hydration pack cleaning kit, around $15–$25)
- Chlorine-free effervescent cleaning tablets (Bottle Bright or similar) or fresh lemon juice and baking soda
- A clean kitchen whisk or a dedicated bladder drying rack
- A freezer bag if you plan to store loose accessories
More recently, most likely tPU (the bladder material) holds up well, but it’s not indestructible. Now, bleach will pit the surface and leave a lasting chemical taste.
Step 1: Rinse After Every Use and Wash the Bladder
A fast post-use rinse with warm soapy water slashes the chance of biofilm building up inside the bladder, especially if you’ve been sipping something other than plain water.
Open the slide seal (the top-fill closure on Lunchbox packs), and fill the bladder about halfway with lukewarm water; add a single drop of mild dish soap.
Here’s the thing – i mean a literal drop. You don’t want suds lingering later.
Seal it, shake vigorously for 30 seconds — then dump the water. More often than not, plus, if you see a foggy haze on the clear window. A soft sponge helps, but don’t scrub rough enough to scuff the TPU.
That’s the bare minimum. Actually, it’s the step most everyone skip.
I used to just drain the leftover water and toss the pack into my gear closet, and let me (and the data generally agrees) tell you, big mistake. Using I’d get that plastic aftertaste, within two.
Now I rinse it like I’m cleaning a Lululemon bag. Fast, consistent, and gentle on the material.
Step 2: Deep Clean Every 3-5 Uses with Tablets or DIY Solution
A deeper scrub every few outings knocks back the invisible film that soapy water alone leaves behind, and it takes maybe half an hour total.
Drop a cleaning tablet into the bladder, fill it with cool water, and let it fizz for the full cycle. Most tablets need 15 to 30 minutes to break down organic residue (the standard cleaning tablet cycle). Perhaps. If you’d rather DIY, squeeze two tablespoons of lemon juice.
A tablespoon of baking soda into the bladder. The mix will foam up. Let it sit for the same time.
Then scrub the interior with a tube brush. Rinse until the water runs completely clear and you no longer smell any citrus.
I’ve found that the effervescent tablets are a lifesaver. After a dusty trail run. I dumped a partially opened tablet packet once.
Had to use baking soda and lemon. If you often forget to clean after a festival.
Step 3: Attack the Tube and Bite Valve with a Snake Brush
If you only do one thing beyond a basic rinse, scrub the drinking tube and soak the bite valve. That’s where the mold smell usually starts.
Still, detach the tube from the bladder. Push a long flexible snake brush into the tube.
Work it back and forth several times. You’ll see a lot of gunk come out on the bristles. Once the tube is clear, pop off the bite valve.
What happens next? Drop it into a bowl of warm soapy water for 10 minutes. The thing is, a tiny brush (or an old soft toothbrush) gets into the crevices around the silicone mouthpiece. As it turns out enough. This level of detail matters. Because the valve is the primary bacterial accumulation site.
From personal deal with: after a summer music festival. To some extent. I ignored the tube for a week. When I finally brushed it, the water that came out looked cloudy.
No, really. I won’t make that mistake again. The tube brush is the only tool that reaches the interior surface.
By the way, if you’re scrubbing delicate gear already, the same gentle approach works when you need to clean a North Face backpack without ruining its waterproofing.
Step 4: Dry Completely — the Whisk Trick and Other Methods
Any moisture trapped inside the bladder or tube after cleaning becomes a breeding ground for mold, so achieving bone-dry status is non-negotiable.
After rinsing everything. Prop the bladder open by inserting a clean kitchen whisk through the fill opening, handle first.
The whisk holds the walls apart so air can circulate freely. Hang the bladder upside down overnight, or at least 12 hours. A dedicated drying rack works, too, but I tested the whisk trick. It is debatable. After reading about it in a Reddit forum.
It does a better job than the expensive — actually, that’s not quite right, plastic hangers because the metal prongs expand the opening evenly. For the tube. Swing it in a circle like a lasso to force water droplets out. This part is annoying, but it gets the job done. Some the majority use a hair dryer on a cool setting.
I’d rather not risk accidental heat damage.
Don’t store the bladder damp. It’s worth noting that i know it’s tempting. I mean, to zip everything up and call it a day, but the science is painless: mold loves dark, damp places. If you fail to dry the reservoir completely.
Step 5: Store in the Freezer to Halt Bacteria Growth
Once the bladder and tube are completely dry, seal them and store them in the freezer. This simple trick eliminates the chance of bacterial regrowth between uses.
The HydraPak engineering team confirms that bacteria simply can’t thrive in sub-zero environments. And i was skeptical at first mainly because I thought freezing might make the TPU brittle. Turns out, as long as the pack is bone-dry.
There’s no ice crystal formation to stress the seals. Take the dry bladder, roll it loosely. And place it in a clean freezer bag or a dedicated compartment. When you pull it out for your next outing.
It’s fresh and ready to fill. This method also saves you from deep cleaning before every single use.
Common Mistakes That Ruin Your Hydration Pack
**Even careful owners trip over a few predictable pitfalls. Here are the top mistakes and how to sidestep each one.Using hot water from the tap.**Temperatures above 140°F soften TPU and eventually warp the slide seal. Use lukewarm water only. If it’s too hot for your hand, it’s too hot for the bladder.
Skipping the tube.Many people wash the bladder and think they’re done. The tube ferments leftover drink residue and becomes a mold superhighway. Always use a snake brush.
Using bleach or harsh chemicals.Bleach degrades the plastic and leaves a taste that won’t rinse away. Stick with mild dish soap, tablets, or lemon juice.
Not detaching the bite valve.The mouthpiece traps moisture and saliva. Soak it separately and scrub the silicone with a small brush every time you clean the tube.
Storing while damp.
Even a few drops of moisture will brew a biology experiment. Get it completely dry, then freeze. This mistake happens a lot to festival-goers who pack up in a rush.
People Also Ask
How often should I deep clean my Lunchbox hydration pack?
Deep clean every 3 to 5 uses using an effervescent tablet or a lemon juice-and-baking soda solution.
If you drink anything other than water through the pack, clean it right after that trip. Plain water-only use can stretch the interval slightly, but weekly cleaning is a safe rhythm.
Can I put my hydration bladder in the dishwasher?
No. The heat and harsh detergents will deform the TPU and ruin the closure seal.
Hand washing with mild soap is the only approved method. Even a top-rack cycle risks softening the material and creating leaks.
What temperature water is safe for cleaning the bladder?
Keep the water below 140°F (60°C).
Anything hotter can weaken the seams and cause permanent distortion. Lukewarm water works perfectly for both washing and rinsing.
Why does my hydration bladder smell even after washing?
The smell almost always comes from the drinking tube or bite valve, where biofilm hides out of reach of a simple rinse.
Scrubbing the tube with a snake brush and soaking the valve eliminates the source. If the odor persists, replace the tube and valve.
Is the freezer trick really safe for a Lunchbox bladder?
Yes, according to HydraPak’s own engineering team. A completely dry bladder frozen at normal household freezer temperatures won’t crack or degrade. The key is making sure there’s no residual moisture that can freeze into ice crystals and stress the seals.
What to Do Next
Your Lunchbox hydration pack is now cleaner than it’s been. Since the day you bought it. The real test comes on your next adventure. Fill it with ice-cold water and take a sip.
So naturally, you’ll notice the difference immediately. No aftertaste, no funk, just clean hydration. To maintain this level. Set a calendar reminder for a deep clean every few takes advantage of.
What happens next? And when you pack up after a festival or long hike. Don’t skip the rinse-and-dry routine, even if you’re exhausted.
- Rinse the bladder — with warm water and a drop of mild soap after every single use.
- Deep clean every 3-5 uses — using a tablet or the lemon-baking soda solution for 15-30 minutes.
- Scrub the tube and soak the bite valve — the tube brush is non-negotiable.
- Dry completely — prop the bladder open with a whisk and swing the tube to expel water.
- Store in the freezer — only after everything is bone-dry.
Apply the same care to your other gear. If you’re already in a cleaning mindset.
For example, the gentle soap technique carries over when you need to clean a Graco car seat harness without damaging the straps. If you’ve tackled a hydration pack. You’ve got the patience for a thorough North Face backpack clean too. Enjoy your next outing with water that tastes exactly like water.
🔍 Research Sources
Verified high-authority references used for this article