
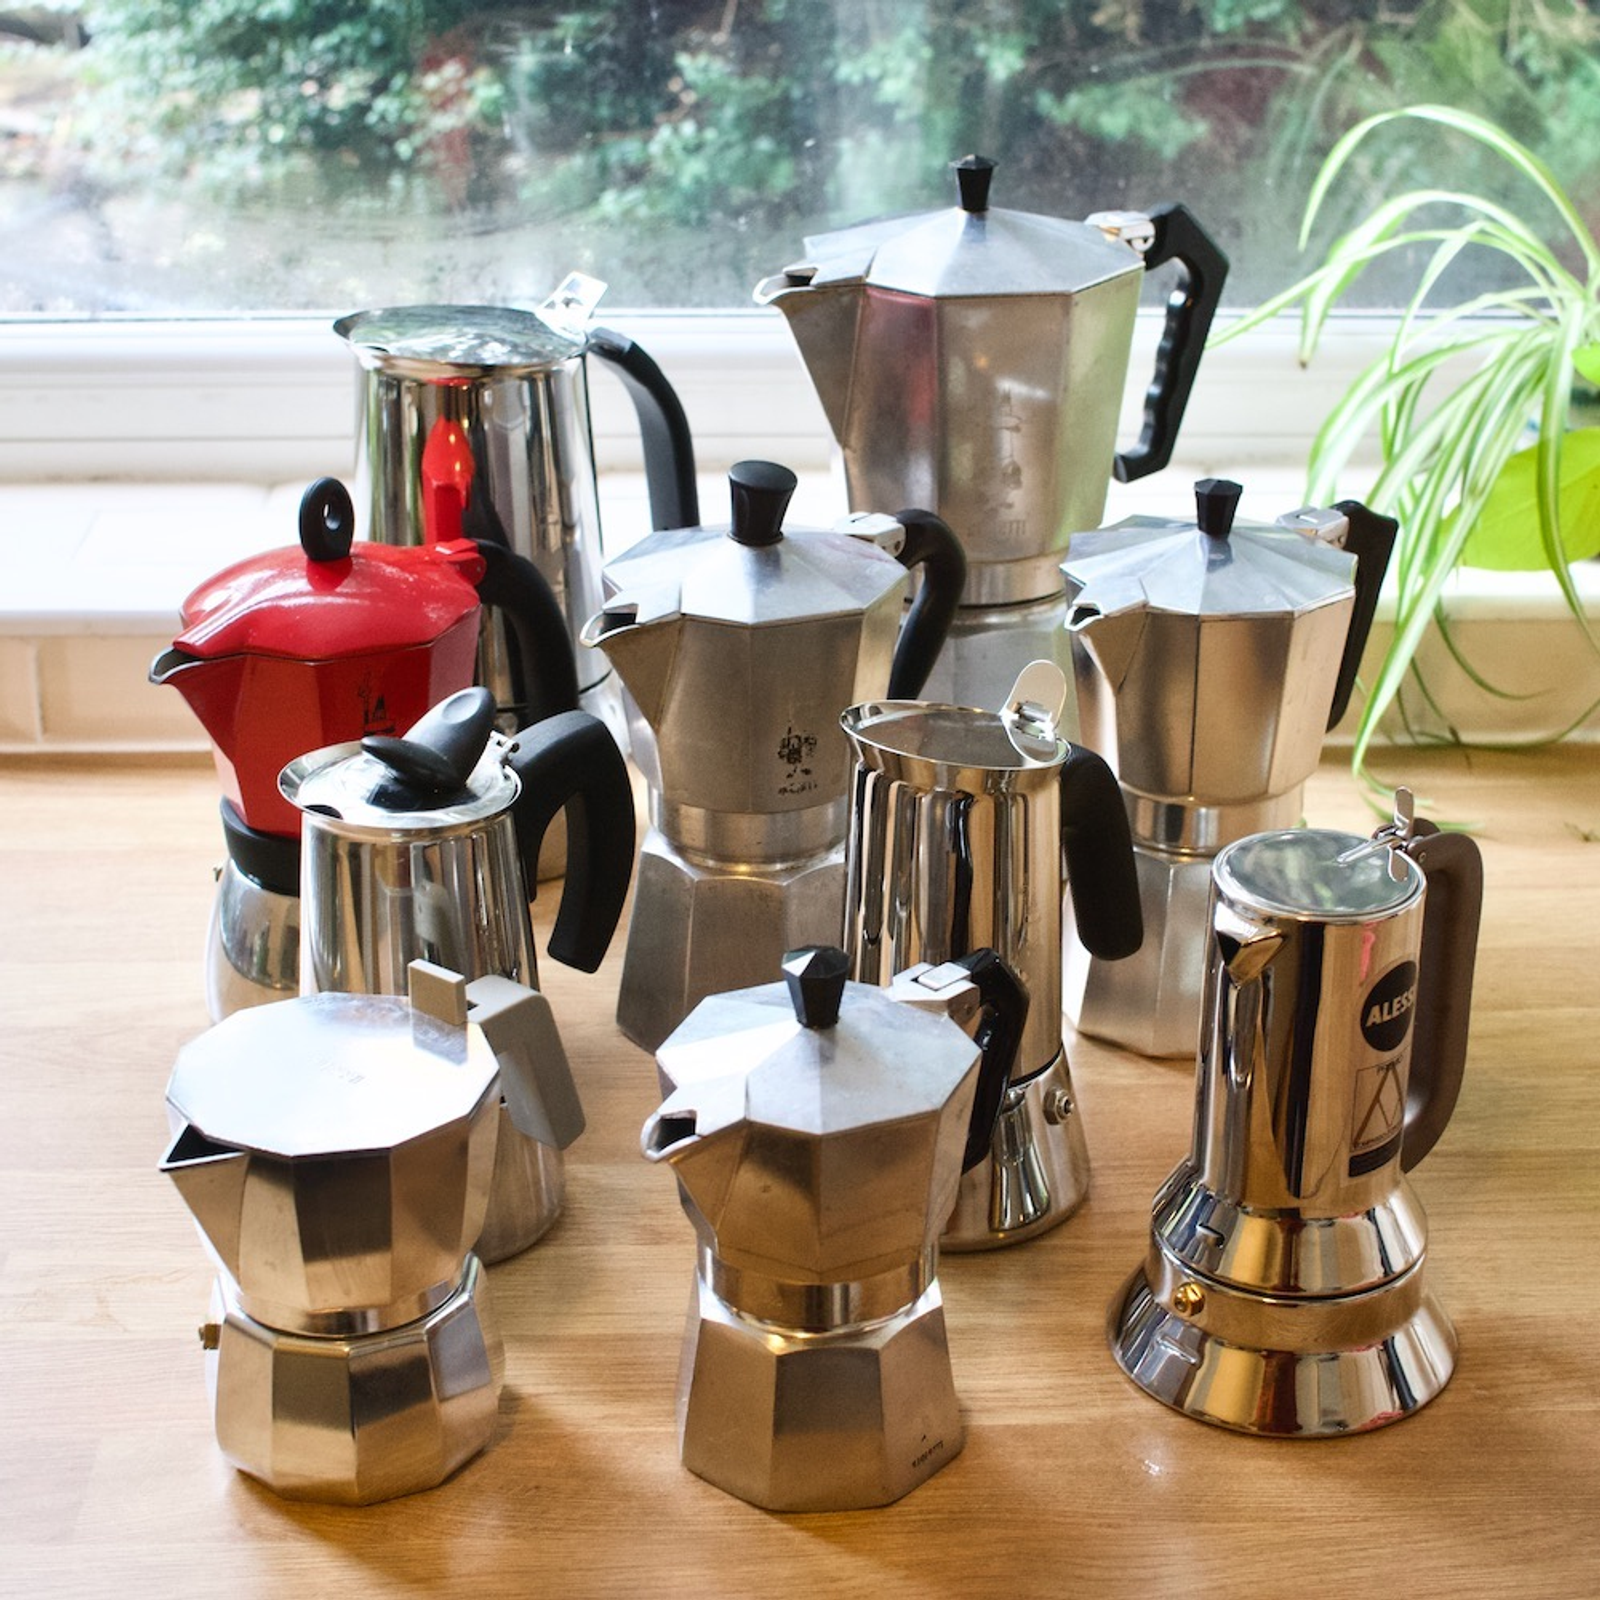
You probably think rinsing your Bialetti with water is enough. It isn’t. I learned that the hard way. After pulling a shot that tasted like burnt pennies.
The oils from yesterday’s coffee had turned rancid overnight. You can’t see them, but they’re there.
Which means and it’ll keep your pot working safely for a decade.
TL; DR
*Rinse every part with warm water immediately after brewing; a drop of mild, fragrance-free soap won’t hurt.Soak the filter and gasket in a 1:2 vinegar solution once a month to dissolve mineral buildup. Dry everything with a soft cloth and store the pot unassembled to prevent mold and pitting.
Key Point
*Replace the gasket roughly every six months — a silicone upgrade lasts longer.*Use no abrasive scrubbers; they scratch the aluminum and speed up corrosion.Never, ever put an aluminum pot in the dishwasher; it causes a messy gray residue. The safety valve must move freely to release pressure; check it monthly.
What You’ll Need
| Item | Purpose | Note |
|---|---|---|
| Soft sponge or cloth | Wipe interior and exterior | Avoid scouring pads |
| Mild dish soap (optional) | Remove stubborn oils | Must be fragrance-free |
| White vinegar | Deep clean to descale | 1 part vinegar to 2 parts water |
| Clean water | Rinse thoroughly | Lukewarm, not boiling |
| Soft brush (e.g., bottle brush) | Scrub inside the stem of the funnel | Prevents hidden moisture |
| Replacement gasket | Maintenance every 6–12 months | Silicone preferred for longevity |
Still, branching off from that, the entire process. From daily rinse to monthly deep clean. Takes about five minutes per session. The skill level, basic. If you can make coffee.
Now, let’s go through each step in detail. And I’ll tell you where I’ve messed up before, so you don’t repeat my mistakes.
Step 1: Rinse and Wash Right After Brewing
As soon as the pot has cooled enough to handle, disassemble it completely. Rinse the top chamber, the funnel basket, and the bottom boiler with warm water. No soap is required, but if you use it, pick a mild, unscented variety so the next brew doesn’t taste like perfume.
If you think about it, let the pot rest for a minute. Or two after brewing — you don’t want to burn your fingers. Look at the metrics. Then unscrew it. Pop out the funnel.
Rinse everything under a gentle stream. It’s worth noting that use your fingers or a soft cloth to wipe away any visible grounds, which is why if you skip this step, those oils oxidize and leave a sticky film that’s hard to remove later.
Is it safe to use dish soap on my moka pot?
Yes, but sparingly. A tiny drop of mild.
Fragrance-free soap won’t damage the aluminum if you rinse thoroughly. Many purists avoid soap wholly, and that’s fine too. Which means the problem is that scented soaps can cling to the metal’s (and that implies quite a bit) pores and alter the flavor, so if you go the soap route.
Choose something like Seventh Generation Free & Clear.
Pro Tip: After every use. Use a soft brush to clean the funnel’s stem. I once neglected that part for weeks, and discovered a slimy buildup inside. That explained the off-taste.
Step 2: Deep Clean with Vinegar Once a Month
Monthly, disassemble the pot and soak the filter plate and gasket in a mixture of one part white vinegar to two parts water. This dissolves scale and sterilizes the parts without harsh chemicals. Let them soak for 30 minutes, then rinse thoroughly.
For all intents and purposes, scale, a white, chalky mineral layer. Builds up inside the bottom chamber over time. Especially if you’ve hard water. It can clog the filter and affect water flow. A vinegar soak is the simplest fix.
Avoid boiling the vinegar solution. Because the fumes can be overpowering and could damage rubber gaskets. Just fill a bowl, drop the metal filter.
Gasket in, and walk away for half an hour.
When I first tried this, I was worried about a lingering vinegar smell. It rinses off completely with fresh water.
Then I reassembled the pot, and ran one brew cycle with just water (no coffee) to clear any residual taste. That’s a trick from the Bialetti maintenance guide.
How often should I deep clean with vinegar?
Exactly once a month. If you brew multiple times a day; maybe every three weeks, and let me tell you, skipping the deep clean allows mineral deposits to accumulate to each point that the pot brews slower and the coffee tastes metallic. You’ll also risk blocking the safety valve.
Don’t soak the aluminum bottom chamber in vinegar for extended periods. Because aluminum reacts with acid. A snappy rinse with the diluted solution is fine, but no prolonged soaking, so for the aluminum body, just scrub with a sponge dipped in the same mix.
Step 3: Inspect and Replace the Gasket and Filter
The rubber gasket that seals the pot degrades over time. After six months, inspect it for cracks, stiffness, or color changes. Replace it immediately if you notice signs of wear. The metal filter plate also collects oils that need occasional scrubbing.
A failing gasket lets steam escape, so your brew dribbles out weakly. You’ll also get bitter notes from stale oils stuck in the filter. It is surprising. In general, i used to think I’d to season the pot with old coffee residue — turns out, that’s a myth. As coffee consultant James Hoffmann says, leaving old oils actually ruins fresh coffee flavor.
“The idea of ‘seasoning’ a moka pot with old coffee oils is a myth that actually ruins the flavor profile of fresh beans.” — James Hoffmann, Coffee Consultant
Don’t be afraid to fully clean that filter. I scrub it with a soft brush under running water. If the filter has a permanent; or, better put, dark stain, that’s normal patina, not dirt, so but if you see a sticky layer, scrub harder.
When you replace the gasket, switch to a food-grade silicone version. It resists heat better and lasts nearly a year. Loads of users on forums praise silicone gaskets as a cheap upgrade.
Step 4: Check the Safety Valve Monthly
The safety valve on the side of the bottom boiler has a small piston. Every few weeks, gently press it with your fingernail to make sure it moves freely. A stuck valve can cause dangerous pressure buildup.
That tiny valve exists to release — wait. Let me rephrase, steam if the pot over-pressurizes, around 3 bars. Scale and coffee fines can clog it. Check it by holding the boiler under running water.
Pushing the piston from the outside. Water should seep out the other side. If it’s stuck, soak just the boiler in warm soapy water, and work the piston until it moves.
On a slightly different note, i ignored this for months. When the valve finally got stuck. Probably now I make it a ritual: every time I deep-clean with vinegar. (and the data generally agrees) I test the valve.
Step 5: Dry Every Part and Store Unassembled
After cleaning, use a dry microfiber cloth to wipe each component. Leave the pot completely unassembled on a drying rack. Screwing it together while damp traps moisture and breeds mold inside the upper chamber.
Generally speaking, water sitting on its surface causes oxidation, leaving a white powder. That powder is harmless but unsightly, and what matters even more, trapped moisture leads to pin-prick holes called pitting.
Which sooner or later ruins the boiler. I once stored my pot assembled after cleaning and opened it a week later to find black mold spots in the upper chamber. Definitely not the kind of flavor profile I’m after.
At a high level, let the funnel and gasket air-dry separately. The funnel stem constantly holds water even. When the outside looks dry. I shake it out and blow through it.
Com/how-to-clean-hydrojug-lid/”>HydroJug lid. You know trapped water equals mold. Same principle here.
For stainless steel models, you’ve more leeway, but drying is still an awesome habit. In a dishwasher, and while we’re talking about drying.
More data needed. Never put the aluminum pot.
That chemical reaction with detergent turns the metal black and leaves a gray sludge that’s (and rightly so) a nightmare to scrub off. I’ve seen photos on Reddit of pots that looked like they came out of a volcano.
People Also Ask
Can I use baking soda instead of vinegar to clean my moka pot?
Quick summary so far: blocksep matters. Yes, a paste of baking soda.
And water works well to remove stains and odors. Precisely.
From a practical standpoint, but avoid scrubbing with baking soda on aluminum mostly since it’s mildly abrasive. Rinse thoroughly.
How do I remove white oxidation from the bottom chamber?
Soak a cloth in vinegar. Don’t soak the entire aluminum chamber. Rinse and dry immediately.
Is it safe to put a stainless steel moka pot in the dishwasher?
Under normal conditions, usually yes, but check the manufacturer’s instructions. Bialetti stainless steel models are often dishwasher safe. But the gasket should still be washed by hand to extend its life.
How often should I replace the gasket?
Every 6 to 12 months. If you brew daily, lean towards six. You’ll notice cracks or a loose fit when it’s time.
Can I clean the moka pot with lemon juice?
Lemon juice is acidic and can act in the same way to vinegar. But it may leave a citrus residue that affects coffee flavor. Stick with white vinegar. You’ll want to remember this for what’s coming next.
What to Do Next
Across the board, now that your pot is clean. Make a habit of these steps. They don’t take much time. This holds true. And the payoff is a perfect cup every morning.
- Rinse immediately after every brew — no exceptions.
- Schedule a monthly vinegar soak on your calendar to descale the filter and gasket.
- Buy a spare silicone gasket online and replace it every six months.
- Test the safety valve by pressing the piston with your fingertip during each deep clean.
- Dry everything with a microfiber cloth and store the pot unassembled.
Then again, if you want to go further. Pick up a descaling solution in particular for aluminum coffee gear from brands like Urnex. White vinegar is perfectly strong.
The key is consistency. Your Bialetti will reward you with rich.
Smooth coffee for a decade.
🔍 Research Sources
Verified high-authority references used for this article