
TL; DR
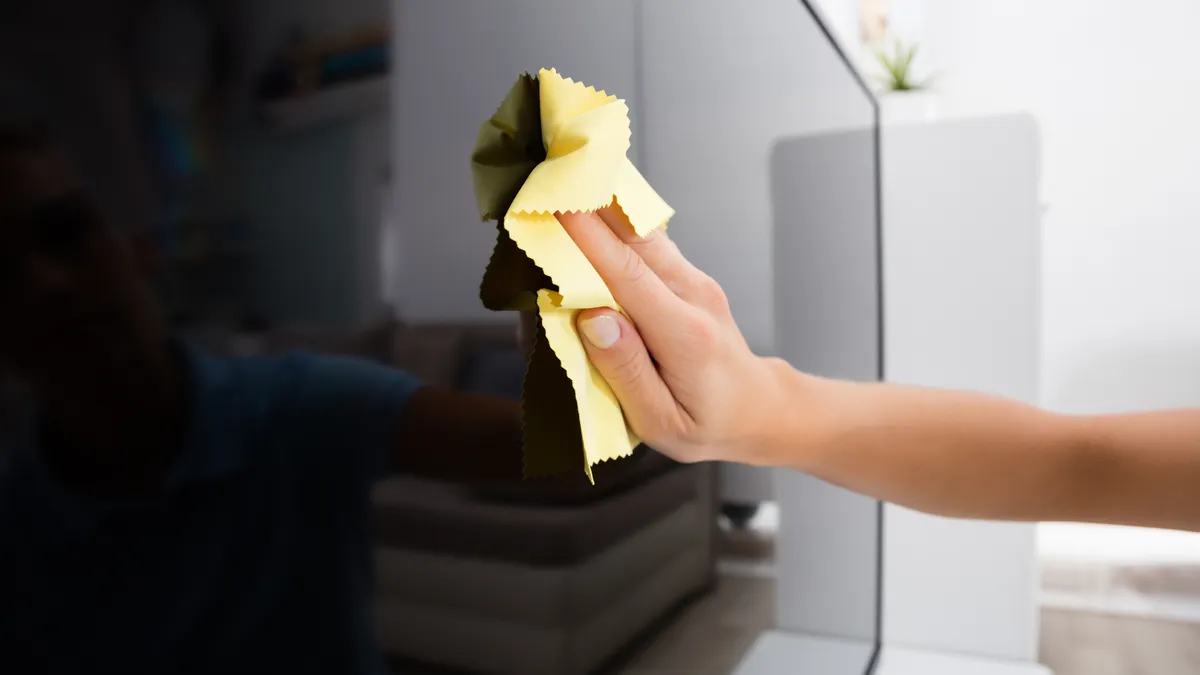
- Always dry or slightly damp a microfiber cloth, never spray liquid directly on the Switch.
- Use a toothpick to hold the fan still if you blast compressed air into the vents to avoid motherboard damage.
- For Joy-Con drift, a quick spray of plastic-safe contact cleaner under the flap often fixes it without any teardown.
Lived-in. Finger smudges, dust in the vents, maybe a Joy-Con that sticks, and i’ve cleaned dozens of these consoles, and I’ve also ruined a pair of Joy-Cons by using at least 91% isopropyl once. That’s a significant gap. Worth pausing on that one.
The plastic turned tacky and peeled. Let’s walk through how to clean a Nintendo Switch safely, from the official Nintendo method to the deeper fixes experienced gamers actually use.
Key Point
- The screen on the OLED model has a factory-applied anti-scattering film you should never peel off.
- Compressed air is great for vents, but if you let the fan spin, it generates voltage that can fry components.
- Magic Erasers are basically sandpaper and will permanently wear away the matte finish, leaving shiny bald spots.
- USB-C port lint is the #1 cause of docking issues; a plastic toothpick clears it better than compressed air.
- Nintendo’s official line is a slightly damp cloth only, but for drift you need a non-conductive contact cleaner like BW-100.

What You’ll Need
Before touching your Switch, gather these supplies. Skipping the right solutions is how 90% of cleaning disasters start.
- Microfiber cloth: the kind that comes with glasses. Paper towels scratch.
- Distilled water: tap water can leave mineral spots under the screen.
- Compressed air (canned): rated under 30 PSI. Never use an air compressor.
- Plastic toothpick or a soft-bristled toothbrush: for the USB-C port and crevices.
- 70% isopropyl alcohol: only for the screen and metal rails, never the plastic shell.
- Plastic-safe, zero-residue contact cleaner: like BW-100 or WD-40 Specialist Contact Cleaner (not regular WD-40).
- Precision screwdriver: if you plan to deep-clean the fan grille from the inside (not covered today).
Step 1: Power Down and Remove All Accessories
A full shutdown prevents button presses from waking the screen while you clean, and pulling the game card stops anything shorting out if moisture gets near the slot.
Hold the power button for three seconds, select Power Options, then Turn Off. Plus, don’t just put it to sleep.
From a practical standpoint. (Which works out well in practice) if you’ve a screen protector. Take out any game cartridge so the slot isn’t exposed. Also, unplug the charger because you’ll be working near the USB-C port.
Why is turning it off completely so important?
Switching focus for a second, because the screen digitizer is active even… when the console is asleep. A static discharge from a dry cloth can send phantom touches, and moisture seeping into the edges could short the display.
Better safe than a $100 repair.
Step 2: Clean the Screen Without Leaving Streaks or Scratches
Use a dry microfiber cloth for 90% of smudges. If that fails, lightly dampen one corner with distilled water and wipe gently, then buff dry with the dry side immediately.
By most accounts. Here’s the method that’s saved my own Switch screen from any haze.
For one, use a rocket blower or a gentle puff of compressed air from a distance to knock off any dust particles. Rubbing them in is how micro-scratches happen.
Then fold the microfiber cloth so you’ve a clean section for each pass. Wipe in straight lines, not circles, from top to bottom, and honestly, if you need moisture, don’t spritz the screen.
For all intents and purposes. Dab the cloth corner onto a drop of water, then wipe. Follow up with the dry part to remove any residue.
What’s the deal with the OLED anti-scattering film?
Generally speaking, if you try to peel it off, you’ll destroy the display. it’s transparent. Just clean it as you’d the screen.
No special treatment needed, but definitely no alcohol; it can lift the adhesive.
Step 3: Wipe Down the Console Body and Joy-Cons (Without Clouding the Finish)
For the matte plastic parts, the only safe method is a dry cloth or a barely damp one. Solvents like alcohol will fade color, weaken the plastic, and eventually cause cracks around the screw posts.
On closer inspection, start with the back of the console, and the Joy-Con grips. Use the toothbrush to gently dislodge any grit from the seams around the triggers and the rail grooves.
Don’t force bristles deep; you’re just lifting surface debris, and then take a fresh section of your microfiber cloth and wipe down every surface, using a light touch. If a spot is stubborn, wet the cloth corner slightly. Time will tell.
Rub it, but buff it dry within seconds.
How do you get into the textured ring around the analog sticks? Wrap the cloth over your fingertip, then rotate the stick while pressing down lightly. The cloth will grab the dust ring that forms there.
Can I use disinfecting wipes?
Nintendo’s official guidance (2020 update) says you can use a household disinfecting wipe as long as you wring it out well. That jumped out at me too, and don’t let liquid pool — i’d still be cautious, and the trend keeps going.
The wipes regularly contain alcohol or other solvents. I’ve seen Joy-Cons with faded lettering after frequent wipe-downs. If you go that route. Stick with me here; this pays off.
Step 4: Purge the Vents Without Frying the Fan
Blocked vents cause thermal throttling, which tanks frame rates and makes the fan scream. But blasting compressed air while the fan spins can send a voltage spike to the motherboard.
Now, kyle Wiens, CEO of iFixit, put it this way:
“Dust is the silent killer of gaming consoles. For the Switch, the most important thing is keeping the heat sink clear so the fan doesn’t have to work overtime.”
Locate the two intake vents on the back, and the exhaust vent on the top. Before using canned air.
Yet, insert a plastic toothpick through the rear vent grille until it gently touches a fan blade. Then hold it steady. This prevents the fan from spinning. When the air hits it; now, with the can upright (almost never tilt it, or you’ll spray freezing liquid), give short 1-second bursts into the top exhaust vent and the rear intakes.
You’ll see dust puff out. After each burst, wait a few seconds so any moisture evaporates.
Why can’t I just vacuum the vents?
Vacuuming can build static electricity that discharges into the electronics, so consider this: canned air is safer, but still hold the fan still. If you’re determined to vacuum, use an electronics-safe model with an, actually. That’s not quite right, anti-static hose, but most of us don’t have that lying around.
Step 5: Rescue Sticky Buttons and Joy-Con Drift
If your Joy-Con registers movement without you touching it, or the buttons feel mushy, it’s probably gunk under the stick or inside the switch mechanism.
Taking a step back here, for buttons. Dip a toothpick in around 70% isopropyl (just the tip). Make of that what you will, and run it around the edge of the sticky button. While pressing it down repeatedly. The alcohol will break down skin oils without flooding the contacts.
Yet, then let it dry for five minutes. For analog stick drift; more importantly, lift the small rubber dust flap under the stick cap with a toothpick.
In reality, spray a quick burst of plastic-safe contact cleaner (like BW-100) straight up under the flap. Rotate the stick in full circles for 30 seconds.
Let it evaporate completely before reassembly, so most likely and only one sooner or later needed a full stick replacement.
Does regular WD-40 work for drift?
No, totally not. It’s worth noting that regular WD-40 leaves an oily residue that attracts more dust, and can short the sensors. You must use a zero-residue. Non-conductive contact cleaner More exactly, labeled for electronics.
Step 6: Clean the USB-C Port So It Charges Properly
Lint packed into the bottom of the port prevents the charger from clicking in fully, leading to “slow charging” or failed dock connections.
Moving on to something related, power off the Switch completely. Shine a flashlight into the USB-C port. If you see a felt-like mat of lint, that’s your problem. On average, and gently scrape along the bottom edge of the port, pulling the lint upward.
You’ll be amazed how much comes out…which means don’t push the (as one might expect) toothpick into the center pins. Stay along the outer edges.
I’ve done this on three Switches that were barely charging. After cleaning, they clicked in and charged at full speed again.
- Power off completely — sleep mode is not enough.
- Wipe the screen with a dry microfiber cloth — only dampen if necessary with distilled water.
- Clean the body and Joy-Cons with a barely damp cloth — skip the alcohol on plastic.
- Hold the fan still, then use short bursts of compressed air — never let it spin freely.
- Apply contact cleaner under the analog stick flap for drift — and rotate for 30 seconds.
- Use a plastic toothpick to extract USB-C port lint — then test charging before reassembly.
Troubleshooting: Common Mistakes and How to Fix Them
Even careful people mess up. Here’s what to watch for.
Water spots under the screen
Then again, if moisture seeped under the digitizer. You’ll see a permanent cloudy halo. There’s no reliable fix without replacing the digitizer. Next time, make sure the cloth is only lightly damp, not wet.
Joy-Con still drifting after contact cleaner
To summary, blocksep matters. Sometimes the carbon track inside the stick is physically worn. Measurable difference.
Contact cleaner only flushes out debris; it won’t repair a worn part. At that point. As it turns out, you’d need a stick replacement (or send it to Nintendo) — if you’ve a modded Switch, the cleaning process is different because of exposed internals; refer to our detailed modded Switch cleaning guide.
Alcohol haze on the matte finish
If you used high-concentration alcohol. And the plastic now looks streaky. Or feels sticky, you’ve permanently etched the surface.
You can sometimes cut down on the. Or rather, look by rubbing with a microfiber cloth. And a tiny amount of mineral oil, but the texture will rarely ever return. You get the idea. This is why Nintendo warns against it.
Screen protector removal went wrong
If you tried to peel the OLED anti-scattering film, stop immediately. That film is part of the LCD stack. The only repair is a full screen replacement. Never mistake it for a removable protector.
Console won’t dock after cleaning
And sure enough, also, confirm no moisture has corroded the port — which is why if you used compressed air, any liquid push forwardlant might have shorted something. So let it dry for an hour and try again. For older handhelds, a similar port-corrosion issue can happen with game cartridge slots. Gentle cleaning often revives them.
What to Do Next
Now that your Switch is spotless, keep it that way. Store it in a case when not in use. Looking closer, every two months, do a speedy dry-wipe and a vent-check; and. If you ever notice the fan getting louder or the battery draining faster, pop the toothpick back into the vents. A clean Switch is a rapid Switch.
For deeper maintenance, looks at investing in a precision toolkit to open the back and clean the heat sink directly, but that’s a whole other guide.
People Also Ask
Can I use alcohol wipes to disinfect my Switch?
You can, but only approximately 70% isopropyl on the screen, and never on the plastic shell or Joy-Cons. Wring the wipe out completely first.
Nintendo’s hygiene guidance allows household disinfecting wipes if they’re well-wrung, but I’d still avoid them on the matte surfaces because the solvents can degrade the finish.
What happens if dust gets inside the Switch screen?
It usually sits between the LCD and the lens, causing dark spots that never move.
Once dust is inside, you’d have to open the display assembly, which is a nightmare. That’s why you should never blow compressed air toward the edge of the screen; it can force particles in.
Is it safe to use a vacuum cleaner on the vents?
No, a standard vacuum creates static electricity that can fry the motherboard.
If you must suction, use an electronics-safe, anti-static vacuum with a brush attachment, but it’s easier to stick with canned air.
How often should I clean my Nintendo Switch?
Every 1-2 months for a dry wipe, and a deeper vent and port clean every 3-4 months depending on how often you play handheld.
If you’ve pets, you’ll probably need to clean the vents more often because hair gets sucked in.
Can I use eyeglass cleaner spray on the screen?
Most eyeglass cleaners contain alcohol or ammonia, which can strip coatings.
Distilled water on a cloth is the safest liquid for the Switch screen.
Why does my Switch smell weird?
That’s usually bacteria from sweat and skin oils baked into the vents by the fan. Wiping the exterior and blasting the vents with air usually handles it, but sometimes you need to open the console and clean the internal fan blades with isopropyl.
🔍 Research Sources
Verified high-authority references used for this article