Table of Contents
Cleaning your Brother printer head is essential for maintaining print quality. It ensures your documents look sharp and clear.
Over time, printer heads can get clogged or dirty. This can lead to poor print results, such as streaks or missing lines. Regular cleaning can help prevent these issues and extend your printer’s life. In this guide, we’ll walk you through the steps to clean your Brother printer head effectively.
Whether you use your printer for work or personal projects, keeping it in top shape is important. With a few simple steps, you can improve your printer’s performance and avoid frustrating print problems. Let’s get started on how to clean your Brother printer head and keep your prints looking their best.
Tools And Materials Needed
Cleaning the printer head of your Brother printer is a crucial task. It ensures optimal performance and print quality. Before diving into the cleaning process, gather the necessary tools and materials. Having the right supplies makes the job easier and more effective. Let’s explore the essential and optional tools required for this task.
Essential Cleaning Supplies
To clean your Brother printer head, you need some basic supplies. These are easy to find and affordable. Gather the following items:
- Lint-free cloths or microfiber cloths
- Distilled water
- Isopropyl alcohol (at least 90% concentration)
- Small container or bowl
- Rubber gloves
- Soft bristle brush
Lint-free or microfiber cloths prevent scratches. Distilled water and isopropyl alcohol clean without leaving residues. The small container holds your cleaning solution. Rubber gloves protect your hands. A soft bristle brush helps remove stubborn ink deposits.
Optional Tools
Some additional tools can make the cleaning process smoother. These are not mandatory but can be helpful. Consider the following:
- Flashlight
- Q-tips or cotton swabs
- Compressed air can
A flashlight helps you see inside the printer. Q-tips or cotton swabs reach tight spots. Compressed air removes dust and debris from the printer. Using these optional tools can enhance your cleaning efforts.
Preparation Steps
Cleaning your Brother printer head is essential to maintain print quality. Before you start, it’s important to prepare properly. These steps will guide you through the process. Follow them closely for the best results.
Power Off And Unplug
First, turn off your printer. Press the power button until the machine shuts down completely. Once off, unplug the power cord from the wall outlet. This ensures your safety and prevents any electrical issues.
Access The Printer Head
Open the printer cover to access the printer head. Look for the release latch or button on your Brother printer model. Gently lift the cover to reveal the internal components. Locate the printer head, usually found near the ink cartridges.
Manual Cleaning Method
The manual cleaning method is a straightforward way to clean your Brother printer head. It requires some basic supplies and a bit of patience. This method can help improve print quality and extend the lifespan of your printer.
Using A Cleaning Solution
To start, gather a cleaning solution suitable for printer heads. You can purchase this from an office supply store. Alternatively, you can make a simple solution using distilled water and isopropyl alcohol.
- Turn off your printer and unplug it.
- Open the printer cover to access the printer head.
- Remove the ink cartridges carefully and set them aside.
- Dip a cotton swab in the cleaning solution.
- Gently dab the cotton swab on the printer head, focusing on the areas with dried ink.
- Allow the printer head to dry for a few minutes.
- Reinstall the ink cartridges and close the printer cover.
- Plug in the printer and run a test print.
Cleaning With A Cloth
If you prefer, you can use a lint-free cloth for cleaning. This method is also effective and easy to perform.
- Turn off your printer and unplug it.
- Open the printer cover to access the printer head.
- Remove the ink cartridges carefully and set them aside.
- Moisten a lint-free cloth with distilled water or a cleaning solution.
- Gently wipe the printer head with the cloth, focusing on any ink buildup.
- Allow the printer head to dry completely.
- Reinstall the ink cartridges and close the printer cover.
- Plug in the printer and run a test print.
By following these steps, you can manually clean your Brother printer head. Regular cleaning can help maintain print quality and prevent clogs.
Automated Cleaning Process
The automated cleaning process for a Brother printer head can resolve common printing issues. This method uses the printer’s built-in functions to clear any blockages. Below are the steps to follow.
Running Printer’s Cleaning Cycle
Start by accessing your printer’s control panel. Navigate to the maintenance menu. Select the cleaning option. Your printer will initiate the cleaning cycle. This process may take a few minutes.
During the cycle, the printer moves the print head back and forth. It ejects small amounts of ink to clear the nozzles. Make sure there is enough paper in the tray. The printer may print a test page once the cycle completes.
Multiple Cleaning Cycles
Sometimes, one cleaning cycle may not be enough. If the print quality doesn’t improve, run multiple cleaning cycles. Go back to the maintenance menu. Select the cleaning option again. Repeat this process up to three times.
Check the test prints after each cycle. If the issue persists, consider a deeper cleaning method. Running multiple cycles can significantly improve print quality. Just ensure you do not overuse this function to avoid wasting ink.
Here’s a quick summary table for your reference:
| Step | Description |
|---|---|
| Access Maintenance Menu | Navigate to the cleaning option via the control panel |
| Run Cleaning Cycle | Initiate the cleaning process, wait for completion |
| Check Test Print | Ensure print quality has improved |
| Repeat if Needed | Run up to three cycles if issues persist |
Deep Cleaning Method
Cleaning the Brother printer head is essential for optimal printing. The deep cleaning method can resolve stubborn clogs and improve print quality. This method involves a thorough cleaning process, ensuring your printer works like new.
Using Distilled Water
Distilled water is the best option for cleaning printer heads. It does not leave minerals behind, unlike tap water. Begin by turning off and unplugging the printer. Remove the ink cartridges and set them aside.
Moisten a lint-free cloth with distilled water. Gently wipe the printer head’s surface. Do not press too hard. Let the area dry for a few minutes before moving to the next step.
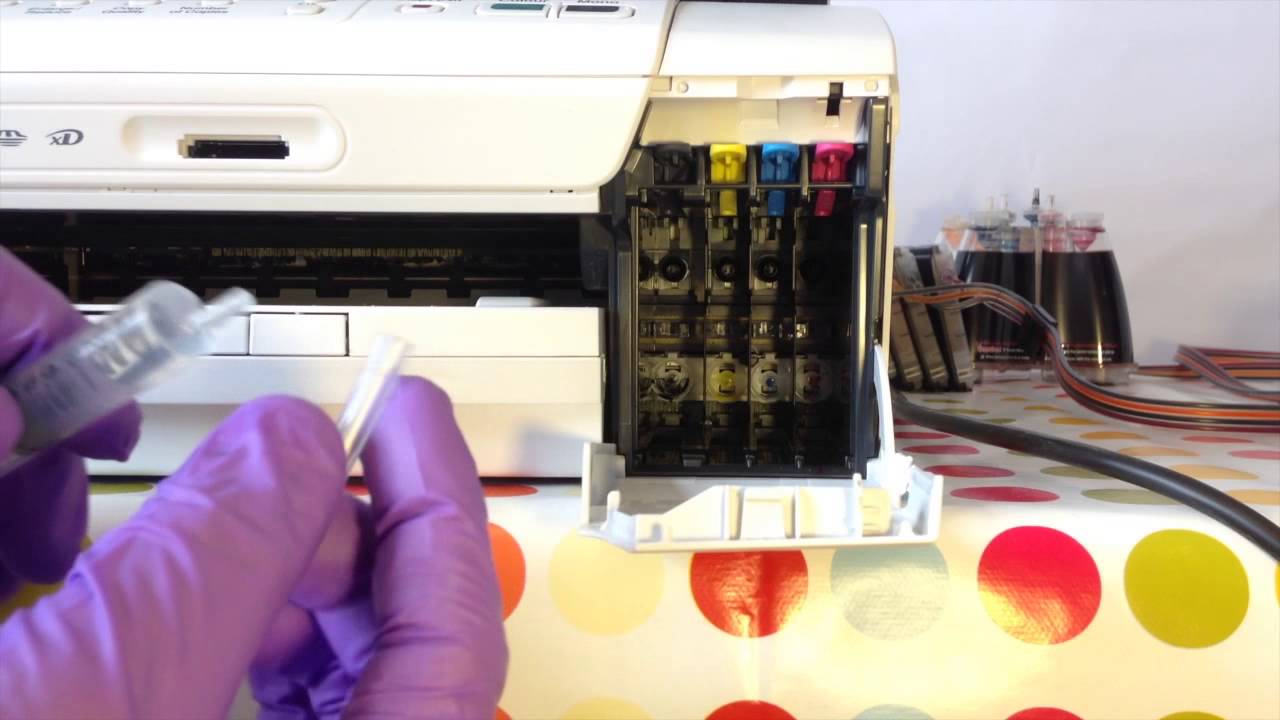
Flushing The Printer Head
Flushing the printer head helps remove deeper clogs. Use a syringe to push distilled water into the printer head nozzles. Do this carefully to avoid damage. Repeat the process until the water runs clear.
Reinstall the ink cartridges. Run a test print to check the results. The print quality should be much better. If not, repeat the deep cleaning process.
Post-cleaning Steps
Cleaning your Brother printer head is essential for maintaining print quality. After cleaning, follow these post-cleaning steps. This ensures your printer works well and delivers excellent prints. Below are the necessary steps.
Reassembling The Printer
Once you’ve finished cleaning, it’s time to put the printer back together. Follow these steps to reassemble your printer:
- Carefully place the cleaned printer head back into its slot.
- Reconnect any cables or ribbons you may have detached.
- Secure the printer head with any screws or clips.
- Close the printer cover or lid.
Make sure all parts are correctly aligned. This prevents any damage and ensures proper functioning.
Performing A Test Print
After reassembling, it’s crucial to perform a test print. This helps in verifying the cleaning process.
- Turn on your Brother printer.
- Open the printer settings on your computer.
- Select the option to print a test page.
- Wait for the printer to complete the test print.
Check the test print for any streaks or missing lines. If the print is clear, your printer head is clean. If not, you may need to repeat the cleaning process.
Regular maintenance, including cleaning the printer head, can prolong your printer’s life. It also ensures you get high-quality prints every time.
Maintenance Tips
Keeping your Brother printer in top condition requires regular maintenance. Proper care extends its life and ensures high-quality prints. Follow these tips to keep your printer head clean and functioning well.
Regular Cleaning Schedule
Set a regular cleaning schedule for your Brother printer. Clean the printer head once a month. This prevents ink buildup and clogs. Regular cleaning also improves print quality. Remember, frequent use of the printer can lead to more ink residue.
Here is a simple cleaning schedule:
| Frequency | Task |
|---|---|
| Weekly | Check for ink smudges and clean the exterior |
| Monthly | Clean the printer head and replace ink cartridges |
| Quarterly | Run a full maintenance check |
Sticking to this schedule keeps your printer in good shape. It also saves you from costly repairs.
Using Quality Ink
Always use quality ink in your Brother printer. Cheap or generic ink can damage the printer head. High-quality ink ensures smooth printing and reduces clogs. It also provides better color accuracy.
Consider these tips when choosing ink:
- Buy ink from reputable brands.
- Avoid refilling cartridges with low-quality ink.
- Check compatibility with your Brother printer model.
Investing in quality ink pays off in the long run. It keeps your printer running smoothly and ensures vibrant prints.
Troubleshooting
Experiencing issues with your Brother printer can be frustrating. Sometimes, even after cleaning the printer head, problems persist. This section will guide you through common troubleshooting steps.
Persistent Printing Issues
If your Brother printer is still not printing correctly, consider these steps:
- Check the Ink Levels: Ensure your ink cartridges have enough ink. Low ink can affect print quality.
- Print a Test Page: Print a test page to see if the issue is with all colors or just one.
- Clean the Printer Head Again: Sometimes, one cleaning cycle is not enough. Run the cleaning process a few times.
- Update Printer Drivers: Outdated drivers can cause printing issues. Download the latest drivers from the Brother website.
When To Seek Professional Help
Despite your best efforts, some issues may require professional assistance:
| Problem | Description |
|---|---|
| Hardware Damage | If there are signs of physical damage, such as broken parts, seek professional help. |
| Persistent Error Messages | If error messages persist after troubleshooting, a technician may be needed. |
| Repeated Cleaning Fails | If multiple cleanings do not improve print quality, professional cleaning might be necessary. |
Professional help ensures your printer remains in good condition. This can save you time and effort in the long run.
Frequently Asked Questions
How Do I Know If My Brother Printer Head Needs Cleaning?
Your Brother printer may produce streaky, faded, or incomplete prints. These are signs the printer head needs cleaning.
What Tools Do I Need To Clean A Brother Printer Head?
You need a lint-free cloth, distilled water, and a small container. These tools help in safely cleaning the printer head.
Can I Use Regular Water To Clean The Printer Head?
No, regular water can contain minerals that harm the printer head. Use distilled water to avoid damage.
How Often Should I Clean My Brother Printer Head?
Clean the printer head every few months. This helps maintain print quality and extends the printer’s life.
Is It Safe To Use Cleaning Kits For Brother Printers?
Yes, but ensure the kit is compatible with Brother printers. Follow the instructions carefully for best results.
Conclusion
A clean printer head ensures clear, quality prints. Regular maintenance prevents clogs and errors. Follow these steps to keep your Brother printer in top shape. Cleaning doesn’t have to be hard. Use the right tools and techniques for best results.
Your printer will thank you with better performance. Keep this guide handy for future reference. Happy printing!