
Grime buildup on your Beats earbuds can muffle sound. Cause pairing glitches, and just feel gross. I’ve pulled a pair out of a gym bag that looked like they’d been through a mud run.
They still worked fine after a proper clean. The trick isn’t just scrubbing; it’s knowing what to avoid.
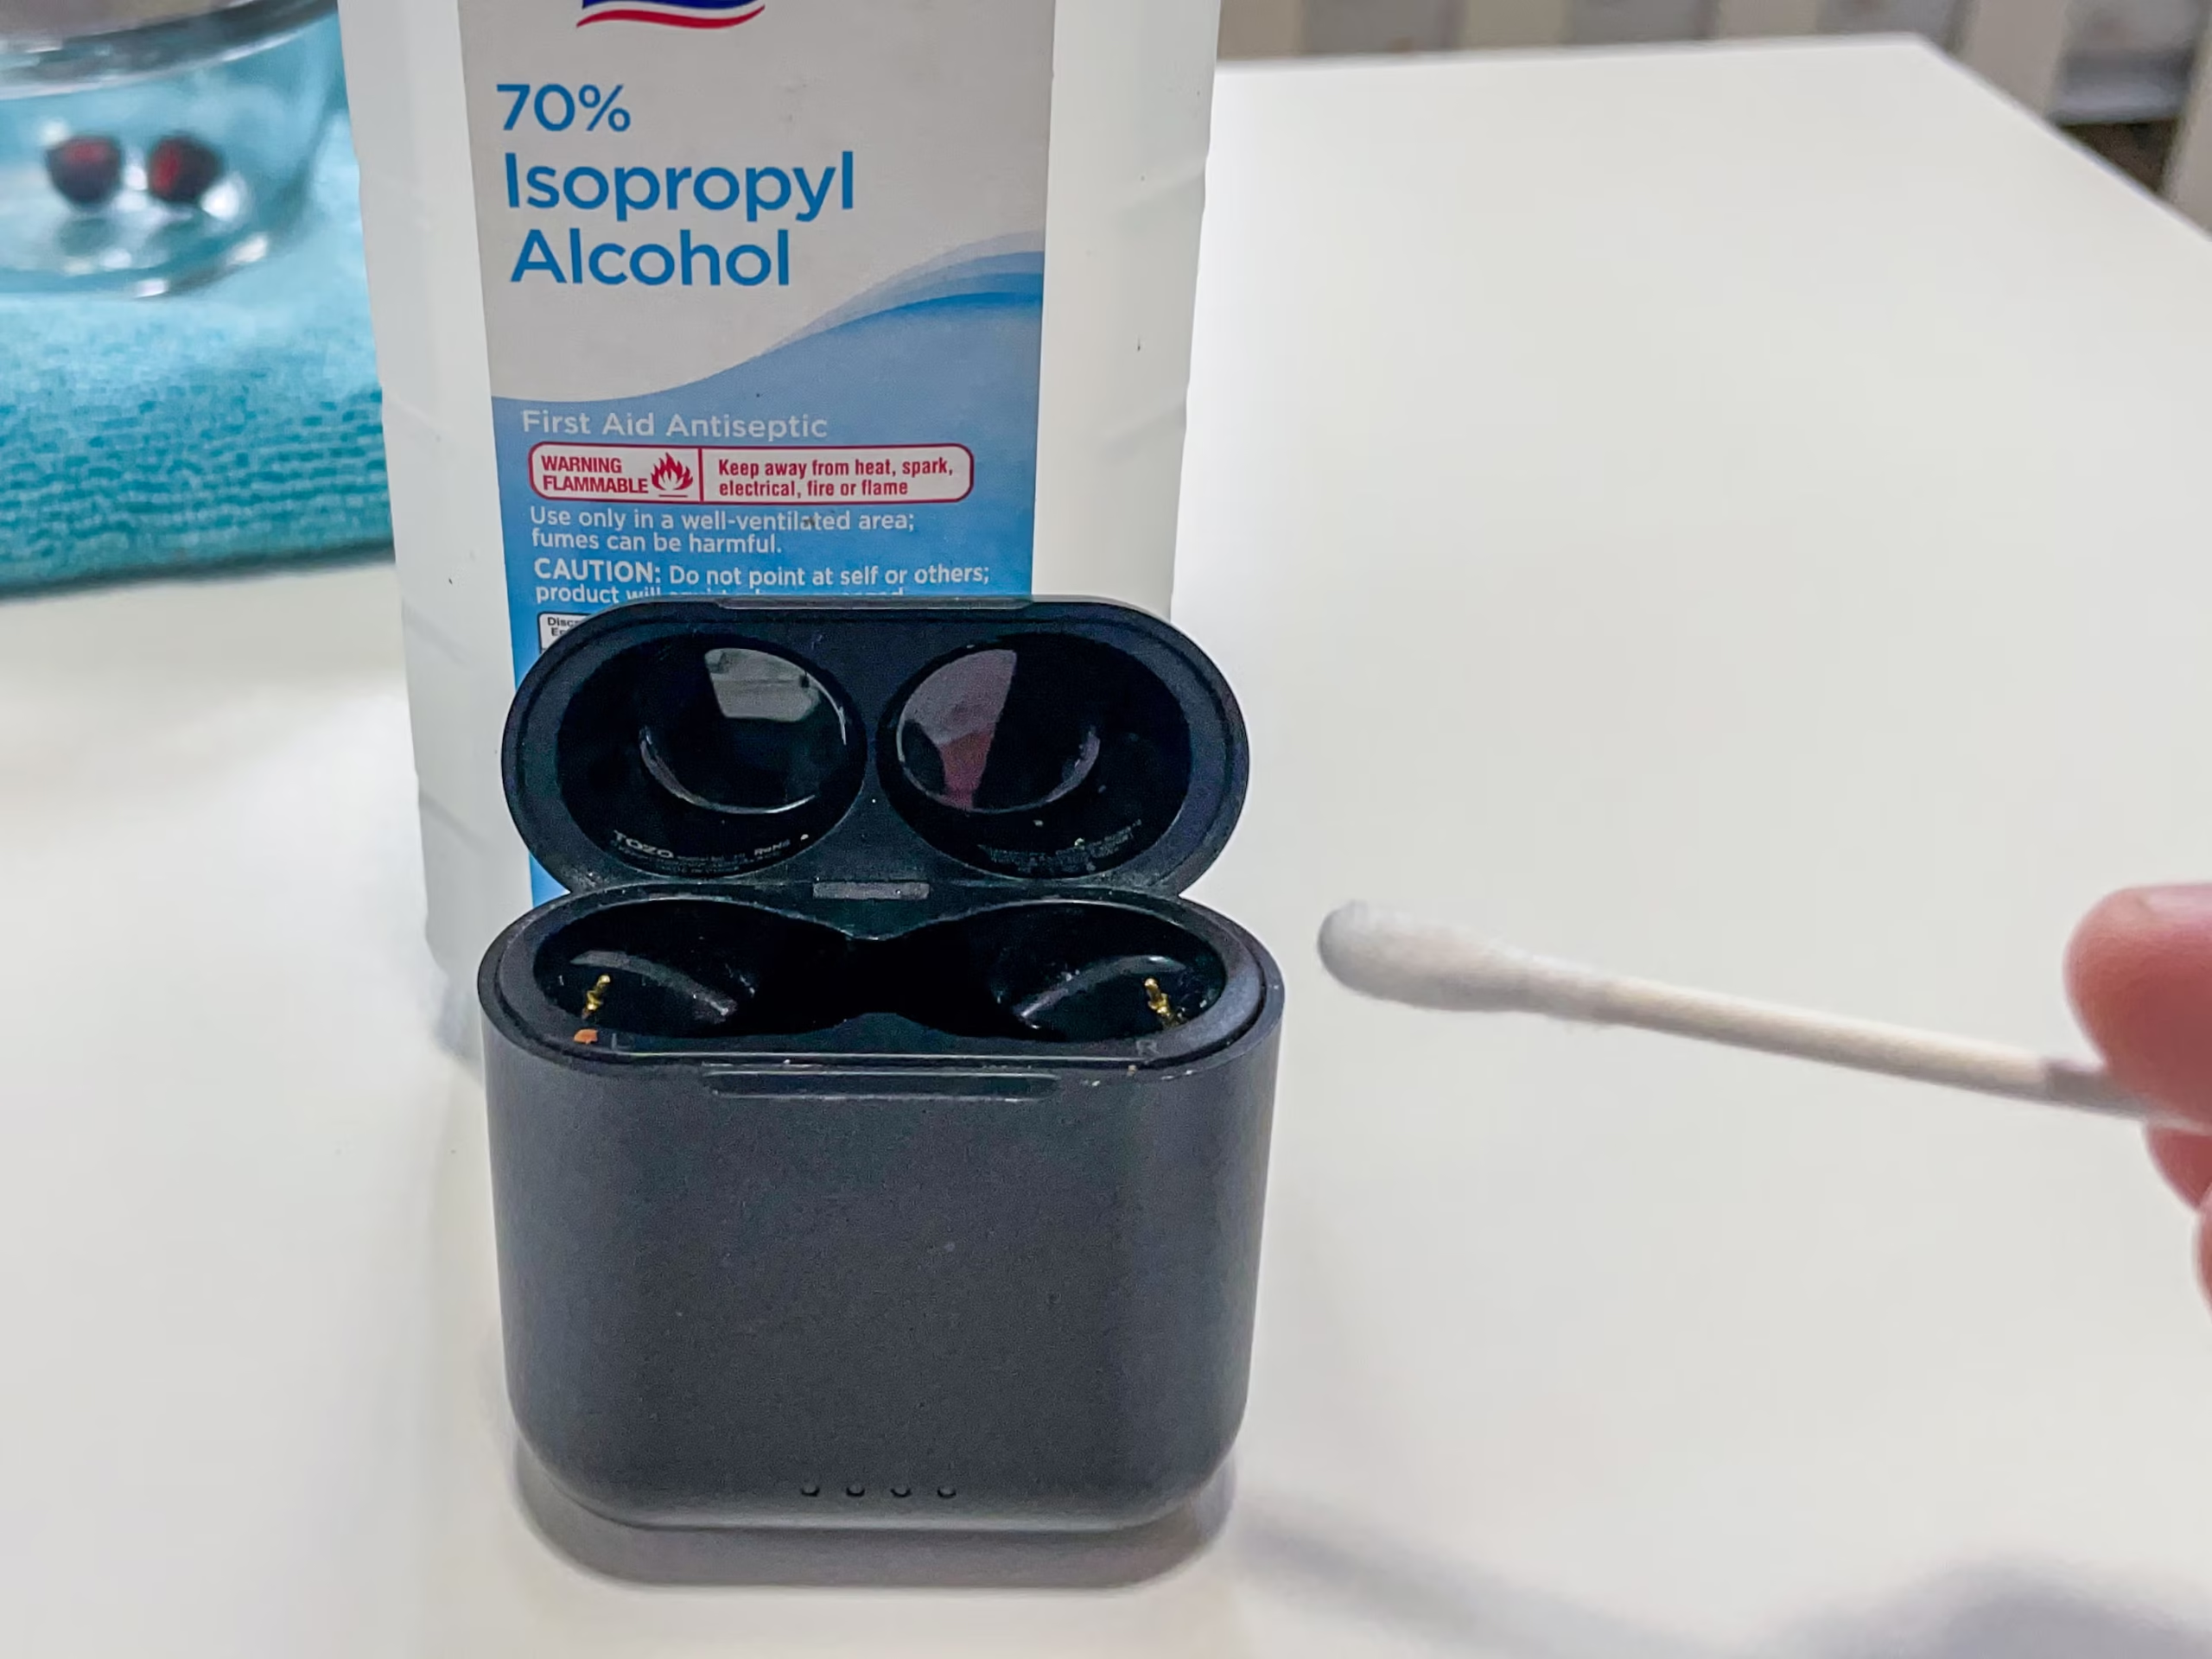
Up until recently, a single wrong wipe with a paper towel. Or too much alcohol can ruin the charging contacts forever. Wait, there’s more to it. Let’s fix that.
TL; DR
- Dry wipe with a microfiber cloth first, then clean silicone tips separately using mild soap and warm water. Let them air dry completely.
- Use 70% isopropyl alcohol on a lightly damp Q-tip for speaker mesh and charging contacts; dry instantly with a dry cloth.
- Gently brush crevices and port seams with a soft-bristled brush, and let everything air dry for 10–15 minutes before reuse.
Key Takeaways
- The single biggest mistake is using paper towels or Clorox wipes — they shred fibers that clog speaker meshes and chemically damage coatings.
- A 70% isopropyl alcohol concentration evaporates fast enough to minimize moisture risk while still dissolving stubborn ear wax.
- Reattaching wet silicone ear tips traps moisture inside the earbud, which can cause muffled sound or even short circuits. Never skip the drying step.
- Cleaning the charging contacts is as important as the audio mesh. Residual oil there can prevent proper charging.
What You’ll Need
| Tool / Supply | Why You Need It |
|---|---|
| Lint-free microfiber cloth | Wipes away oils and surface dirt without scratching. |
| 70% isopropyl alcohol | Quick-evaporating disinfectant for stubborn gunk. |
| Q-tips | Precision applicator for contacts and mesh. |
| Soft-bristled brush (old toothbrush) | Dislodges debris from seams and speaker grills. |
| Mild, dye-free dish soap | For cleaning silicone tips without chemical residue. |
| Warm water | Rinses soap off tips safely. |
| Toothpick (optional) | Lifts wax out of mesh — use shallow angle only. |
| Dry, clean cloth | Instantly dries contacts after alcohol. |
Skill level: Beginner. Total time: about 20 minutes. Including the mandatory 10–15 minute drying period.
Step 1: Gather Your Cleaning Kit and Do a Quick Dry Wipe
The best way to start is by wiping every bit of the exterior with a dry microfiber cloth. Before any liquid touches the device. Just something to consider. That lifts loose grime, dead skin cells, and oil so you’re not pushing that mess deeper into the speaker mesh when you later apply alcohol.
Think of it like brushing dust off a laptop keyboard before spraying cleaner. I used to skip this. And ended up with a film that almost never really went away.
Still, grab your microfiber cloth and run it over the entire earbud body. The stem (if applicable), and around the button areas. It is surprising. Pay extra attention to the speaker grille, but use light pressure. You’ll be surprised how much comes off just dry.
This step takes maybe 30 seconds. But saves you from compounding the problem.
Pro Tip:
If you just finished a sweaty workout, a quick dry wipe right after helps prevent hardened salt deposits that etch into the plastic over time.
Step 2: Remove and Deep Clean the Silicone Ear Tips
Silicone tips are where gunk hides; ear wax, sweat. And dead skin settle inside the bore and around the rim, and if you skip cleaning these separately, you’ll not once get clear sound. Twist them off gently.
Still, don’t pull so a pain that the tip tears; they’re surprisingly delicate. I’ve ripped one on a Powerbeats Pro by being impatient.
Still, fill a small bowl with warm water. And add just a drop of mild, dye-free soap. Submerge the tips. And agitate them with your fingers for about 30 seconds.
And sure enough, then rinse under running water until no soap remains. The key here is to let them air dry completely on a clean towel. Usually 15 minutes or more, depending on humidity.
Reattaching even just hardly damp tips traps moisture inside the earbud nozzle. And can cause audio muffling or, worse, a short circuit. But does it actually matter?
From a practical standpoint, actually, let me put that more precisely: if you hear a faint popping sound. After reassembly, you’ve got water in there. And need to let it dry longer.
Expected outcome: Clean, fresh-smelling ear tips with restored sound clarity. The whole process really makes your earbuds feel, and sound, brand new.
“Reattaching wet silicone tips is the #1 silent killer of in-ear buds. Users blame pairing issues, but it’s often just moisture trapped inside.”
Step 3: Clean Speaker Mesh and Charging Contacts with Alcohol
Now the intimidating part. Which means you’re going; I mean, to use a Q-tip lightly dampened with 70% isopropyl alcohol, so that changes the picture quite a bit. Puts things in perspective. Not soaking, you want it just barely damp.
Like a sponge you’ve squeezed almost completely dry. Anything more risks liquid seeping into the internals. More often than not, and similar models because it evaporates quickly and dissolves stubborn wax and oil without corroding.
Start with the charging contacts (the little gold pins. Or flat pads at the bottom of each earbud).
Now, i’ve seen buildup there cause intermittent charging that made me think the battery was dead. Plus, gently swab the contacts with the damp Q-tip. And then immediately follow with a dry cloth to remove any residual moisture.
Leaving them wet, even for a minute, invites corrosion. Now move to the speaker mesh. Lightly roll the damp Q-tip over the mesh.
Never pressing tricky enough to deform it. You’ll see the cotton pick up yellowish wax. If the mesh is heavily clogged, you can use a clean, dry toothpick at a shallow angle to lift hardened chunks; but don’t poke straight down. Makes you think, doesn’t it?
The mesh is fragile, and piercing it’ll distort audio permanently.
Step 4: Brush Tight Seams and Port Crevices
Sure enough, even after alcohol, microscopic debris lingers in the seams. Where the plastic halves meet and around the charging port edges. A soft-bristled brush — a clean old toothbrush works perfectly. Is your best friend here. I keep one in my desk drawer just for this.
Under normal conditions, using small, lateral strokes, sweep along the seam that circles the earbud, the microphone openings, (more on that later) and the charging port lip. Focus on corners where you can visually see tiny specks. More importantly, don’t scrub aggressively; let the bristles do the work.
This is especially a big deal for Beats Fit Pro with their wingtips. That’s only part of it, though.
Where sweat channels collect; after brushing, give the whole earbud one more light wipe with the dry microfiber cloth to catch loosened particles. When you see the crud on the cloth. You’ll know it was worth the effort.
Step 5: Let Everything Air Dry Before Reassembling
This is the step people skip. Because they’re in a hurry. Don’t. Moisture is the entire enemy.
In the end, in a well-ventilated spot, after cleaning, lay the earbuds. And the dry silicone tips separately on a towel. Set a timer for 10–15 minutes. I once rushed this and popped the tips back.
After five minutes; a few hours later, the left earbud sounded muddy. The key here is that a snappy re-dry with the tips off fixed it. But I learned my lesson.
The risk isn’t just short-term muffling — if you put them into the charging case. You know what — while damp, you can corrode the internal charging pins and kill the case over time.
While drying, you can use a can of compressed air from a distance to gently blow any trapped moisture out of the charging port seam, but that’s optional. After the timer goes off, carefully reattach the, wait. Let me rephrase, tips, making sure they snap into place fully.
But then again, power on and test audio and charging. If anything sounds off, remove tips again and re-dry — patience prevents a pricey repair. At least, that outlines the core theory.
Troubleshooting: Common Cleaning Mistakes
My earbuds sound muffled after cleaning.
This usually means water is still trapped behind the speaker mesh…which means as far as I know, it’s worth noting that remove the tips, wipe the nozzle dry with a microfiber cloth. And let the buds sit tips-off for another 20 minutes.
That covers it. Moisture trapped this way is the classic reason for muddy audio, not actual damage.
Why won’t my earbuds charge anymore?
First, check the charging contacts. If you used too much alcohol.
And didn’t dry them properly, corrosion can start within hours. Clean the contacts again very gently with a dry Q-tip and inspect for any greenish discoloration.
What happens next? But constantly a redo with minimal moisture resolves it. If present, you may need professional repair. It depends. Hold onto this thought.
The mesh still looks clogged after cleaning.
Most likely use a toothpick, but keep it angled almost parallel to the mesh. You’re prying, not stabbing. If that doesn’t work, a warm, damp (not wet) microfiber cloth held against the mesh for a minute softens the wax before gentle toothpick lifting. The thing is, persistence, not pressure, wins.
I accidentally used a Clorox wipe — now what?
Taking a different approach here. Immediately wipe the area with a damp (water only) microfiber cloth to remove any chemical residue, then dry thoroughly. Check for a sticky finish.
If it’s slightly tacky, that’s the plastic coating breaking down. It won’t likely affect function, but it’ll attract lint forever. Next time, stick to alcohol.
But this is just one piece of the puzzle.
What to Do Next
Here’s the thing – now that your earbuds are clean and, I mean. Sounding crisp, make a habit of quick dry wipes after every heavy use. It adds 10 seconds and prevents deep grime. Mark a calendar reminder for a full deep clean every 2–3 weeks — or more all the time. If you wear them daily, which is why that consistency keeps the mesh clear and the charging contacts reliable.
What does that mean in practice? And if you also own over‑ear Beats headphones, and honestly, the cleaning process demands different tactics to protect the headband and ear cushions.
Check out this detailed guide on how to clean Beats headphones for those larger models. You’ll save yourself from plenty of expensive pad replacements.
People Also Ask
How often should I clean my Beats earbuds?
A blazing dry wipe after every workout and a full cleaning (tips off. Alcohol on contacts) every 2–4 weeks keeps audio quality and charging reliable; frequent cleaning prevents wax from hardening into a cement-like layer.
Can I use 90% isopropyl alcohol instead?
Technically yes, but 70% evaporates a bit slower. Puts things in perspective. Puts things in perspective. And gives you more time to dissolve oils without soaking.
Higher concentrations can dry too rapid. And be less effective on organic wax. Apple recommends something like 70% for a reason.
Is it safe to submerge the earbuds in water to clean them?
Absolutely not. Even IPX4 sweat‑resistant models aren’t designed for submersion. The only part you should ever soak in water is the detached silicone ear tips, and, actually, that’s not quite right, honestly, the earbud body must stay dry except for the lightly dampened cloth or Q-tip method.
Why do my Beats earbuds smell bad after cleaning?
Taking a step back reveals an important factor. Bacteria can linger if you only use alcohol.
A snappy wash of the silicone tips with mild soap eliminates odor. Also, after each gym session. Give the tips a dry wipe to prevent bacterial growth.
Does cleaning improve the fit or comfort?
Probably clean tips grip better and seal more consistently. So they stay in place and passive noise isolation actually improves. Plus, it avoids skin irritation from dirty silicone.
🔍 Research Sources
Verified high-authority references used for this article