Table of Contents
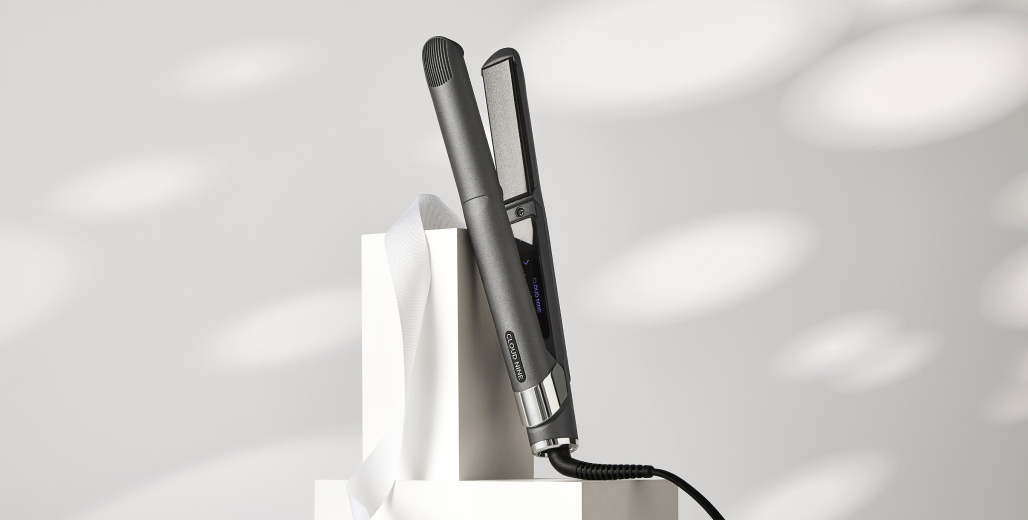
Cleaning straighteners is essential for their longevity. Dirty straighteners can damage hair.
Straighteners collect dirt, oil, and product residue over time. This buildup can affect their performance and even harm your hair. Regular cleaning ensures they work efficiently and safely. It also extends the life of your straighteners, saving you money in the long run.
In this guide, you’ll learn simple steps to keep your straighteners clean and in top shape. Whether you use them daily or occasionally, these tips will help maintain their performance. Keep reading to discover how easy it is to clean your straighteners and keep your hair looking its best.
Gather Supplies
Before you start cleaning your straighteners, it’s crucial to gather all the necessary supplies. Having the right tools and products at hand makes the process smoother and more effective. This will help you clean your straighteners efficiently, ensuring they last longer and perform better.
Necessary Cleaning Tools
First, you’ll need a few essential tools. These include a soft cloth, cotton swabs, and a small brush. The soft cloth helps wipe away any residue. Cotton swabs can reach small, tight spaces. The small brush, like an old toothbrush, can scrub off stubborn grime.
Recommended Cleaning Products
Using the right cleaning products is equally important. Mild dish soap mixed with warm water works well. For tougher stains, rubbing alcohol is effective. Avoid harsh chemicals as they can damage your straighteners. Always test a small area first to ensure the product doesn’t harm the surface.
Unplug And Cool Down
Cleaning your hair straighteners is essential for maintaining their performance. Before starting, you must unplug and let them cool down. This step ensures your safety and prevents any damage to the straighteners.
Safety Precautions
Always unplug the straighteners before cleaning. This eliminates the risk of electric shock. Place them on a heat-resistant surface to avoid burns or fires. Ensure the straighteners have cooled down completely before you touch them.
Cooling Time
Allow the straighteners to cool for at least 15-30 minutes. This waiting period is crucial for safe handling. Patience during this time prevents accidental burns and ensures a thorough cleaning process. Check the device’s temperature by hovering your hand above it.
Remove Loose Hair
Straighteners often collect loose hair during use. Removing this hair is crucial. It helps maintain the device’s performance. It also prolongs its life. Let’s explore some effective methods to remove loose hair from your straightener.
Using A Brush
A small brush can work wonders. A toothbrush or makeup brush is ideal. Gently brush the plates of the straightener. This will loosen and remove hair strands. Make sure the straightener is unplugged and cool. Using a brush is a quick and easy method.
Alternative Methods
Other items can be useful too. Try a soft cloth or cotton swab. Dampen it slightly with water. Wipe the plates carefully to remove hair. Tweezers can help with stubborn strands. These methods ensure a clean straightener. They are simple and effective.
Clean Plates
Cleaning the plates of your straighteners is essential. It keeps them in good condition and ensures they work effectively. Dirty plates can cause hair damage and reduce the lifespan of your tool. Here’s how to clean them properly.
Wiping With A Cloth
First, make sure your straighteners are unplugged and completely cool. Use a soft, damp cloth to wipe the plates gently. Avoid using paper towels or abrasive materials. They can scratch the plates.
For stubborn residue, you can use a small amount of mild soap mixed with water. Dip the cloth into the solution and wring out the excess water. Gently wipe the plates, ensuring you remove all soap residue.
Dry the plates with a clean, dry cloth. Ensure there is no moisture left on the plates before you plug the straighteners back in.
Using A Cleaning Solution
For a deeper clean, you might need a specialized cleaning solution. Purchase a cleaner designed for hair styling tools. These are safe and effective for removing buildup.
Spray a small amount of the solution onto a soft cloth. Do not spray directly onto the plates. Gently wipe the plates with the cloth, paying attention to any stubborn spots.
Rinse the cloth with clean water and wipe the plates again to remove any remaining cleaner. Dry the plates thoroughly with a dry cloth.
| Step | Action |
|---|---|
| 1 | Unplug and cool straighteners |
| 2 | Wipe with a damp cloth |
| 3 | Use mild soap if needed |
| 4 | Dry with a clean cloth |
| 5 | Use a cleaning solution for deeper clean |
| 6 | Rinse and dry thoroughly |
Clean The Body
Cleaning the body of your straightener is essential. It ensures that the device functions well and lasts longer. Dust and grime can build up over time, affecting performance. Regular cleaning prevents this and keeps your straightener looking new.
Wiping The Exterior
First, unplug the straightener and let it cool completely. Use a damp cloth to wipe the exterior. Avoid getting water inside the device. Focus on removing any dust or residue. For stubborn spots, use a bit of mild soap. Wipe gently to avoid scratching the surface. Finish by drying the straightener with a soft, dry cloth.
Cleaning The Edges
The edges of the straightener can collect dirt. Use a cotton swab dipped in rubbing alcohol. Gently clean the edges and corners. Pay attention to areas where grime builds up. Be sure to dry the edges with a clean cloth afterward. This prevents any moisture from seeping into the device.
Tackle Stubborn Stains
Straighteners can get dirty over time, especially from hair products. These products can create stubborn stains on your straighteners. Cleaning them can improve their performance and extend their lifespan. Here are some tips to tackle stubborn stains effectively.
Using Baking Soda
Baking soda is a gentle yet effective cleaner. It’s perfect for removing tough stains from your straighteners.
- Mix a tablespoon of baking soda with a few drops of water. Create a thick paste.
- Apply the paste to the stained areas of your straighteners.
- Let it sit for about 10 minutes.
- Use a soft cloth or toothbrush to scrub the paste gently.
- Wipe away any residue with a clean, damp cloth.
Baking soda is non-abrasive and won’t damage your straighteners. Regular cleaning can prevent future build-up.
Applying Rubbing Alcohol
Rubbing alcohol is another excellent option for tackling stubborn stains. It evaporates quickly, leaving your straighteners dry and clean.
- Soak a cotton ball or pad in rubbing alcohol.
- Rub the stained areas gently with the cotton ball.
- Use a soft cloth to wipe away any remaining residue.
- If necessary, repeat the process until the stains are gone.
Rubbing alcohol is great for disinfecting and cleaning. It’s a quick solution for stubborn stains.
By using baking soda and rubbing alcohol, you can keep your straighteners clean and efficient. Regular maintenance ensures better performance and longevity.
Dry And Inspect
Once you’ve cleaned your straighteners, the next crucial step is to dry and inspect them. Drying ensures that no moisture remains, preventing rust or electrical issues. A thorough inspection helps identify any damage or residue that may have been missed during cleaning.
Air Drying
After cleaning, place your straighteners on a clean, dry towel. Leave them in an open, airy space. Avoid direct sunlight to prevent potential damage. Allow them to air dry completely. This step is critical to avoid any electrical hazards.
Final Inspection
Once the straighteners are dry, it’s time for a final inspection. Check the plates for any remaining residue. Inspect the cord for any signs of wear or damage. Ensure the straighteners are completely dry before plugging them in.
| Inspection Checklist |
|---|
| Check plates for residue |
| Inspect cord for damage |
| Ensure complete dryness |
By following these simple steps, you can keep your straighteners in excellent condition. Proper maintenance ensures better performance and extends the life of your device.
Reassemble And Store
After cleaning your straighteners, the next step is to reassemble and store them properly. This ensures the longevity of your device and maintains its efficiency. Follow these simple steps to make sure your straighteners are ready for use the next time you need them.
Reconnecting Parts
Make sure all parts are completely dry. This is crucial to avoid any electrical issues.
- Check the plates for any remaining moisture.
- Reattach any removable parts carefully.
- Ensure everything snaps back into place securely.
Double-check the alignment of the plates. Misalignment can affect the performance of your straighteners.
Proper Storage Tips
Storing your straighteners properly can prevent damage and extend their lifespan.
- Cool Down: Always let your straighteners cool down completely before storing.
- Use a Heat-Resistant Mat: Place them on a heat-resistant mat during cool down.
- Keep Cords Tidy: Wrap the cord loosely to avoid tangling and breakage.
- Store in a Safe Place: Store in a dry, safe place away from children and pets.
Avoid storing your straighteners in humid places. Humidity can cause rust and damage the electrical components.
Consider using a protective case. This adds an extra layer of protection and keeps your straighteners clean.
Frequently Asked Questions
How Often Should I Clean My Straighteners?
Clean your straighteners after every few uses. This helps prevent buildup and keeps them working well.
What Materials Do I Need To Clean Straighteners?
You’ll need a soft cloth, rubbing alcohol, and cotton swabs. These items will help you clean effectively.
Can I Use Water To Clean My Straighteners?
Avoid using water. It can damage the electrical parts. Use a damp cloth with rubbing alcohol instead.
How Do I Remove Burnt-on Residue From My Straighteners?
Use a cotton swab dipped in rubbing alcohol. Gently scrub the residue until it’s gone.
Is It Necessary To Unplug Straighteners Before Cleaning?
Yes, always unplug your straighteners before cleaning. This ensures safety and prevents any electrical accidents.
Conclusion
Proper cleaning keeps your straighteners working well. It also extends their life. Regular maintenance ensures smooth, shiny hair. Follow the steps shared in this guide. Keep tools ready and clean your straighteners regularly. This prevents damage and promotes better results.
Clean devices heat evenly and style efficiently. You protect your hair from dirt and residue. Clean straighteners make a big difference. Enjoy healthy, styled hair every day. Maintain your straighteners for the best performance.