Table of Contents
Cleaning nail art brushes is essential for their longevity. Proper care ensures your brushes perform well and last longer.
Nail art enthusiasts know the importance of clean tools. Dirty brushes can ruin your designs and waste your efforts. Regular cleaning keeps your brushes in top shape and ready for use. This guide will walk you through the best methods to clean your nail art brushes.
You’ll learn simple, effective techniques to remove stubborn polish and residue. Whether you’re a beginner or a pro, keeping your brushes clean is a must. Let’s dive into the steps for maintaining pristine nail art brushes.
Essential Tools
Keeping your nail art brushes clean is essential for maintaining their longevity and performance. Proper cleaning ensures that your brushes remain in perfect condition, allowing you to create stunning designs. Here, we will discuss the essential tools needed to clean nail art brushes effectively.
Brush Types
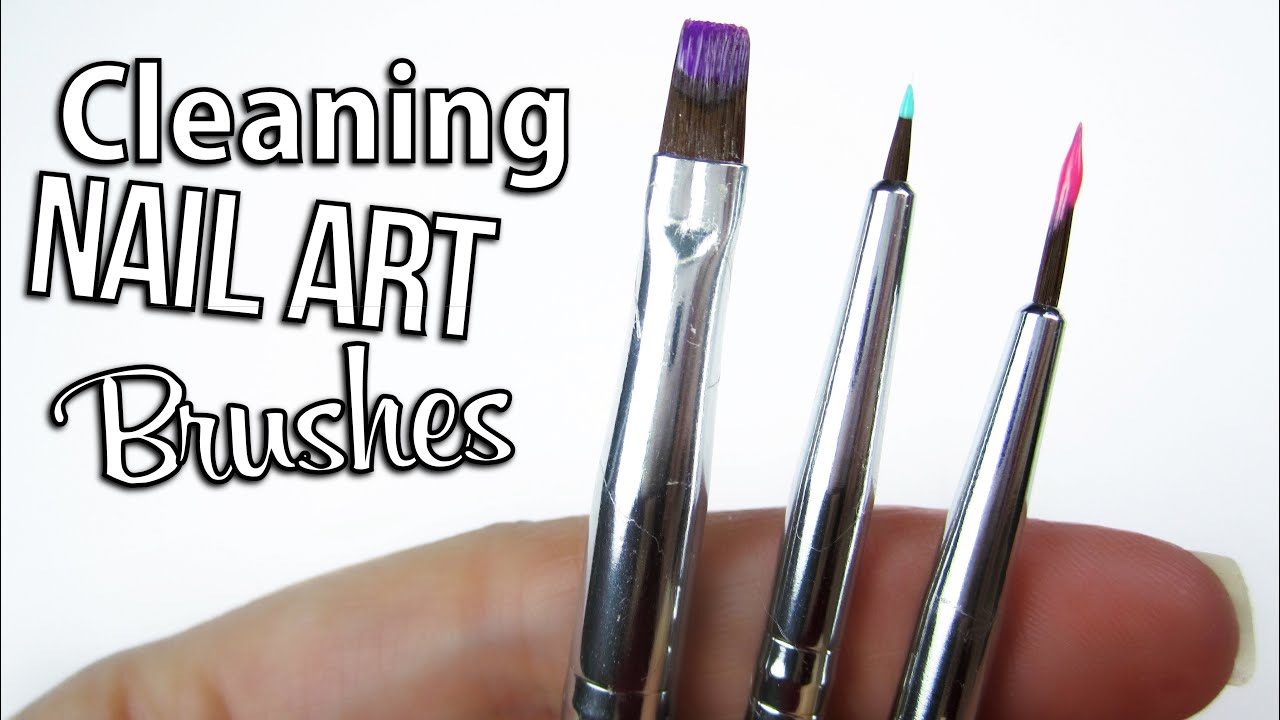
Different nail art brushes require different cleaning methods. Understanding the types of brushes you have is the first step.
- Detail Brushes: These are used for intricate designs. They have fine bristles.
- Striping Brushes: Ideal for creating long, straight lines. They have longer bristles.
- Fan Brushes: Used for blending and creating gradient effects. They have wide, spread-out bristles.
- Flat Brushes: Perfect for filling in large areas. They have a flat, rectangular shape.
Cleaning Solutions
Using the right cleaning solutions is crucial for maintaining the quality of your brushes. Here are some recommended solutions:
| Solution | Usage |
|---|---|
| Acetone: | Effective for removing stubborn gel and acrylic residues. |
| Brush Cleaner: | Specifically formulated for cleaning nail art brushes. Gentle on bristles. |
| Alcohol: | Great for sanitizing and removing water-based paints. |
| Water and Soap: | Suitable for cleaning brushes used with water-based paints. |
Ensure you choose the appropriate solution for the type of paint or polish used. Always follow manufacturer guidelines for best results.
Pre-cleaning Steps
Keeping your nail art brushes clean is crucial for perfect designs. Before diving into the cleaning process, follow these pre-cleaning steps to make the task easier and more effective.
Removing Excess Product
Start by removing any excess nail polish or gel from your brushes. Use a paper towel or a lint-free cloth to gently wipe off as much product as possible. This prevents buildup and makes the actual cleaning process smoother. If the product is stubborn, you can use a small amount of nail polish remover to help dissolve it.
Organizing Brushes
Next, organize your brushes before cleaning. Separate them by type and size to make the cleaning process more efficient. You can use a simple table to categorize your brushes:
| Brush Type | Size |
|---|---|
| Detail Brush | Small |
| Flat Brush | Medium |
| Fan Brush | Large |
By organizing your brushes, you ensure that each one receives proper attention during cleaning. This step also helps in identifying any brushes that might need special care.
Follow these pre-cleaning steps to prepare your brushes for a thorough cleaning. This ensures they remain in excellent condition and ready for your next nail art project.
Cleaning Techniques
Keeping nail art brushes clean is essential for beautiful, precise designs. Proper cleaning techniques ensure your brushes last longer and perform at their best. Let’s explore two effective methods: the Soap and Water Method and Alcohol Cleaning.
Soap And Water Method
The Soap and Water Method is simple and effective. Follow these steps:
- Rinse the brush under lukewarm water to remove excess polish.
- Apply a small amount of mild soap to the brush.
- Gently massage the bristles to create a lather.
- Rinse thoroughly with lukewarm water.
- Repeat the process if necessary until the brush is clean.
- Gently reshape the bristles and let the brush air dry.
Using mild soap prevents damage to the bristles. Avoid hot water as it can weaken the glue holding the bristles.
Alcohol Cleaning
The Alcohol Cleaning method is excellent for removing stubborn polish. Here’s how to do it:
- Pour a small amount of isopropyl alcohol into a shallow dish.
- Dip the brush into the alcohol, ensuring bristles are fully submerged.
- Swirl the brush gently to break down the polish.
- Wipe the brush on a clean paper towel to remove residue.
- Repeat the process if needed until the brush is clean.
- Let the brush air dry completely before use.
Isopropyl alcohol is effective for dissolving dried polish. Avoid soaking the brush for too long to prevent bristle damage.
Deep Cleaning
Deep cleaning your nail art brushes helps maintain their longevity and performance. Regular cleaning removes residue, but deep cleaning is essential to remove all the build-up.
Using Brush Cleaner
Invest in a good quality brush cleaner. It’s designed to break down tough residue. Follow these steps:
- Pour a small amount of brush cleaner into a glass.
- Dip the brush into the cleaner, ensuring the bristles are submerged.
- Swirl the brush gently. This helps to loosen the product.
- Rinse the brush under warm water to remove the cleaner.
- Pat the brush dry with a paper towel.
Overnight Soaking
For very dirty brushes, overnight soaking can be very effective. Here’s how you can do it:
- Fill a small container with warm soapy water.
- Place the brushes in the container, bristles down.
- Leave the brushes to soak overnight.
- In the morning, rinse the brushes thoroughly under warm water.
- Pat dry with a paper towel and reshape the bristles.
Using these deep cleaning methods ensures your brushes stay in great condition. Regular deep cleaning keeps your nail art brushes performing at their best.
Drying Your Brushes
Gently pat nail art brushes dry with a soft cloth. Then, lay them flat to air dry completely. This helps maintain their shape and quality.
Drying your nail art brushes properly is crucial. It extends their lifespan and maintains their performance. Many people overlook this step. But incorrect drying can damage the brushes. Here are the right techniques to dry your brushes.
Proper Drying Techniques
Gently squeeze out excess water with a soft cloth. Avoid twisting the bristles. Reshape the brush head to its original form. Lay the brushes flat on a clean, dry towel. Ensure the bristles hang over the edge of the surface. This allows air to circulate and speeds up drying.
Avoiding Damage
Never dry your brushes upright with the bristles facing up. Water can seep into the handle and loosen the glue. Avoid using a hairdryer. High heat can damage the bristles. Do not place brushes in direct sunlight. This can cause the bristles to become brittle. Always store your brushes in a cool, dry place.
“`
Maintaining Brush Shape
Maintaining the shape of your nail art brushes is crucial. It ensures precision and consistency in your designs. Proper care will extend the life of your brushes, saving you money in the long run. In this section, we will discuss key tips for reshaping bristles and storing your brushes correctly.
Reshaping Bristles
After cleaning, reshape the bristles while they are still damp. This helps them maintain their original form.
Follow these steps for reshaping:
- Gently press the bristles between your fingers.
- Slide your fingers from the base to the tip.
- Repeat until the bristles form a neat point.
If the bristles are out of place, use a small comb. This will help align them properly. Always be gentle to avoid damage.
Storage Tips
Proper storage of your nail art brushes is essential. It prevents damage and deformation.
Here are some storage tips:
- Store brushes upright with bristles pointing up.
- Use a brush holder or case to protect them.
- Avoid storing brushes in damp or humid places.
Following these tips will keep your brushes in good shape. This ensures they are ready for your next nail art session.
Common Mistakes
Cleaning nail art brushes is crucial for maintaining their quality and longevity. Yet, many make common mistakes during the cleaning process. These mistakes can damage the brushes and affect their performance. Understanding these errors can help you take better care of your nail art tools.
Avoiding Harsh Chemicals
Many people use harsh chemicals to clean their brushes. This can weaken the bristles. Chemicals like acetone can cause the bristles to become brittle and break. Instead, use mild soap and warm water. They are gentle on the brushes and effectively remove product buildup.
Not Drying Properly
Another common mistake is not drying the brushes properly. Leaving them wet can cause mold and bacteria growth. It can also weaken the glue holding the bristles. Always dry your brushes with a clean towel. Lay them flat on a surface to air dry. Avoid standing them upright as water can seep into the handle.
Routine Care Tips
Proper care of your nail art brushes ensures they last longer. Keeping them clean and in good shape is essential for creating beautiful nail designs.
Regular Cleaning Schedule
Establishing a regular cleaning schedule is key. Clean your brushes after each use to remove any residue. This helps maintain the bristles’ shape and prevents product build-up.
- Daily Cleaning: Use a brush cleaner or mild soap. Rinse well.
- Weekly Deep Cleaning: Soak brushes in warm water with a gentle cleanser. Rinse thoroughly and let them air dry.
Handling Brushes Gently
Handle your brushes with care. This prevents damage and extends their lifespan. Avoid pressing too hard on the bristles. This can cause them to fray or lose shape.
- Always use light pressure when painting.
- Store brushes upright or in a brush holder.
- Avoid using harsh chemicals or acetone directly on the bristles.
By following these tips, your nail art brushes will stay in great condition. Clean and well-maintained brushes ensure precise and beautiful nail art every time.
Frequently Asked Questions
How Often Should I Clean Nail Art Brushes?
Clean nail art brushes after each use to maintain their quality and lifespan.
What Is The Best Solution To Clean Nail Art Brushes?
Use a gentle brush cleaner or a mixture of water and mild soap for best results.
Can I Use Acetone To Clean Nail Art Brushes?
Avoid acetone. It can damage the bristles and shorten the brush’s lifespan.
How Do I Dry Nail Art Brushes After Cleaning?
Gently pat dry with a paper towel. Lay flat to air dry completely.
How To Clean Nail Art Brushes With Dried Polish?
Soak in warm, soapy water. Gently loosen polish with fingers. Rinse thoroughly.
Conclusion
Keeping nail art brushes clean is essential for their longevity. Proper cleaning ensures your designs remain precise. Always rinse brushes after each use. Use a gentle soap and warm water. Gently reshape the bristles before drying. Store them upright to maintain their shape.
Regular maintenance prevents build-up and extends their life. Clean brushes mean better nail art results. Follow these steps for a smooth nail art experience. Happy painting!