
You buy Hunter boots expecting them to last — which is why then one day you spot that chalky white film. It looks like a defect. You probably wonder if you bought a fake pair.
Actually, it’s the exact opposite. That powder, called blooming. Is a natural process that happens with high-quality vulcanized rubber, yet hunter’s own care guide calls it a sign of rubber purity.
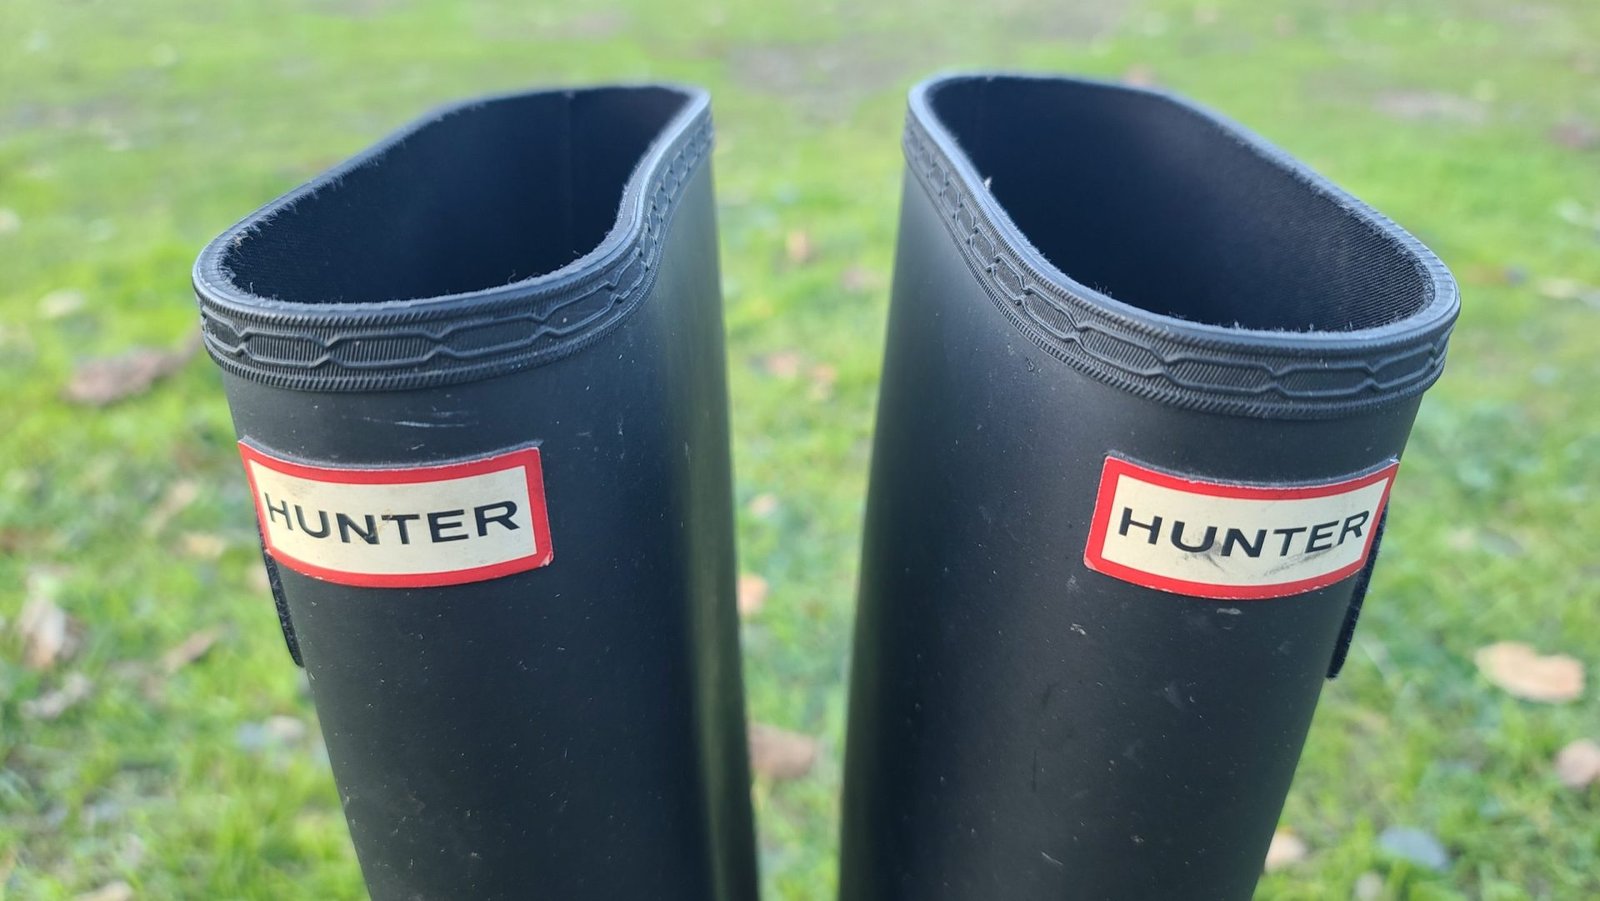
Your boots aren’t ruined. They’re just asking for attention.
Here’s the catch: clean them the wrong way, and you’ll crack the rubber within months. Now, i’ve watched people slather on olive oil. Because a Reddit thread told them to. Big mistake. That stuff turns sticky and down the line goes rancid.
You’ve to lift away the bloom, condition the surface, and skip every cleaning shortcut that trades a blazing shine (though exceptions exist, naturally) for long-term damage. That’s what this guide delivers, in three simple steps.
TL; DR
*Wipe off surface dirt with lukewarm water and mild soap, then treat the white bloom with a silicone-based Hunter Boot Buffer or restorer — never with olive oil or harsh detergents.Deodorize the interior with a 1:1 water–white vinegar solution, then let boots air-dry in a ventilated space for 24 to 48 hours (no radiators, no direct sun). Condition the rubber monthly and store boots upright with boot trees in a cool, dark place to prevent cracking and keep the resale value high.
What You’ll Need
The total cost for dedicated supplies hovers around $16 to $18 for a bottle of Hunter Boot Buffer. Everything else you probably already have at home. Not exactly what you’d expect. Plan on about 30 minutes of hands-on work.
Skill level: beginner. The key is avoiding any cleaning product that, or at least, strips the natural protective oils from the rubber. Hundreds of user complaints on forums trace back to one clear mistake. Grabbing a harsh all-purpose cleaner.
Don’t.
Here’s the exact list.
| Item | Why You Need It |
|---|---|
| Lukewarm water (below 30°C / 86°F) | Hot water can warp or crack rubber; cold water won’t lift grime easily. |
| Mild liquid soap or dedicated rubber cleaner | Anything harsher, like bleach or solvent-based cleaners, makes rubber brittle within weeks. |
| Soft microfiber cloth | Avoid scrubbing pads that scratch. Microfiber lifts dirt without friction damage. |
| Hunter Boot Buffer (or alternative silicone-based restorer) | The only reliable way to break down that white powdery bloom. Costs around $16–$18. |
| White vinegar | Mixed 1:1 with water, it kills interior odor-causing bacteria without harming the lining. |
| Boot trees, newspaper, or rolled-up magazines | Keeps the shape during drying and prevents deep creases that turn into cracks. |
| Soft-bristle brush (optional) | For caked-on mud that won’t budge with a cloth. |
| Boot dryer with no-heat setting (optional) | Speeds up interior drying safely; many long-time owners swear by this. |
On closer inspection, remember. (I learned that once with a stiff kitchen sponge on a pair of field boots.
Step 1: Clean Off Surface Dirt and Remove That White Bloom
Start by rinsing off loose dirt with lukewarm water and a mild soap, then apply a silicone-based restorer to eliminate the white powdery film that gives the boots an aged look. Never skip the bloom treatment; regular water won’t touch it, and finish by buffing to a uniform, low-sheen glow.
- Rinse both boots with water that’s comfortably warm to the touch — definitely below 30°C. Hot water breaks down the rubber matrix over time.
- Fill a bucket with lukewarm water and mix in a few drops of mild soap. Agitate until sudsy.
- Soak your microfiber cloth, wring it out well, and wipe down every inch of the exterior. For dried mud, use a soft-bristle brush dipped in the soapy water.
- Rinse thoroughly with clean water, then blot dry with a towel. Don’t rub hard. Now inspect for bloom — that chalky, uneven coating.
- Apply a small dab of Hunter Boot Buffer or a silicone-based shoe restorer onto a clean cloth. Work it in small circular motions over the affected areas. The bloom will dissolve within seconds.
- Let the product sit for a minute, then buff with a dry microfiber cloth. The finish should shift from chalky to a rich, matte or satin sheen.
Yet, pro tip: if the buffer leaves; okay. More accurately, a slight residue, you used too much. A lighter hand next time prevents that. Which means they might shine temporarily, but within days you’ll have a sticky mess.
What exactly is blooming, and should I be worried?
In most scenarios, now, blooming is a waxy release. Thinking about it more, that high-quality vulcanized rubber exhales over time. Looking closer, it’s a visual side effect of the antioxidants; or at least. That (and that implies quite a bit) keep the rubber flexible. Worried? No. It’s a feature, not a flaw, and it vanishes with a proper silicone buffer.
Step 2: Deodorize the Interior and Dry Without Damage
You could say never speed this up with a radiator. The heat will crack the rubber.
- Remove any removable insoles and set them aside to dry separately.
- In a bowl, combine one part white vinegar with one part lukewarm water. (The vinegar smell evaporates fully.)
- Dip a cloth into the solution, wring it until damp but not dripping, and wipe every inner surface, especially the toe box and shaft where sweat collects. This kills bacteria that cause that musty rain-boot smell.
- For tougher odors, you can lightly spray the interior with the mixture and let it sit for 5 minutes before wiping.
- After cleaning, stuff each boot with rolled-up magazines, newspaper, or ideally a boot tree. This wicks moisture away from the lining and holds the shape.
- Place the boots in a well-ventilated area — not in a closet, not in direct sunlight. The temperature must stay moderate. Using a boot dryer on a no-heat setting can slash drying time safely, as many owners recommend on forums, but ambient air works fine.
What we’ve covered: blocksep matters. Realistically, one thing Reddit threads get right. Boots stored in garages constantly crack. Because of temperature swings from hot afternoons to chilly nights. If you only have a garage.
Why can’t I just let the insides air out without special drying?
Without boot trees or stuffing. The upper shaft collapses and creases.
Those creases become weak points. Where the rubber over time cracks, especially near the ankle. Shape matters.
Step 3: Condition the Rubber and Store Them the Right Way
Apply a thin layer of rubber protectant, like the Hunter Boot Buffer. Context matters here. Context matters here. To secure moisture and prevent the surface from drying out, and and then store them upright in a cool, dark space, avoiding folded positions that (more on that later) warp the rubber permanently.
- Confirm the boots are 100% dry inside and out — any trapped moisture under a conditioner can cause surface defects.
- Put a pea-sized amount of buffer onto a clean cloth. Less is more here; over-application attracts dust and leaves a tacky film.
- Rub the conditioner over the entire exterior in light, even strokes. Let it absorb for a couple minutes.
- Buff away any excess with a dry cloth. The surface should feel smooth, not greasy.
- Insert boot trees or rolled magazines. Standing boots upright prevents the shaft from folding. Folding leads to deep creases that irreversibly stretch the rubber.
- Store in an interior closet or under a bed, away from heating vents, radiators, and windows where sun streams in. Even filtered sunlight over months can degrade natural rubber.
Still, branching off from that, a snappy note on conditioner frequency. If you wear your Hunters weekly, condition once a month. Weekend-only wearers can stretch it to every other month, so it’s worth noting that this goal is a subtle sheen, not a high-shine armor.
“The single biggest storage mistake is laying boots flat in a pile. After a season, they look 10 years old.”
Should I use a boot spray or wax instead of the official buffer?
Why does this matter? Unusual, but true, so some silicone sprays work fine, but stick to SKUs (at least based on current observations) designed for vulcanized rubber. Funny enough, avoid wax blends meant for leather. They sit on the surface unevenly, leaving white streaks that are harder to remove than bloom.
Troubleshooting Common Mistakes
Even with careful cleaning, things can go sideways. Here’s how to fix the most frequent issues I see (and have caused myself).
Bloom that won’t budgeYou probably used too little buffer or wiped it off too fast. Apply a second coat, let it sit for 3 minutes, then buff firmly. If that fails, try an insanely gentle scrub with a nylon-bristle brush and the buffer to break the wax down.
Sticky, tacky surfaceAlmost always from over-applying oil-based DIY remedies. Wash the boots with mild soapy water, rinse well, and dry. Then apply a silicone restorer lightly. It should remove the stickiness in one pass.
Small surface cracks appearingCracks can’t be reversed, but you can slow them by conditioning immediately and storing the boots upright with trees. If cracks let in water, the boot is reaching end of life, unfortunately.
Zipper seizing upOn models with zippers, mud and salt corrode the tracks. Use a specialized zipper lubricant or a thin wax stick. Run it along the teeth and slide the zipper a few times to work it in.
Lingering odor after vinegar treatment
Try baking soda sprinkled inside overnight, then vacuum out. Or place a small pouch of activated charcoal in each boot during storage.
What to Do Next
In real-world terms, quick summary so far: blocksep matters, so naturally, now your boots look close to new, so to keep them that way, make this cleaning routine a monthly habit. Quick wipe after each rainy walk. A full inside–outside clean every 30 days, and conditioning every other month. That’s it.
If you don’t want to hunt for person supplies. Pick up a Hunter brand care kit, it bundles the buffer, cloth, (depending entirely on the context) and instructions for about $20.
The data speaks for itself. Easy. And if you’re dealing with other premium gear that needs gentle cleaning of high-end materials.
And yet, the same principles apply: soft cloth, mild cleaners, and patience.
- Wipe down boots after every wear to stop dirt from hardening.
- Schedule a monthly deep clean that includes buffer treatment on the exterior and vinegar on the interior.
- Inspect for new cracks each time; if you spot one, condition that area immediately and keep it away from heat.
- Store with boot trees in a closet, never in a garage or attic where temperatures swing.
People Also Ask
What is the white powder on my Hunter boots?
Still, it’s called blooming, a harmless. Waxy film that high-grade natural rubber releases over time. It’s actually a sign of rubber purity, not a defect — the Hunter Boot Buffer dissolves it quickly.
Can I use dish soap to clean Hunter boots?
By most accounts, dish soap, especially degreasing formulas. that’s the point.
Can strip the oils that keep rubber flexible. A super mild. Unscented dish soap in tiny amounts might work in a pinch, but it’s risky. It makes a difference. Stick with a pH-neutral soap or dedicated rubber cleaner.
How often should I clean Hunter boots?
Clean the exterior after every few rainy outings. And do a full interior–exterior clean once a month if you wear them regularly. Condoning the rubber monthly prevents micro-cracking.
Can I put Hunter boots in the washing machine?
No. The agitation and heat will warp the natural rubber and potentially tear the lining, so hand cleaning is the only safe method, as recommended by footwear maintenance experts.
🔍 Research Sources
Verified high-authority references used for this article