Cleaning the nozzle of your Ender 3 can seem tricky. But it’s crucial to maintain print quality.
A clogged or dirty nozzle can cause many printing issues. Prints may come out stringy or incomplete. Learning how to clean the Ender 3 nozzle is essential. It keeps your printer running smoothly and your prints looking sharp. In this guide, we will walk you through simple steps.
You will learn how to clean your nozzle effectively. This will save you time and frustration. Follow along to ensure your 3D prints are always top-notch.
Tools Needed
Cleaning the nozzle of your Ender 3 is essential for smooth 3D printing. To do this effectively, you need specific tools. This section covers the necessary and optional tools for a thorough cleaning process.
Essential Cleaning Tools
These tools are crucial for cleaning the nozzle of your Ender 3:
- Needle or Pin: Helps to remove clogs from the nozzle.
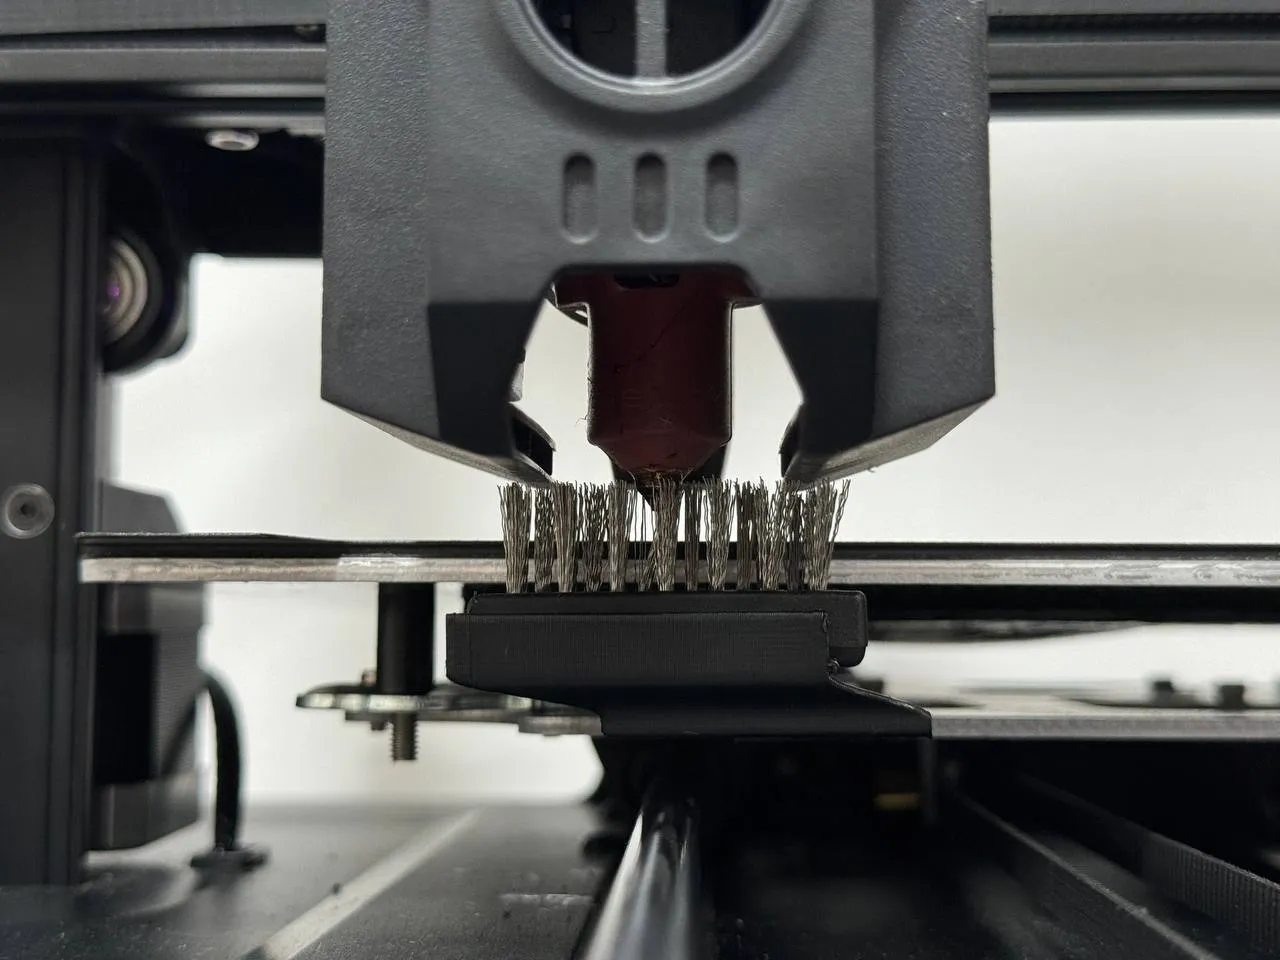
- Small Wire Brushes: Useful for scrubbing the exterior of the nozzle.
- Wrench or Socket: Needed to remove the nozzle from the hot end.
- Heat Gun or Hair Dryer: Softens any hardened filament stuck inside the nozzle.
- Acetone or Isopropyl Alcohol: Cleans the nozzle after removing it.
Optional Advanced Tools
For a more thorough cleaning, consider these advanced tools:
- Ultrasonic Cleaner: Provides deep cleaning by using high-frequency sound waves.
- Nozzle Cleaning Kit: Includes various sized needles and brushes designed specifically for 3D printer nozzles.
- Replacement Nozzles: Having spare nozzles can save time if cleaning one is too difficult.
Here is a table summarizing the tools:
| Tool | Description |
|---|---|
| Needle or Pin | Removes clogs from the nozzle |
| Small Wire Brushes | Scrubs the exterior of the nozzle |
| Wrench or Socket | Removes the nozzle from the hot end |
| Heat Gun or Hair Dryer | Softens hardened filament |
| Acetone or Isopropyl Alcohol | Cleans the nozzle after removal |
| Ultrasonic Cleaner | Provides deep cleaning |
| Nozzle Cleaning Kit | Includes needles and brushes |
| Replacement Nozzles | Spare nozzles for quick replacement |
Safety Precautions
Cleaning your Ender 3 nozzle is essential for smooth printing. But, safety should always come first. Following the right safety precautions can prevent accidents and ensure your 3D printer stays in good condition. Let’s explore some important safety measures.
Personal Safety Measures
Always wear safety glasses. Protect your eyes from any debris. Use heat-resistant gloves. The nozzle gets extremely hot. Avoid touching it with bare hands.
Work in a well-ventilated area. Fumes from heated plastic can be harmful. Keep a first aid kit nearby. Be prepared for minor injuries.
Printer Safety Tips
Turn off the printer before cleaning. Unplug it from the power source. This prevents electrical accidents. Let the nozzle cool down first. Cleaning a hot nozzle can be dangerous.
Use the right tools. Avoid using metal objects that can damage the nozzle. Keep the printer on a stable surface. It should not wobble or move during cleaning.
Initial Preparation
Cleaning your Ender 3 nozzle is essential for smooth printing. Proper initial preparation ensures you do it safely and effectively. Follow these steps to get your printer ready.
Cooling Down The Nozzle
Before cleaning, let the nozzle cool. This prevents burns or other injuries. Follow these steps:
- Turn off the printer.
- Wait for the nozzle to reach room temperature.
- Check the temperature using the printer’s control panel.
Ensure the nozzle is completely cool. Safety first!
Removing Filament
Next, remove the filament from the nozzle. This avoids blockages during cleaning. Here’s how:
- Heat the nozzle to the filament’s melting point.
- Use the control panel to unload the filament.
- Pull the filament out gently.
Make sure no filament remains inside. This step is crucial.
Now, your Ender 3 is ready for thorough cleaning. Follow these initial steps to ensure your printer stays in top condition.
Basic Cleaning Techniques
Cleaning the nozzle of your Ender 3 printer is crucial. It prevents clogs and ensures smooth printing. There are a few basic techniques to keep your nozzle in good shape. These methods are easy to follow and effective. Let’s dive into the most common ones.
Using A Needle
A needle can be a simple tool for cleaning the nozzle. Heat the nozzle to soften any remaining filament. Carefully insert the needle into the nozzle opening. Gently move it back and forth to dislodge any debris. Repeat until the nozzle is clear. This method is quick and straightforward.
Cold Pull Method
The cold pull method is another effective cleaning technique. Heat the nozzle and feed a filament into it. Allow the filament to soften and then cool down. Once it has cooled, pull the filament out quickly. This action removes any trapped debris. Repeat this process until the filament comes out clean.
Deep Cleaning Methods
Deep cleaning the Ender 3 nozzle is essential for maintaining print quality. Over time, residue builds up and clogs the nozzle. Regular maintenance ensures smooth printing. This section covers effective deep cleaning methods.
Disassembling The Nozzle
Begin by turning off and unplugging your Ender 3. Safety first. Wait for the nozzle to cool completely.
- Remove the filament by heating the nozzle to 200°C and pulling out the filament.
- Use a wrench to unscrew the nozzle from the hotend. Be gentle to avoid damage.
- Place the nozzle on a heat-resistant surface.
Now you have the nozzle ready for a deep clean. Let’s move to the next step.
Using Solvents
Solvents can dissolve plastic residue in the nozzle. Acetone works well for ABS and isopropyl alcohol for PLA.
- Submerge the nozzle in a small container with the solvent.
- Leave it for several hours. Overnight soaking is best.
- After soaking, use a thin wire or needle to clear any remaining debris.
- Rinse the nozzle with water and dry it completely.
Reassemble the nozzle back onto the hotend. Ensure it is secure. Run a test print to check the cleaning effectiveness.
Deep cleaning your nozzle can seem tedious, but it’s crucial for consistent print quality.
Reassembling And Testing
Once you’ve cleaned your Ender 3 nozzle, it’s time to reassemble and test your printer. Proper reassembly ensures your printer works correctly and efficiently. Testing helps confirm that everything is in working order before starting new projects.
Proper Reassembly
Carefully reattach the nozzle to the hotend. Make sure it’s snug but not overly tight. Over-tightening can damage the threads.
Next, reconnect the heating element and thermistor. These components are essential for accurate temperature control. Ensure the wiring is secure and not loose.
Reattach the cooling fan and any other components you removed. Double-check that everything is correctly aligned. This prevents issues during printing.
Test Printing
Load filament into the printer. Make sure it feeds smoothly through the nozzle.
Start with a simple test print. A small cube or calibration print works well. Observe the print closely.
Check for any issues such as under-extrusion or clogging. If the print looks good, your nozzle is clean and the printer is ready.
Repeat the test if necessary. This ensures consistent performance.
Regular testing helps maintain your Ender 3 and produces high-quality prints.
Maintenance Tips
Keeping your Ender 3 nozzle clean ensures smooth printing and longevity. Regular maintenance avoids clogs and improves print quality. Here are some maintenance tips to keep your Ender 3 nozzle in top shape.
Regular Cleaning Schedule
Set a routine for cleaning the nozzle. Clean it after every 20 hours of printing. Use a soft brass brush to remove any filament residue. Heat the nozzle before cleaning for better results. This helps in removing any hardened filament easily.
Using High-quality Filament
Choose high-quality filament for your prints. Cheap filaments can cause clogs and damage the nozzle. High-quality filament reduces residue and ensures smoother prints. Store filament in a dry place to avoid moisture absorption. Moist filament can lead to nozzle blockages.
Troubleshooting
Sometimes, cleaning your Ender 3 nozzle may not solve all issues. This section addresses common problems that can persist even after cleaning. Identifying these issues can help keep your 3D prints flawless.
Persistent Clogs
Persistent clogs can be frustrating. If your nozzle keeps getting clogged, it may be due to low-quality filament. Switch to a better brand to see if the issue resolves. Another reason could be incorrect temperature settings. Ensure your nozzle temperature matches the filament type.
Debris inside the nozzle can also cause clogs. Use a small wire or needle to clean it out. Avoid using excessive force to prevent damage. Regular maintenance can help avoid persistent clogs.
Poor Print Quality
Poor print quality can stem from a dirty nozzle. If your prints have gaps or uneven layers, the nozzle might need thorough cleaning. Use a brass wire brush to gently scrub the nozzle. This can remove any burnt filament or debris stuck on the surface.
Another culprit could be partial clogs. Check for any residue inside the nozzle. Run a cold pull to remove any hidden debris. Consistent cleaning ensures your prints remain smooth and detailed.
Frequently Asked Questions
How Often Should I Clean My Ender 3 Nozzle?
Clean your Ender 3 nozzle after every 100 print hours. This maintains print quality.
What Tools Do I Need To Clean The Nozzle?
You need a nozzle cleaning kit, a small wire brush, and a needle.
Can I Use A Needle To Unclog The Nozzle?
Yes, a needle can help remove blockages from the nozzle. Be gentle.
How Do I Know If My Nozzle Is Clogged?
Signs include uneven extrusion, clicking sounds, and poor print quality.
Is It Necessary To Remove The Nozzle For Cleaning?
No, you can clean the nozzle without removing it. Use a needle or brush.
Conclusion
Cleaning your Ender 3 nozzle is crucial for great prints. Regular maintenance prevents clogs. Simple steps make a big difference. Remove the filament. Heat the nozzle. Use a needle or cleaning kit. Check for any blockages. Reassemble and test print.
These steps ensure smooth printing. Happy 3D printing!