Table of Contents
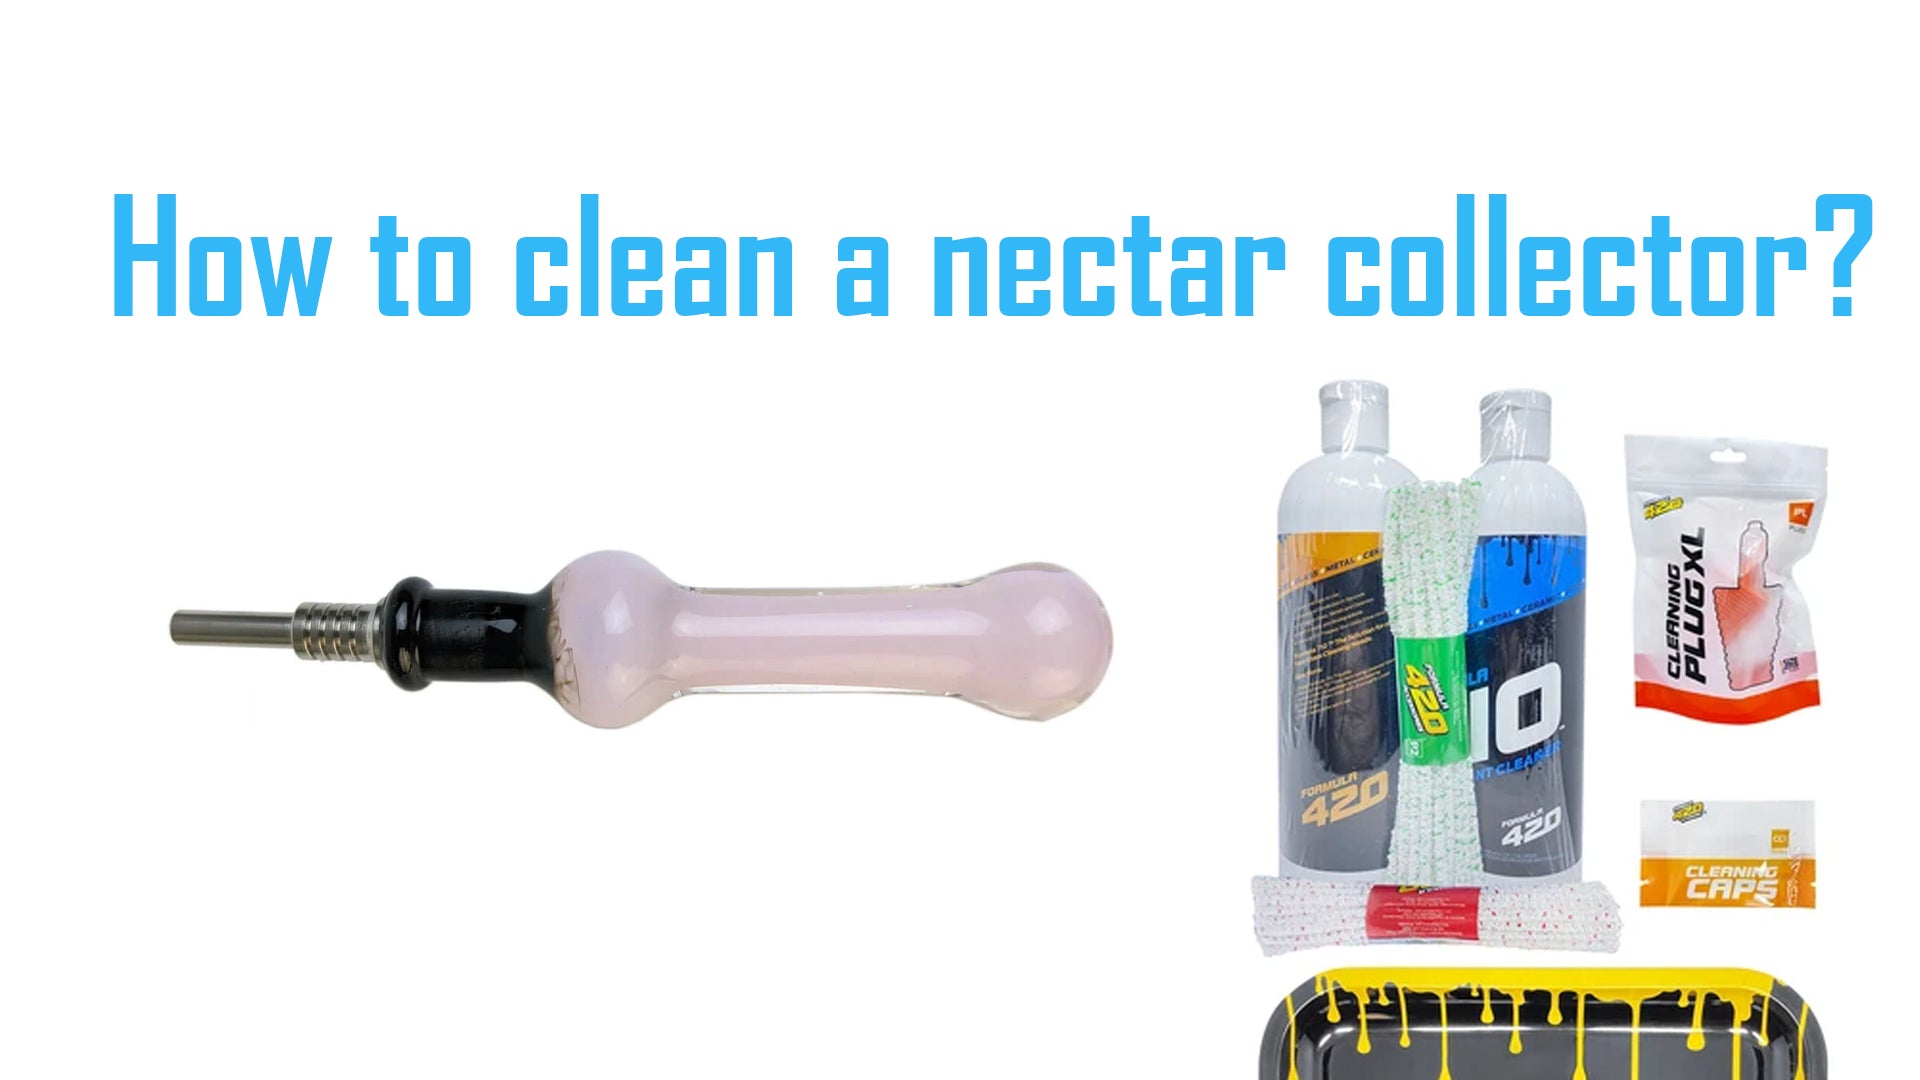
Cleaning a glass nectar collector can seem tricky. But it’s simpler than you think.
A clean nectar collector ensures pure, flavorful hits every time. Over time, residue builds up, affecting taste and performance. Proper cleaning not only keeps your tool in top shape but also extends its lifespan. Whether you’re a beginner or a seasoned user, knowing how to clean your glass nectar collector is essential.
This guide will walk you through easy steps to keep your device spotless and ready for use. Let’s dive into the process and make sure your nectar collector stays pristine.
Materials Needed
Cleaning a glass nectar collector is essential for maintaining its performance and taste. To do this effectively, you need to have the right materials on hand. Below, we break down the essential materials needed into two categories: cleaning solutions and tools and equipment.
Cleaning Solutions
- Isopropyl Alcohol (91% or higher): This is a powerful cleaning agent that dissolves resin and other residues.
- Salt: Coarse salt acts as an abrasive to scrub away stubborn build-up.
- Warm Water: Used to rinse the nectar collector and remove cleaning agents.
- Lemon Juice (optional): Helps to remove any lingering smells and adds a fresh scent.
Tools And Equipment
- Plastic Bags or Containers: Use them to soak parts in the cleaning solution.
- Pipe Cleaners: These help to scrub the inside of the nectar collector.
- Q-tips: Useful for reaching tight spots and corners.
- Rubber Gloves: Protect your hands from the cleaning agents.
- Paper Towels: For drying and wiping down the nectar collector after cleaning.
Preparation
Cleaning your glass nectar collector properly is essential for a smooth experience. Proper preparation helps ensure effective and safe cleaning. Before diving into the cleaning process, gather all necessary tools and materials. This will make the task smoother and more efficient. Let’s explore the steps involved in preparing to clean your glass nectar collector.
Disassembling The Nectar Collector
Start by disassembling your nectar collector. Remove the mouthpiece, tip, and any other removable parts. Handle each piece with care to avoid breakage. Make sure to place them in a safe spot where they won’t roll away or get lost. This step ensures that each part gets a thorough cleaning.
Safety Precautions
Safety is important when cleaning your nectar collector. Wear gloves to protect your hands from cleaning solutions. Work in a well-ventilated area to avoid inhaling fumes. Keep cleaning solutions out of reach of children and pets. These precautions will help you stay safe throughout the cleaning process.
Rinsing The Parts
Rinse the parts of your glass nectar collector with warm water to remove any loose debris. This step ensures a cleaner smoking experience by getting rid of surface residue.
Cleaning a glass nectar collector is essential for a smooth experience. The first step is rinsing the parts properly. This removes any loose debris and prepares the collector for a deeper clean. Let’s dive into the details.
Using Warm Water
Start by using warm water to rinse each part. Warm water helps to loosen any residue. Hold the parts under running water. Ensure that every part gets thoroughly rinsed. Repeat this for a few minutes.
Initial Debris Removal
After rinsing with warm water, check for any leftover debris. Use a soft brush to remove any stuck particles. Gently scrub each part to ensure no debris remains. This step ensures your nectar collector is ready for further cleaning.
“`
Soaking The Components
Cleaning your glass nectar collector involves several steps, and one of the most crucial is soaking the components. This process helps to break down stubborn residues, ensuring a thorough clean. Below, you will find essential steps to follow for soaking the components of your glass nectar collector.
Choosing The Right Solution
To begin, choose the right cleaning solution. Many options are available, but the most effective ones include isopropyl alcohol and specialized glass cleaning solutions. Isopropyl alcohol is widely recommended due to its strength and effectiveness.
Here is a simple table to help you choose the right solution:
| Cleaning Solution | Effectiveness | Availability |
|---|---|---|
| Isopropyl Alcohol (91% or higher) | High | Widely Available |
| Specialized Glass Cleaners | Medium | Varies |
| Warm Water and Dish Soap | Low | Readily Available |
Soaking Duration
The duration for which you should soak the components depends on the level of residue buildup.
Follow these steps for optimal soaking:
- Light Residue: Soak for 30 minutes to 1 hour.
- Moderate Residue: Soak for 1 to 2 hours.
- Heavy Residue: Soak overnight for best results.
After soaking, rinse the components thoroughly with warm water to remove any remaining cleaning solution.
Remember to be gentle when handling the glass pieces to avoid breakage. This step ensures your glass nectar collector remains in top condition, ready for your next use.
Scrubbing And Cleaning
Cleaning your glass nectar collector is essential for a great dabbing experience. Scrubbing and cleaning are key to ensuring your device remains in top shape. Let’s dive into effective scrubbing techniques and how to handle those hard-to-reach areas.
Scrubbing Techniques
To start, gather your supplies. You will need:
- Isopropyl alcohol (91% or higher)
- Salt
- Pipe cleaners
- Cotton swabs
- Warm water
First, pour some isopropyl alcohol and salt into the nectar collector. Cover the openings with your fingers and shake well. This will loosen the residue inside. Use pipe cleaners to scrub the inner parts. The salt acts as an abrasive, helping remove stubborn stains. For the mouthpiece, a cotton swab soaked in alcohol works wonders. Rinse thoroughly with warm water to remove any alcohol and salt.
Cleaning Hard-to-reach Areas
Glass nectar collectors often have tight spots that are hard to clean. For these areas, use thin pipe cleaners or specialized cleaning brushes. Dip them in isopropyl alcohol for better results. Insert the cleaner into the hard-to-reach sections and move it back and forth. This will dislodge any built-up residue. For very small parts, cotton swabs can be a great help. They can reach spots that brushes might miss.
If your nectar collector has intricate designs, you might need to soak it longer. Fill a container with isopropyl alcohol and let the piece sit for a few hours. Then, use your tools to scrub away any remaining debris. Rinse everything with warm water and let it dry completely before using it again.
| Supplies Needed | Purpose |
|---|---|
| Isopropyl Alcohol | Disinfects and loosens residue |
| Salt | Acts as an abrasive |
| Pipe Cleaners | Scrubs inner parts |
| Cotton Swabs | Cleans small areas |
| Warm Water | Rinses remaining alcohol and salt |
Rinsing And Drying
Cleaning a glass nectar collector involves several steps to ensure it stays in top condition. After scrubbing and soaking, the next crucial step is rinsing and drying. These steps help remove any residual cleaning solution and prevent water spots or streaks. Let’s dive into the details.
Final Rinse
After soaking and scrubbing, rinse your glass nectar collector under warm water. Make sure to remove all soap or cleaning solution. Thoroughly rinse each part, including the mouthpiece and tip. This step ensures no residue remains, which could affect the taste.
Use a gentle stream of water. Avoid high-pressure to prevent damage. Rotate the collector under the water to clean all angles. Check for any leftover soap bubbles or residue. Repeat the rinse if needed.
Proper Drying Methods
Once rinsed, shake off excess water from your nectar collector. Use a clean, lint-free cloth to pat it dry. Ensure to dry each part separately, including the mouthpiece and tip. This prevents water spots and streaks.
For thorough drying, let the parts air dry on a clean towel. Place them in a well-ventilated area. Avoid direct sunlight as it can cause discoloration. Ensure the collector is completely dry before reassembling. This prevents mold and maintains the quality of your nectar collector.
Reassembly
After thoroughly cleaning your glass nectar collector, it’s time for reassembly. This step ensures your device functions properly and is ready for use. Follow these guidelines for a smooth process.
Checking For Cleanliness
Before reassembling, inspect each part for any remaining residue. Hold each piece up to the light. Ensure you see no streaks or spots.
If you find any dirt, clean the piece again. A clean nectar collector provides the best experience. Double-check every nook and cranny.
Properly Reassembling
Start by gathering all cleaned parts. Ensure everything is dry. Wet parts may affect the performance.
Begin with the body of the nectar collector. Attach the tip securely. Make sure it fits snugly. Loose parts can cause leaks.
Next, connect the mouthpiece. It should click into place. Ensure it’s tight but not forced. Forced connections can cause cracks.
Give a gentle shake to check for any loose parts. Everything should stay in place. Your glass nectar collector is now ready for use.
Maintenance Tips
Maintaining a glass nectar collector ensures a smooth and enjoyable experience. Regular upkeep prevents residue build-up. Clean tools last longer and function better.
Regular Cleaning Schedule
Develop a routine for cleaning your nectar collector. After each use, rinse it with warm water. This helps remove any leftover residue. Deep clean it weekly using isopropyl alcohol and salt. Shake gently and rinse thoroughly.
Storage Advice
Proper storage extends the life of your glass nectar collector. Store it in a cool, dry place. Use a padded case to prevent damage. Keep it away from direct sunlight. Avoid storing it with other tools to prevent scratches. Always ensure it’s dry before storing to avoid mold.
Frequently Asked Questions
What Is A Glass Nectar Collector?
A glass nectar collector is a portable dab rig used for vaping concentrates.
How Often Should I Clean A Nectar Collector?
Clean your nectar collector after every few uses to keep it functioning well.
What Supplies Do I Need To Clean A Nectar Collector?
You need isopropyl alcohol, salt, and warm water to clean a nectar collector.
How Do I Clean The Body Of The Nectar Collector?
Soak the body in isopropyl alcohol and salt, then rinse with warm water.
Can I Clean A Clogged Nectar Collector Tip?
Yes, soak the tip in isopropyl alcohol, then use a pipe cleaner to remove residue.
Conclusion
Cleaning a glass nectar collector is simple and essential. Regular cleaning keeps it functioning well. Use isopropyl alcohol and salt for best results. Rinse thoroughly with warm water. Dry completely before using it again. Follow these steps to ensure a smooth experience every time.
Clean tools mean better flavor and a safer experience. Keep your nectar collector in top shape. Enjoy your sessions with a clean and reliable tool. Happy dabbing!