Table of Contents
To use clear stamps, peel them off the backing sheet and stick them onto an acrylic block. Ink the stamp evenly and press it onto your project for a precise imprint.
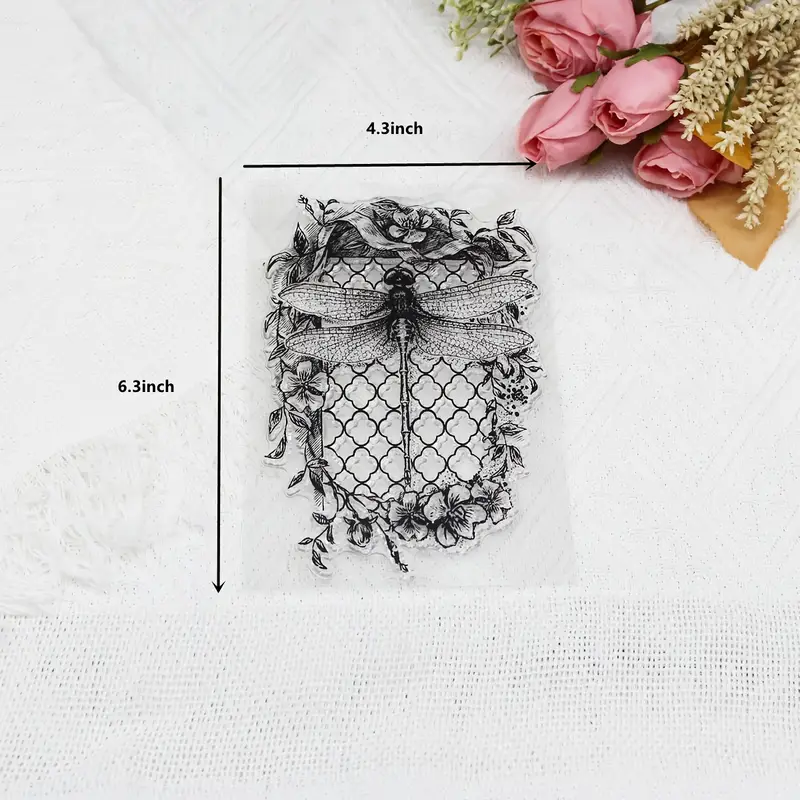
Clear stamps offer a versatile tool for crafting enthusiasts eager to elevate their projects with intricate designs and patterns. Unlike traditional rubber stamps, these transparent stamps allow for precise placement, making them ideal for adding detailed imagery or text to scrapbooks, greeting cards, and other paper crafts.
They are made from a photo-polymer or silicone material that’s see-through, which means you can achieve perfect alignment every time. With the simplicity of use and the added benefit of taking up less storage space, clear stamps have become a staple in the crafters’ toolkit. To ensure the sharpest image, always use a flat and stable surface and apply even pressure when stamping. After use, a quick clean with soap and water readies your stamps for their next creative endeavor.
Getting Started With Clear Stamps
Clear stamps offer versatility and ease for all kinds of stamping projects. These transparent stamps let you see exactly where you’re placing the image. Whether you’re creating handmade cards, scrapbook layouts, or personalized tags, understanding how to use clear stamps is the first step to unleashing your creativity.
Essential Tools For Stamping
To achieve the best results with clear stamps, you need the right tools:
- Acrylic blocks: The stamp clings to the block, providing a solid stamping surface.
- Ink pads: Select quality ink pads in various colors to transfer your designs.
- Stamp cleaner: Keep your stamps in top shape with a proper stamp-cleaning solution.
- Paper or cardstock: Choose the right base material for your project.
- Stamping mat: A foam or felt mat ensures even pressure distribution during stamping.
Selecting The Right Clear Stamps For Your Project
Selecting the appropriate clear stamps is crucial:
- Consider the theme of your project. Look for stamps that match your creative vision.
- Ensure the size of the stamp fits your working space and project dimensions.
- Check for quality. High-quality clear stamps provide crisper images and last longer.
- Think about the design’s complexity. Start with simpler patterns and gradually move to detailed images.
- Research the stamp brand. A good reputation often indicates reliability and satisfaction.
Preparing Your Workspace
Welcome to the creative world of clear stamping – a delightful hobby that turns simple paper into personalized works of art! Preparing your workspace is the first step to achieving beautiful, crisp stamp impressions every time you craft. Let’s dive into setting up an area that will spark your creativity and ensure a smooth stamping experience.
H3: Clean and Organize Your Area
Clean And Organize Your Area
Start with a clean surface. Remove clutter that could disrupt your workflow. Here’s a quick guide to organizing your space:
- Wipe down your desk or table with a damp cloth.
- Gather necessary supplies like stamps, ink pads, and paper.
- Keep a small trash bin nearby for easy cleanup.
- Store clear stamps in a clear archive-quality pocket for easy access and protection.
- Arrange tools like acrylic blocks and cleaners within arm’s reach.
H3: Setting Up the Stamping Block
Setting Up The Stamping Block
Choosing the right block is crucial for a successful impression. Follow these steps:
- Match your stamp size with an appropriately-sized acrylic block.
- Ensure the block is free from lint or dust.
- Peel the clear stamp from its sheet and position it on the block.
- Press down firmly to ensure the stamp adheres well.
Good lighting is essential. Ensure your area is well-lit to see the stamped images clearly. If available, use a desk lamp to direct light exactly where you need it.
Inking Techniques
Mastering inking techniques ensures crisp, vibrant stamp impressions every time. Clear stamps offer precision but require proper inking for the best results. Explore the right inks and methods for even application.
Choosing the Right Ink
Choosing The Right Ink
Selecting an appropriate ink complements your clear stamping endeavors. Consider the surface and the desired effect. For glossy or non-porous surfaces, solvent-based inks work best. For absorbent materials like paper, water-based or pigment inks are ideal.
- Dye inks: Quick-drying and perfect for fine details.
- Pigment inks: Slower-drying, offering vibrant colors.
- Permanent inks: Waterproof and smudge-proof once dry.
Even Ink Application on Clear Stamps
Even Ink Application On Clear Stamps
Uneven inking leads to patchy images. Follow these steps for an even coat:
- Use a flat and smooth surface beneath your paper or cardstock.
- Gently tap the ink pad onto the stamp multiple times.
- Avoid pressing too hard to prevent ink from pooling on the edges.
- Check the stamp before pressing down to ensure full coverage.
- Apply even pressure across the stamp for a uniform impression.
For large stamps, flip the process. Place the stamp face-up, and apply the ink pad directly to it. This technique helps in controlling the ink application better on bigger surfaces.
Stamping With Precision
Embracing the art of Stamping with Precision elevates crafting to the next level. Crisp, clean stamp impressions create an undeniable professional touch. It doesn’t require magic, just a bit of skill and know-how. Below, learn the tricks to perfectly placed, precise stamp impressions every time.
Aligning Stamps For Perfect Placement
Positioning clear stamps accurately ensures the image lands just where intended. Start with these steps:
- Choose the right size acrylic block for your stamp.
- Place the stamp on the block, sticky side down.
- Use a grid or the block’s etched lines for guidance.
- Press the stamp to the block, ensuring no air bubbles.
For intricate designs, consider a stamping tool for added precision. This tool helps to re-stamp in the exact same spot if needed.
Applying Pressure For A Clean Impression
Avoid the disappointment of an uneven stamp with these professional tips:
- Ensure your work surface is flat and firm.
- Ink your stamp evenly, covering all areas.
- Hold the block firmly and apply even pressure when stamping.
- Check the pressure – too much can cause smudging, too little can lead to incomplete images.
Practice makes perfect, and with practice comes the ability to gauge just the right amount of pressure for that flawless finish.
| Material | Tip for Optimal Pressure |
|---|---|
| Thick Paper or Cardstock | Apply firm, even pressure. |
| Delicate Paper | Use a lighter touch. |
| Uneven Surfaces | Use a mouse pad beneath material. |
Master these techniques, and each stamping project will showcase your newfound prowess in precision. Remember, sharp details turn simple projects into stunning creations.
Creative Uses Of Clear Stamps
Creative Uses of Clear Stamps unlock unlimited possibilities in crafting projects. These versatile tools allow for easy customization and artistic expression. Let’s dive into some unique ways to use them.
Layered Stamping
Layered Stamping creates depth and dimension. Begin with a light ink for the base. Add darker shades on top. Align different stamps for a multi-dimensional effect. Experiment with colors and shapes. Mistakes can turn into new designs. Keep a playful mindset while layering.
Creating Backgrounds And Textures
Backgrounds and textures give life to any paper craft. Use clear stamps for repeating patterns. Mix inks or paint for a custom look. Combine various textures for complexity. Create gradients with ombre stamping techniques.
- Start with lighter colors.
- Progress to darker hues.
- Overlap stamps slightly.
Textured backgrounds work well for cards, scrapbook pages, or journal covers. Experiment with abstract and geometric patterns. See which combination best fits your style and project theme.
Aftercare And Maintenance
Proper aftercare and maintenance are key to keeping your clear stamps in top condition. Clean stamps and thoughtful storage extend their life and performance. Let’s dive into the best ways to care for your stamps after each crafting session.
Cleaning Your Stamps Post-use
Keeping your clear stamps clean ensures crisp images every time. Follow these steps:
- Immediately after use, gently wipe the stamp with a baby wipe or damp cloth.
- For stubborn ink, use a stamp cleaning solution with a scrubbing block.
- Pat the stamp dry with a lint-free towel or let it air dry before storing.
Avoid using harsh chemicals or abrasive materials as they can damage the stamps.
Storing Stamps To Maintain Clarity
Proper storage protects stamps from damage. Here’s how to store your clear stamps:
- Store stamps flat to prevent warping.
- Keep them away from direct sunlight to prevent yellowing.
- Use plastic sleeves or stamp storage pockets for organization.
- Avoid overcrowding stamps to prevent them from sticking together.
- Keep stamps in a cool, dry place to maintain their clarity and stickiness.
Frequently Asked Questions
Can You Use Clear Stamps Without Block?
Yes, you can use clear stamps without a block by firmly pressing them with your fingers, but using a block helps achieve a more consistent and even impression.
How Do You Make Clear Stamps Stick?
Clean the back of the stamp and your acrylic block with soapy water. Let them air dry completely. Press the stamp firmly onto the acrylic block. Ensure there are no air bubbles trapped between them. Recondition with a thin layer of stick adhesive if necessary.
What Are Clear Stamp Blocks Used For?
Clear stamp blocks are acrylic tools that crafters use to attach clear stamps for precise placement and inking on various crafting projects.
How Do You Prime Clear Stamps?
To prime clear stamps, gently rub an eraser over the surface, or stamp onto a lint-free cloth after applying ink to remove excess residue. Repeat the inking and light stamping several times until the stamp prints cleanly.
What Are Clear Stamps Used For?
Clear stamps are used primarily for crafting, allowing precise placement of images on paper, cards, and scrapbooks due to their transparent nature.
Conclusion
Embracing clear stamps elevates crafting to an art form. This guide has armed you with necessary insights for stamping success. Practice these techniques and let your creativity flow. For more tips, revisit our blog. Your next project awaits; happy stamping!