Table of Contents
Cleaning trout for cooking might seem tricky, but it’s simple with the right steps. First, you’ll need to gather the right tools and prepare your workspace.
Trout is a popular fish among anglers and home cooks alike. Its delicate flavor and texture make it a favorite for many dishes. Before you cook trout, you need to clean it properly. This process involves removing the scales, guts, and sometimes the head.
Doing this ensures your trout is safe and delicious to eat. Cleaning trout may seem daunting at first, but with a bit of practice, it becomes easy. By following a few straightforward steps, you can clean trout quickly and efficiently, making your cooking experience smoother and your meals more enjoyable. Ready to learn how? Let’s get started!
Introduction To Cleaning Trout
Cleaning trout properly is essential for ensuring a tasty meal. This process might seem daunting at first, but it becomes easy with practice. Learning how to clean trout can enhance your cooking experience and the flavor of your dishes. This guide will introduce you to the basics of cleaning trout for cooking.
Importance Of Proper Cleaning
Proper cleaning of trout is vital for several reasons. It removes impurities and ensures the fish is safe to eat. Clean trout also tastes better and has a more appealing texture. Taking the time to clean trout correctly can make a big difference in your meal.
Tools Needed
You will need a few simple tools to clean trout. These include a sharp knife, cutting board, and fish scaler. A pair of kitchen scissors can also be helpful. Make sure your tools are clean and ready before you start. Having the right tools can make the cleaning process easier and more efficient.
Preparing The Workspace
Preparing the workspace is a crucial step before cleaning trout for cooking. A clean and organized area ensures safety and efficiency. Let’s explore how to prepare your workspace effectively.
Sanitizing The Area
Start by cleaning your workspace thoroughly. Use warm water and soap to wipe down surfaces. This removes any dirt or residue. Next, sanitize the area with a food-safe cleaner. This step kills harmful bacteria. Let the sanitizer sit for a few minutes. Then, rinse and dry the surfaces completely.
Gathering Supplies
Before you begin, gather all necessary supplies. You will need a sharp fillet knife, a cutting board, and a pair of kitchen shears. Also, have a bowl for the fish guts and a trash bag. Ensure you have paper towels handy. They help in keeping your workspace dry. Finally, have a clean towel for drying the trout.
Initial Trout Preparation
Preparing trout for cooking starts with some basic steps. These steps ensure the fish is clean and ready for your recipe. Proper preparation enhances the flavor and texture of the trout.
Rinsing The Fish
Start by rinsing the trout under cold running water. This removes dirt and debris from the fish. Hold the trout by the tail and rinse both sides thoroughly.
Use your fingers to gently rub the skin. This helps to remove any remaining debris. Make sure to rinse the fish inside and out. Pay special attention to the belly cavity.
Removing Scales
Next, you need to remove the scales. Use a fish scaler or the back of a knife. Hold the trout by the tail and scrape from the tail to the head. This is against the grain of the scales.
Work gently to avoid damaging the skin. Continue until all scales are removed. Rinse the trout again to wash away any loose scales.
Remember, removing the scales is important. It makes eating the fish more pleasant and ensures better flavor absorption.
Evisceration Process
Begin by making a shallow cut along the belly of the trout. Remove the internal organs carefully. Rinse the fish thoroughly under cold water.
Making The Initial Cut
The evisceration process starts with making a clean incision.
Removing Internal Organs
Carefully remove the internal organs to ensure a fresh fish taste.
Cleaning The Cavity
Cleaning the cavity of a trout is a crucial step in preparing it for cooking. This process ensures that your fish is free of unwanted residues and bones, making it ready for a delicious meal. Below, we will walk you through the steps of rinsing out residue and checking for remaining bones.
Rinsing Out Residue
First, place the trout under cold running water. Use your fingers to gently open the cavity. Rinse the inside thoroughly to remove any blood or leftover entrails. Pay special attention to the spine area. This is where residue often collects. A clean cavity ensures a better-tasting fish.
Checking For Remaining Bones
Next, check the cavity for any remaining bones. Use your fingers to feel along the inside. Small bones may still be attached. Carefully remove these bones using a pair of tweezers or your fingers. Be thorough. Missing even a small bone can affect the texture and safety of your dish.
Once you have cleaned the cavity and removed all bones, your trout is ready for cooking. This extra care in preparation will enhance your cooking experience and result in a much tastier meal.
Trimming And Filleting
Trimming and filleting trout is an important step for delicious meals. Proper trimming and filleting ensure you remove all unwanted parts. This helps in achieving clean, boneless fish fillets ready for cooking.
Removing Fins
Start by laying the trout on a flat surface. Use a sharp knife or kitchen scissors. Carefully cut off all the fins. This includes the dorsal, pectoral, and pelvic fins. Be sure to also remove the anal fin. Hold the trout steady while you cut. This prevents slipping and ensures safety. Removing the fins makes the fish easier to handle and fillet.
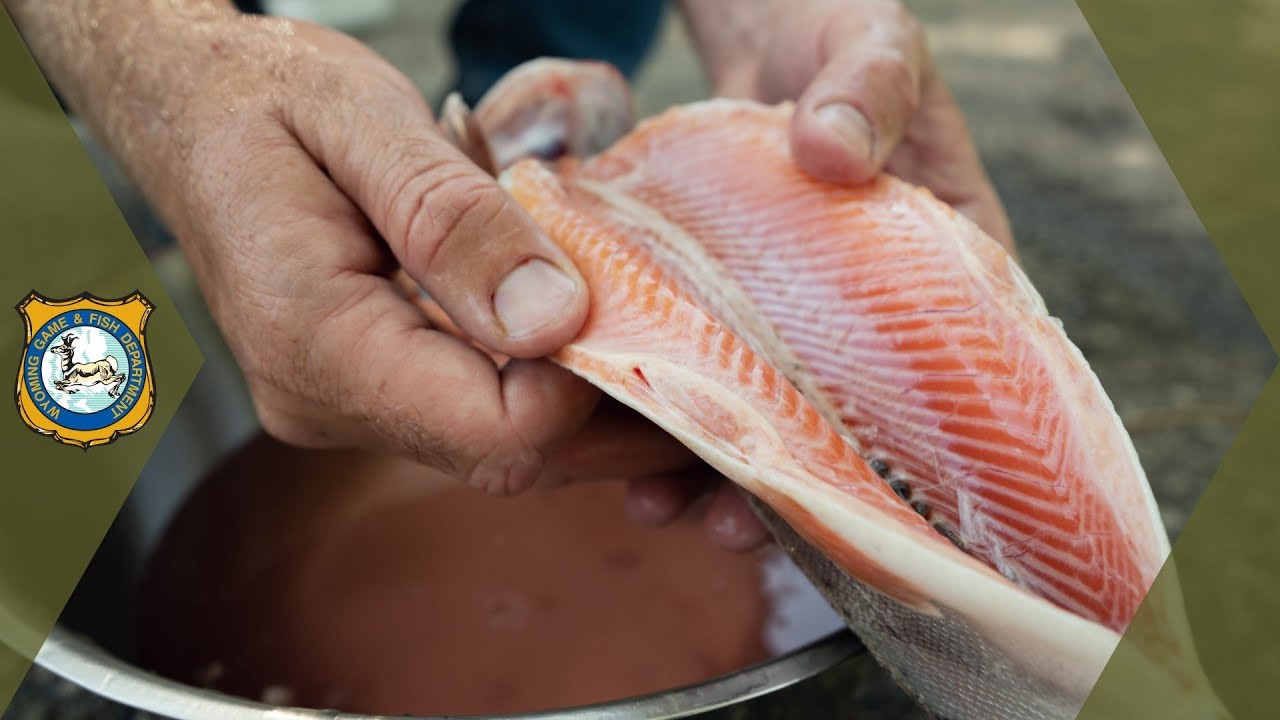
Making Fillets
Once the fins are removed, it’s time to make fillets. Place the trout on its side. Insert the knife behind the gill plate. Cut down to the backbone. Turn the knife and follow the backbone towards the tail. Keep the blade as close to the bones as possible. This helps get the most meat. Repeat on the other side of the fish. Now you have two clean fillets ready for cooking.
Final Rinse And Inspection
The final rinse and inspection are crucial steps in preparing trout for cooking. This ensures the fish is free from any residual scales, blood, or contaminants. These steps are vital for both hygiene and taste.
Ensuring Cleanliness
After gutting and scaling the trout, it’s time for the final rinse. Hold the trout under cool, running water. Use your fingers to gently clean the cavity and skin. Look for any remaining scales or blood clots.
Check the gills and belly for any debris. If needed, use a small brush to scrub gently. This helps in removing hidden impurities.
Inspect the inside of the fish to make sure it is clean. Proper cleaning is essential for a delicious meal.
Patting Dry
Once the trout is clean, pat it dry with paper towels. This step is important before cooking. It helps in achieving a crispy skin.
Use a clean, dry towel to absorb excess water. Focus on both the inside and outside of the fish.
Drying the trout also helps in better seasoning adhesion. Well-dried trout cooks more evenly and tastes better.
| Step | Action |
|---|---|
| 1 | Rinse under cool water |
| 2 | Check for scales and blood clots |
| 3 | Pat dry with paper towels |
Following these steps ensures your trout is clean and ready for cooking. Proper preparation leads to a better dining experience.
Storing Cleaned Trout
Store cleaned trout in an airtight container. Keep it in the refrigerator for up to two days. For longer storage, freeze the trout.
Once you have cleaned your trout, proper storage is essential. This ensures the fish stays fresh and safe to eat. Whether you plan to cook it soon or save it for later, follow these tips.
Proper Refrigeration
Place the cleaned trout in an airtight container. This prevents it from absorbing other odors. Store it in the coldest part of your fridge. Ideally, the temperature should be below 40°F (4°C). Fresh trout should be used within two days.
Freezing Tips
Want to keep trout longer? Freezing is the best option. First, rinse the fish and pat it dry. Wrap it tightly in plastic wrap. Then place it in a freezer bag. Remove as much air as possible before sealing.
Label the bag with the date. Frozen trout is best used within three months. Thaw it in the fridge before cooking. This ensures it stays fresh and tasty.
“`
Frequently Asked Questions
What Tools Do You Need To Clean Trout?
You need a sharp knife, a cutting board, and running water.
How Do You Remove The Scales From Trout?
Hold the trout firmly. Scrape from tail to head with a knife.
How Do You Gut A Trout?
Insert knife at the tail. Cut to the head. Remove guts gently.
Should You Remove The Trout’s Head Before Cooking?
It’s optional. Some recipes prefer the head on for flavor.
How Do You Clean Trout’s Bloodline?
Run cold water through the cavity. Use your finger to remove blood.
Conclusion
Cleaning trout for cooking is simple and rewarding. Follow the steps carefully. Remove scales, gut the fish, and rinse well. Use a sharp knife for safety. Fresh, clean trout tastes delicious and is healthy. Practice makes the process easier over time.
Now, you are ready to cook and enjoy your trout. Experiment with different recipes. Enjoy the fruits of your effort. Happy cooking!