Table of Contents
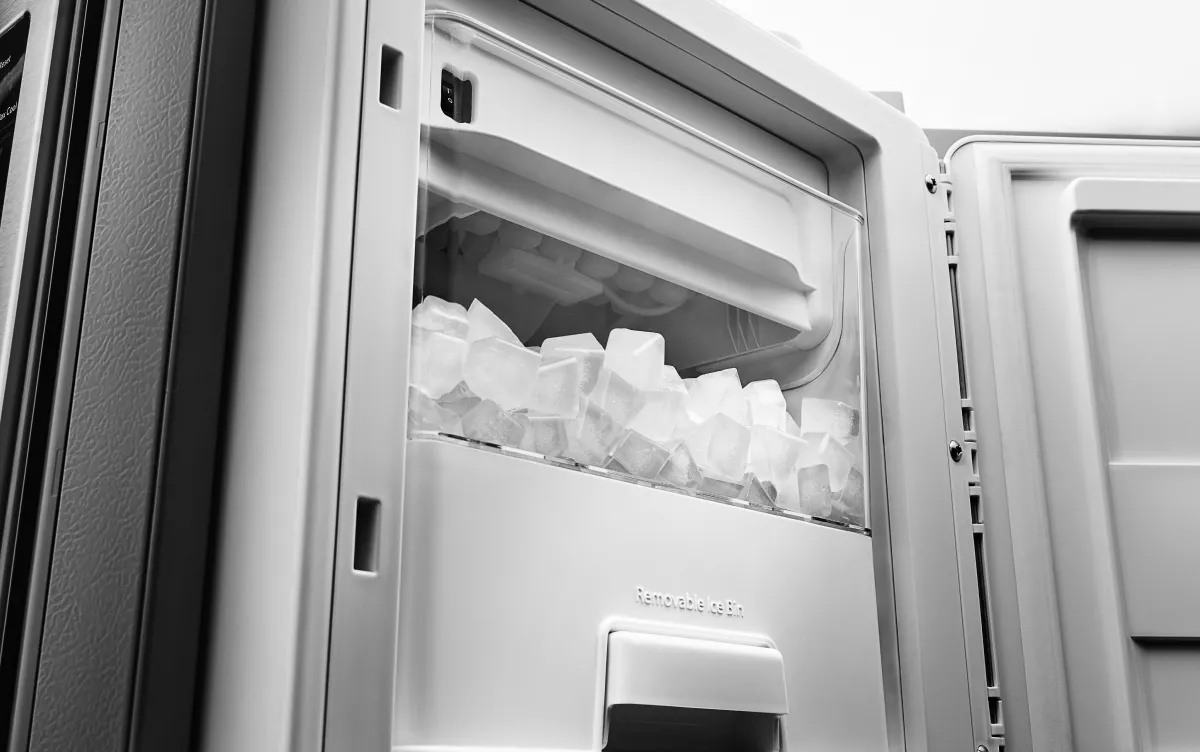
Turn off your KitchenAid ice maker and remove the ice bin to clean your appliance. Use a KitchenAid-approved cleaner or a mixture of water and vinegar for a natural solution.
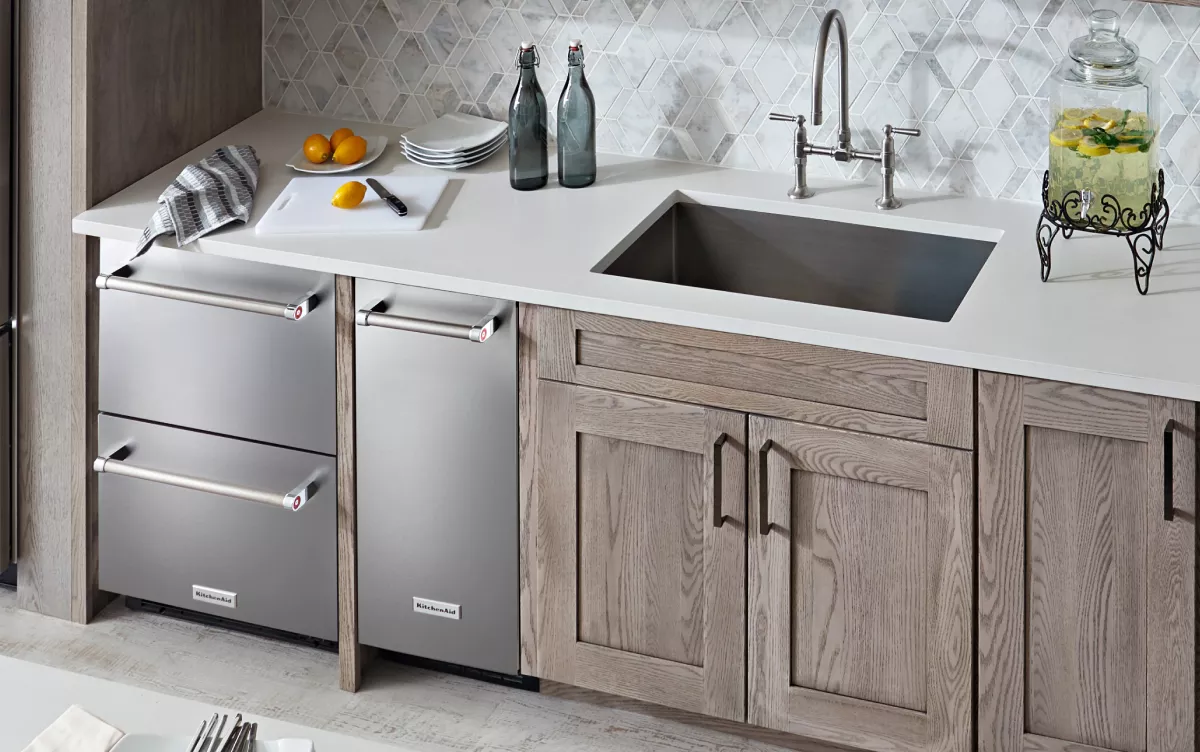
Maintaining a clean ice maker is crucial for ensuring the quality and taste of ice produced by your KitchenAid unit. Regularly cleaning your ice machine not only prevents the buildup of harmful bacteria and mold but also maintains the machine’s efficiency and longevity.
Kitchen appliances like ice makers require attention to detail during their cleaning routine. With modern kitchens being the heart of the home, a sparkling clean ice maker also reflects overall household hygiene. This introduction sets the stage for a step-by-step guide that will ensure your KitchenAid ice maker remains in top condition, serving up fresh and clean ice whenever you need it. It’s important to remember to schedule these cleaning sessions regularly to enjoy uninterrupted service from your ice maker.
Why Regular Cleaning Is Essential For Your Kitchenaid Ice Maker
Clean ice means healthy ice. Just like any other appliance in your kitchen, your Kitchenaid Ice Maker needs regular cleaning to ensure it runs efficiently and produces clean, taste-free ice. Ignoring this vital maintenance can lead to buildup of minerals and contaminants, affecting both ice quality and machine performance.
Significance Of Hygiene In Ice Production
Hygiene is paramount when it comes to ice production. Unclean ice makers can harbor mold and bacteria, which can be harmful to your health. Performing routine cleans prevents these unwanted guests, ensuring the ice you consume is safe and fresh.
- Prevents the growth of slime and mold
- Eliminates potential bacterial contamination
- Ensures ice is odorless and free of impurities
Impact Of Maintenance On Machine Longevity
Regular cleaning not only keeps your ice tasting great but also prolongs the life of your Kitchenaid Ice Maker. Limescale and other deposits can cause wear and damage over time. Scheduled descaling and cleaning can prevent these issues, saving you from costly repairs or replacements.
- Avoids buildup of harmful deposits
- Reduces strain on the ice maker’s components
- Extends the overall lifespan of your ice maker
Pre-cleaning Preparations
Keeping your Kitchenaid Ice Maker clean not only ensures it operates efficiently but also maintains the quality of ice it produces. Approaching the cleaning process requires some initial preparations. Follow this guide to prepare for cleaning your Kitchenaid Ice Maker effectively and safely.
Tools And Materials You’ll Need
Before diving into the cleaning process, gather the following items:
- Manufacturer’s approved ice maker cleaner
- Soft cloth or sponge
- Warm water
- Mild dish soap
- Soft bristle brush
- Measuring cup
- Bucket or basin
Safety Measures To Consider
Safety is paramount when cleaning electrical appliances. Be mindful of these steps:
- Turn off the ice maker and unplug it from the power source.
- Wear protective gloves to avoid contact with cleaning solutions.
- Ensure the room is well-ventilated if you’re using chemicals.
Step-by-step Cleaning Instructions
Step-by-Step Cleaning Instructions Introduction
Maintaining your Kitchenaid Ice Maker is essential for ensuring fresh, delicious ice every time. Follow this easy guide to keep your appliance in top condition.
Turning off and emptying the ice maker
Turning Off And Emptying The Ice Maker
- Power off the ice maker before cleaning.
- Remove all leftover ice and water.
Interior cleaning: The right technique
Interior Cleaning: The Right Technique
Meticulous interior cleaning is vital to prevent mold and grime. Use a soft cloth and mild detergent. Here’s how:
- Combine warm water and detergent.
- Gently wipe the interior surfaces.
- Rinse with clean water.
- Dry surfaces with a lint-free towel.
Sanitizing the ice maker: Best practices
Sanitizing The Ice Maker: Best Practices
| Step | Instruction | Notes |
|---|---|---|
| 1 | Prepare sanitizing solution | Use manufacturer-recommended sanitizer or diluted bleach. |
| 2 | Apply solution to interior | Ensure coverage of all surfaces. |
| 3 | Wait 10 minutes | Allows time for the solution to work. |
| 4 | Rinse thoroughly | Remove all traces of the sanitizing solution. |
Post-cleanup Routine
Cleaning your Kitchenaid Ice Maker is important for fresh, delicious ice. Now that you have cleaned your ice maker, follow these steps to reassemble it and start making ice again.
Reassembling the unit
Reassembling The Unit
Put your ice maker back together with care. Make sure every part is dry. Follow these steps:
- Start by replacing the water filter if necessary.
- Put the ice bin back into place.
- Reattach all the parts you removed.
- Make sure all components are secure.
Double-check the connections to avoid leaks or malfunctions.
Restarting ice production
Restarting Ice Production
It’s time to make ice again. Turn on the ice maker and do the following:
- Plug in your ice maker.
- Turn the power switch to the ‘On’ position.
- Wait for the ice-making cycle to begin.
- Listen for the water filling sound to ensure it’s working.
Expect the first batch of ice within a few hours. Discard the first batch, as it cleans out any remaining cleaning solutions.
Natural Alternatives For Chemical Cleaners
Worried about harsh chemicals in your Kitchenaid Ice Maker? Natural alternatives offer a safe, eco-friendly way to keep your ice maker sparkling clean. Vinegar, a household staple, proves to be an effective option to tackle hard water residue and mold without the need for synthetic cleaners.
Using Vinegar As An Effective Cleaner
- Dilute white vinegar with water in a 1:1 ratio.
- Turn off the ice maker and remove any ice or water.
- Apply the vinegar solution with a spray bottle or cloth to the interior surfaces.
- Let it sit for a few minutes to break down buildup.
- Scrub with a soft-bristled brush if necessary.
- Rinse thoroughly with water, ensuring no vinegar taste remains.
- Wipe dry with a clean cloth.
Pros And Cons Of Natural Cleaning Agents
| Pros | Cons | |
|---|---|---|
| Vinegar |
|
|
| Baking Soda |
|
|
| Lemon Juice |
|
|
Troubleshooting Common Issues Post-cleaning
Post-Cleaning Troubleshooting Introduction
Cleaning your Kitchenaid Ice Maker can lead to sparkling ice and a pristine machine. But sometimes, trouble strikes even after a deep clean. Issues may vary from odd tastes and odors to the ice maker not working properly. Don’t fret! Let’s tackle these concerns step by step.
Addressing Odor or Taste Issues in Ice
Addressing Odor Or Taste Issues In Ice
Finished cleaning but ice still tastes funny or has a strange smell? It’s time to dive deeper into solving these sensory snags.
- Empty the ice bin and run the maker through a clean cycle one more time.
- Change the water filter to ensure fresh taste.
- Use a naturally based ice machine cleaner like a vinegar solution as a safe and effective option.
These steps should leave you with fresh-tasting ice, free of any unwanted odors.
What To Do If the Machine Is Not Functioning Properly
What To Do If The Machine Is Not Functioning Properly
Welcome to solution central for an ice maker on strike. Do not ignore these signs:
- Check the power source. Make sure your machine is plugged in and the outlet works.
- Inspect for error messages. Your machine’s manual can decode these signals.
- Make sure the water supply is on and flowing correctly.
If your ice maker still won’t cooperate, contact Kitchenaid support for help.
Frequently Asked Questions
Can You Use Vinegar To Clean Kitchenaid Ice Maker?
Yes, you can use diluted vinegar to clean a KitchenAid ice maker, ensuring it’s rinsed thoroughly afterward.
How Do I Get Mold Out Of My Kitchenaid Ice Maker?
Turn off the ice maker and remove any remaining ice. Mix a solution of warm water and vinegar in equal parts. Use a soft cloth to apply the solution inside the ice maker. Scrub gently to remove mold. Rinse thoroughly with clean water.
Dry all surfaces before turning the machine back on.
How Do I Clean My Kitchenaid Water And Ice Dispenser?
Turn off the dispenser and remove the ice bin. Clean surfaces with warm, soapy water and a soft cloth. Rinse parts and reassemble. Use vinegar to descale, followed by a rinse cycle. Regularly change the water filter for optimal taste.
How Long Does The Clean Cycle Take On A Kitchenaid Ice Maker?
The clean cycle on a KitchenAid ice maker typically takes about 70 minutes to complete.
What Is The Best Cleaner For Kitchenaid Ice Makers?
Regular cleaning with a manufacturer-approved ice machine cleaner ensures the best performance and hygiene for your Kitchenaid ice maker.
Conclusion
Maintaining a clean Kitchenaid ice maker ensures both hygiene and efficiency in your kitchen. Regular cleaning prevents mold and safeguards the ice maker’s longevity. Embrace these simple steps for a sparkling appliance and fresh, clean ice. Remember, a well-maintained ice maker is the secret to uninterrupted, quality ice production for all your cooling needs.