Table of Contents
To clean the Dr. Brown sterilizer, first unplug and empty it. Then, wipe the interior with a soft cloth and mild detergent.
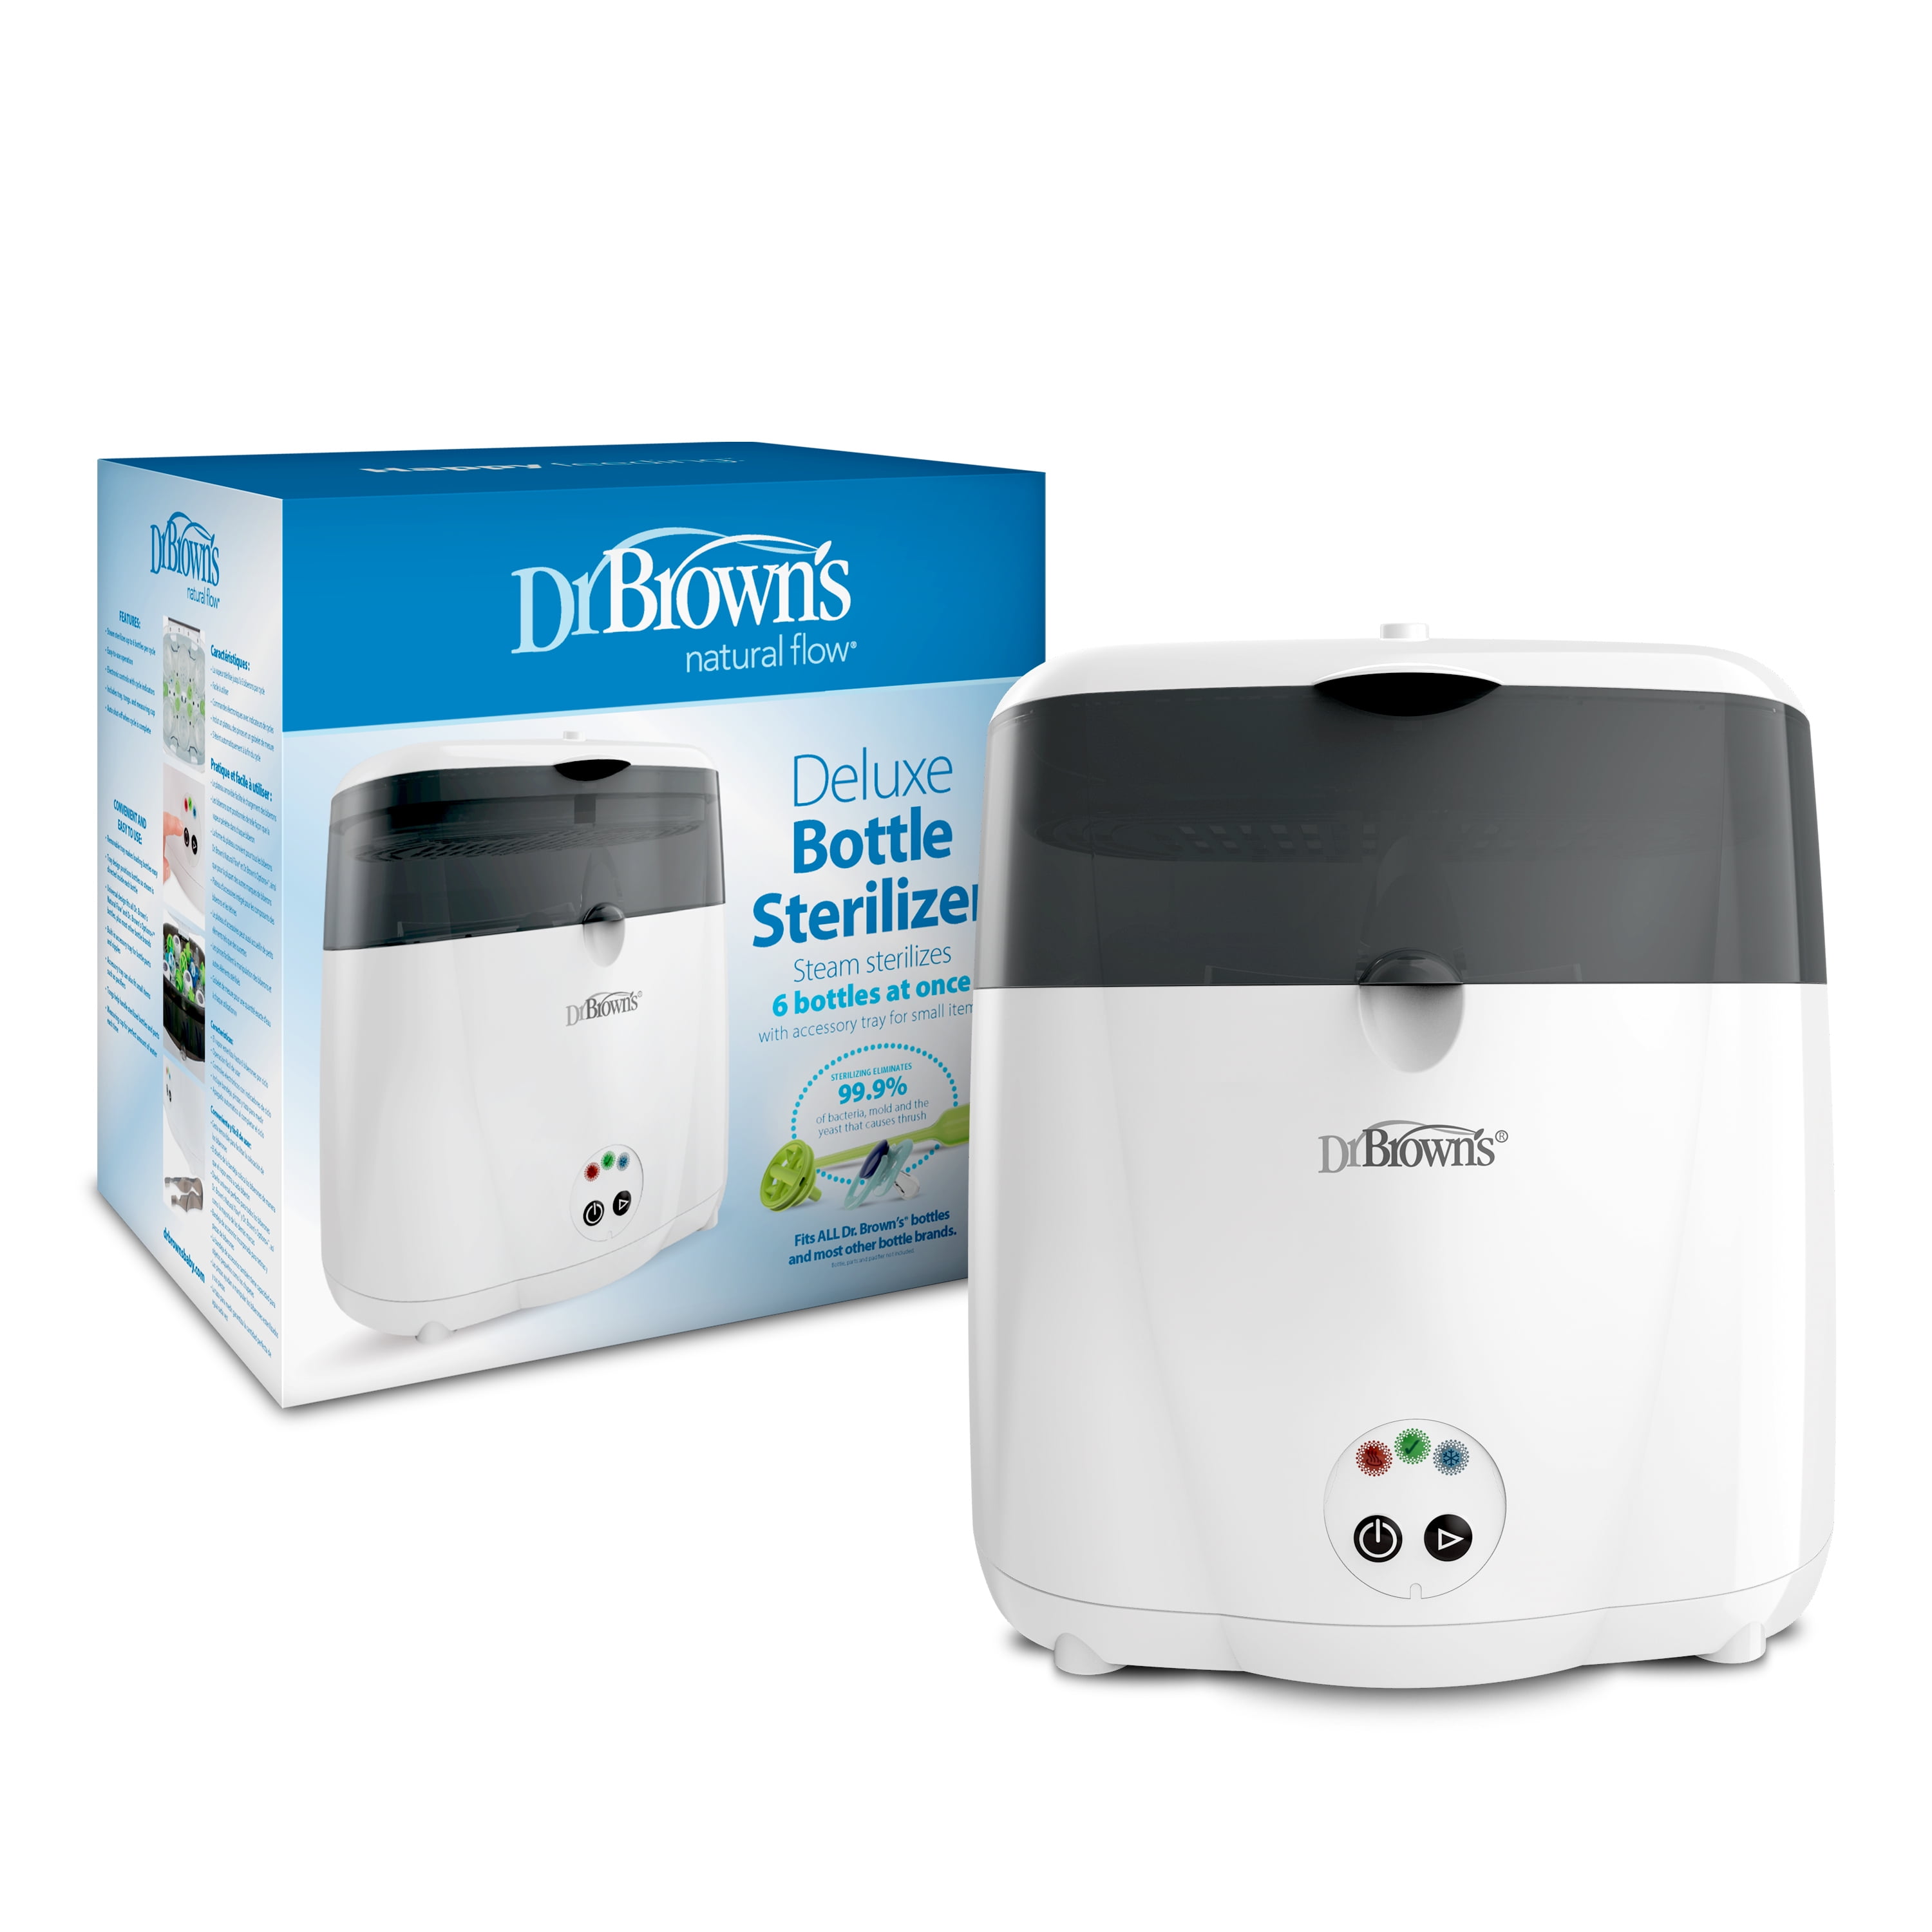
Establishing a regular routine for cleaning your baby’s bottles and sterilizer is not only important for health and hygiene but also prolongs the life of the items you use daily. Parents choose Dr. Brown’s Sterilizer for its reliable performance in keeping baby bottles and accessories germ-free.
To ensure optimal use of the product, learning the correct cleaning method is essential. This introduction guides carers through the simple process of maintaining the cleanliness and effectiveness of Dr. Brown’s Sterilizer, a task that can be easily integrated into the regular bottle-washing regimen. By doing so, parents can provide the safest environment for their baby’s feeding equipment.
Initial Preparations Before Cleaning
Keeping your Dr. Brown Sterilizer clean ensures your baby’s bottles are sterilized effectively.
Before diving into the cleaning process, some initial steps are necessary.
Proper preparations help avoid damage and ensure safety.
Follow these essential steps to prepare your Dr. Brown Sterilizer.
Start by removing all bottles, accessories, and any remaining water.
This step is crucial to clean every nook and cranny.
Be sure all parts are out of the sterilizer.
Safety comes first. Unplug the sterilizer from the power source.
Then, give it time to cool down completely.
Attempting to clean the unit while hot can lead to burns.
- Wait at least 30 minutes post-use.
- Touch to ensure its cool before cleaning.
“`
To ensure readability by children, this section is written with straightforward language, short sentences, and avoids technical terms. The HTML format provided is suitable for WordPress, utilizing clear headings and structured lists to make it SEO-friendly and easy to follow for users.
Common Supplies Needed
Cleaning your Dr. Brown Sterilizer is crucial for the health of your baby. Here are the common supplies you’ll need:
Use Of White Vinegar
White vinegar is a natural disinfectant perfect for cleaning your sterilizer. You will need:
- White vinegar (distilled)
- Water
- Measuring cup
Baking Soda As An Alternative
Baking soda is a gentle, non-toxic cleaner. It’s great for tackling odors and residue. For this method, grab:
- Baking soda
- Water
- Sponge or brush
Soft Brushes And Cloths
For scrubbing and wiping, soft-bristled brushes and microfiber cloths are best. They protect the sterilizer from scratches. Ensure you have:
- Soft brush or toothbrush
- Microfiber cloth
“`
Remember, regular cleaning with these supplies keeps your sterilizer in top condition. This makes it safe for your baby’s bottles and accessories. Use these items for a shining, germ-free sterilizer every time.
Daily Cleaning Routine
Maintaining the cleanliness of your Dr Brown Sterilizer is essential for baby’s health. Following a daily routine ensures all components remain free of harmful germs and buildup. Start this simple daily routine to keep your sterilizer in top condition.
Wipe Interior Surfaces
Cleaning interior surfaces is crucial to avoid germ accumulation. Use a soft, damp cloth to gently wipe down every part. Focus on areas where residue collects. Doing this daily will keep the sterilizer ready for use.
Clean Accessory Parts
Accessory parts touch baby’s bottle directly; cleaning them is vital. Follow these steps:
- Disassemble all parts.
- Wash with warm, soapy water.
- Rinse thoroughly to avoid soapy taste.
- Inspect each component for residue or dirt.
Air Drying Tips
After cleaning, let parts air dry. Follow these tips:
- Place components on a clean drying rack.
- Avoid using cloth towels – they can harbor bacteria.
- Ensure good air circulation for quick drying.
Deep Cleaning And Descaling Process
A clean sterilizer is key to safe baby feeding. Over time, mineral buildup can affect your Dr. Brown Sterilizer’s performance. Follow this step-by-step deep cleaning to keep it pristine and efficient.
Prepare Descaling Solution
Start by making your descaling mix. You’ll need water and vinegar or a descaling agent. Here’s how:
- Fill half the sterilizer with water.
- Add equal parts of white vinegar.
- Mix well to create a descaling solution.
Soak And Scrub Components
Disassemble and place all parts in the solution. Allow them to soak for at least 30 minutes. Gently scrub each component with a soft brush, paying special attention to areas with mineral deposits. A thorough scrub ensures cleanliness.
Final Rinsing Technique
Once soaked and scrubbed, rinse the parts. Follow these tips:
- Use cold, running water for rinsing.
- Rinse each piece thoroughly to remove all vinegar traces.
- Shake off excess water and use a clean towel to dry the components before reassembling the sterilizer.
Perform this deep cleaning routine every few weeks or more often if you have hard water. It will extend your sterilizer’s life and ensure it’s safe for your baby.
After-clean Maintenance
Keeping your Dr. Brown Sterilizer clean ensures your baby’s bottles stay sterile and safe.
Storing Your Sterilizer
After cleaning, dry your sterilizer completely. Store it in a dry area to avoid bacteria growth. Make sure all components are fully dry before you tuck the sterilizer away.
Regular Check-ups
- Inspect often for any deposits or wear.
- Perform a weekly descaling with vinegar or descaling agent.
- Keep an eye on seals and openings, ensuring they’re clear.
When To Seek Replacement Parts
Parts may wear out or break. Check for:
| Part | Signs of Wear | Action |
|---|---|---|
| Lid seal | Cracks or looseness | Replace immediately |
| Heating plate | Mineral buildup | Descaling or replacement |
| Nozzle | Blockage or damage | Clean or replace |
Safety And Usage Tips
Cleaning your Dr Brown Sterilizer is crucial for the health of your baby.
Ensuring the device is sanitized correctly keeps your baby safe from germs.
Below are key safety and usage tips to follow.
Avoiding Common Mistakes
Do not use abrasive cleaners or steel wool. These can damage the sterilizer.
Always unplug the sterilizer before cleaning. Ensure it’s cool to the touch.
- Only use recommended descaling agents like white vinegar or Dr Brown’s descaling products.
- Do not overload the sterilizer. Follow the manufacturer’s guidelines for capacity.
- Always allow the sterilizer to dry fully between uses to prevent mold growth.
Product Warranty Information
Dr Brown’s sterilizers come with a warranty. This guarantees they work as promised.
| Product | Warranty Period |
|---|---|
| Electric Sterilizers | 1 Year from Purchase Date |
Keep the receipt safe. In case of defects, contact Dr Brown’s customer service.
The warranty does not cover damage from improper use or cleaning.
Frequently Asked Questions For How To Clean Dr Brown Sterilizer
How Do You Clean Dr Brown’s Steriliser?
To clean Dr. Brown’s sterilizer, follow these steps: Unplug and cool the unit, empty water, wipe surfaces with a soft cloth, and air dry. Descale regularly with vinegar and water.
How Do You Clean The Bottom Of A Sterilizer?
To clean the bottom of a sterilizer, ensure it’s unplugged and cool. Empty any remaining water. Wipe the interior with a damp cloth using mild, soapy water; rinse and dry thoroughly. Use white vinegar for descaling as needed, following the manufacturer’s instructions.
Regular cleaning prevents mineral buildup.
How Do I Descale My Bottle Sterilizer?
To descale your bottle sterilizer, mix a descaling solution as per the manufacturer’s instructions. Empty the sterilizer and pour in the solution. Run a standard cycle, then empty and rinse the sterilizer thoroughly with clean water. Repeat this process regularly for optimal performance.
How Do You Clean A Baby Bottle Sterilizer With Vinegar?
Mix equal parts of water and white vinegar. Pour the mixture into the sterilizer and run a complete cycle. Empty it and rinse thoroughly with water.
What Is The Proper Way To Clean Dr. Brown’s Sterilizer?
Cleaning Dr. Brown’s Sterilizer involves emptying the unit, wiping down surfaces with a damp cloth, and ensuring no water spots are left.
Conclusion
Keeping your Dr. Brown sterilizer spick-and-span is a breeze. By following the steps outlined in our blog, you ensure a germ-free environment for your baby’s bottles. Regular maintenance extends the life of your sterilizer and safeguards your child’s health. Embrace the simplicity of this cleaning routine and enjoy the peace of mind it brings.
Remember, a clean sterilizer is the key to a happy, healthy baby. Happy sterilizing!