Table of Contents
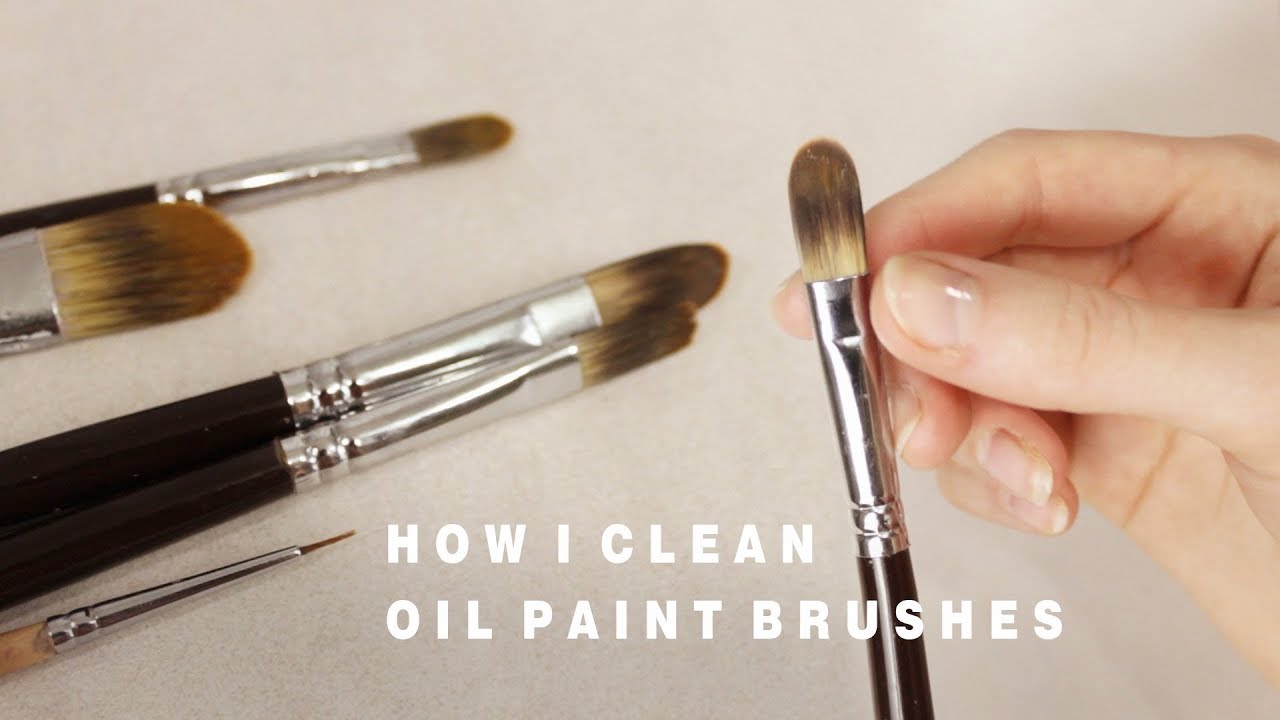
Cleaning an oil paint brush can seem tricky. But it’s essential for maintaining your tools.
Proper cleaning ensures your brushes last longer and perform well. In this guide, you’ll learn the best methods to clean an oil paint brush. Oil paint brushes need special care. If not cleaned correctly, the bristles can harden. This makes the brush unusable.
With the right steps, you can keep your brushes in great shape. Cleaning might seem like a chore, but it’s worth it. Your brushes will stay soft and ready for use. So, let’s dive in and explore the best ways to clean your oil paint brushes effectively.
Gather Materials
Cleaning an oil paint brush properly is essential for its longevity. Gathering the right materials ensures a thorough cleaning process. Below are the items you will need.
Essential Supplies
- Paint thinner or mineral spirits: This is the most important cleaning agent. It effectively removes oil paint from brushes.
- Soap and water: Use mild soap and warm water for final cleaning. This helps remove any remaining residues.
- Two containers: One for soaking the brush in paint thinner and another for rinsing with water.
- Paper towels or rags: These are useful for wiping off excess paint and cleaning solvents.
- Rubber gloves: Protect your hands from harsh chemicals and paint.
Optional Items
- Comb or brush cleaner: This helps to remove dried paint from brush bristles.
- Brush preserver or conditioner: Keeps bristles soft and prolongs the brush’s life.
- Apron: Protects your clothes from paint splatters and cleaning agents.
- Ventilation mask: Provides protection from fumes, especially in poorly ventilated areas.
Having these materials ready will make the cleaning process easier and more efficient. Make sure to gather these supplies before you start cleaning your oil paint brush.
Preparation Steps
Start by wiping off excess paint with a paper towel. Then, rinse the brush with solvent to remove remaining oil paint. Finish by washing with soapy water.
Before diving into cleaning your oil paint brushes, it’s crucial to prepare properly. Proper preparation ensures that the cleaning process goes smoothly and that your brushes remain in good condition. Let’s explore some key preparation steps.
Protect Your Workspace
Start by protecting your workspace. Cover the surface with old newspapers or a plastic sheet. This helps catch any spills or drips. It also makes cleanup much easier.
Organize your cleaning supplies. Keep them within reach. This includes your cleaning solution, rags, and a container for soaking.
Wear Protective Gear
Wear protective gear to keep yourself safe. Gloves are essential. They protect your hands from harsh chemicals.
Consider wearing an apron or old clothes. Oil paint and cleaning agents can stain. Safety glasses are a good idea, especially if you are using solvents.
Following these steps helps you stay safe and keep your workspace clean.
“`
Remove Excess Paint
Cleaning an oil paint brush properly begins with removing the excess paint. This step is crucial. It ensures the bristles are ready for a thorough clean. Removing excess paint also prevents the brush from becoming stiff.
Wipe With Cloth Or Paper
Start by wiping the brush with a cloth or paper towel. Hold the brush over a trash can. Gently squeeze the bristles with the cloth or paper. This removes a lot of the paint. Be careful not to pull too hard. You don’t want to damage the bristles.
Use A Paint Scraper
For stubborn paint, use a paint scraper. Gently scrape the sides of the brush. This helps to remove dried paint. Be gentle to avoid breaking the bristles. This method works well for thick paint.
Clean With Solvent
Cleaning your oil paint brushes with solvent is essential. It ensures your brushes last longer and perform better. Using the right solvent can remove paint effectively and maintain brush quality.
Choosing The Right Solvent
Selecting the right solvent is crucial. Turpentine and mineral spirits are common choices. They both work well but have different properties.
- Turpentine: Strong, effective, but has a strong odor.
- Mineral Spirits: Less odor, safer, but slightly less effective.
Consider your work environment. If you have good ventilation, turpentine is a good choice. For a safer option with less odor, go for mineral spirits.
Dipping And Swirling
Once you have chosen your solvent, start cleaning your brush.
- Pour a small amount of solvent into a container.
- Dip the brush into the solvent.
- Swirl the brush gently in the solvent.
Repeat these steps until the paint is gone. Be gentle to avoid damaging the bristles.
After cleaning, use a cloth to wipe off excess solvent. This ensures your brush is clean and ready for your next painting session.
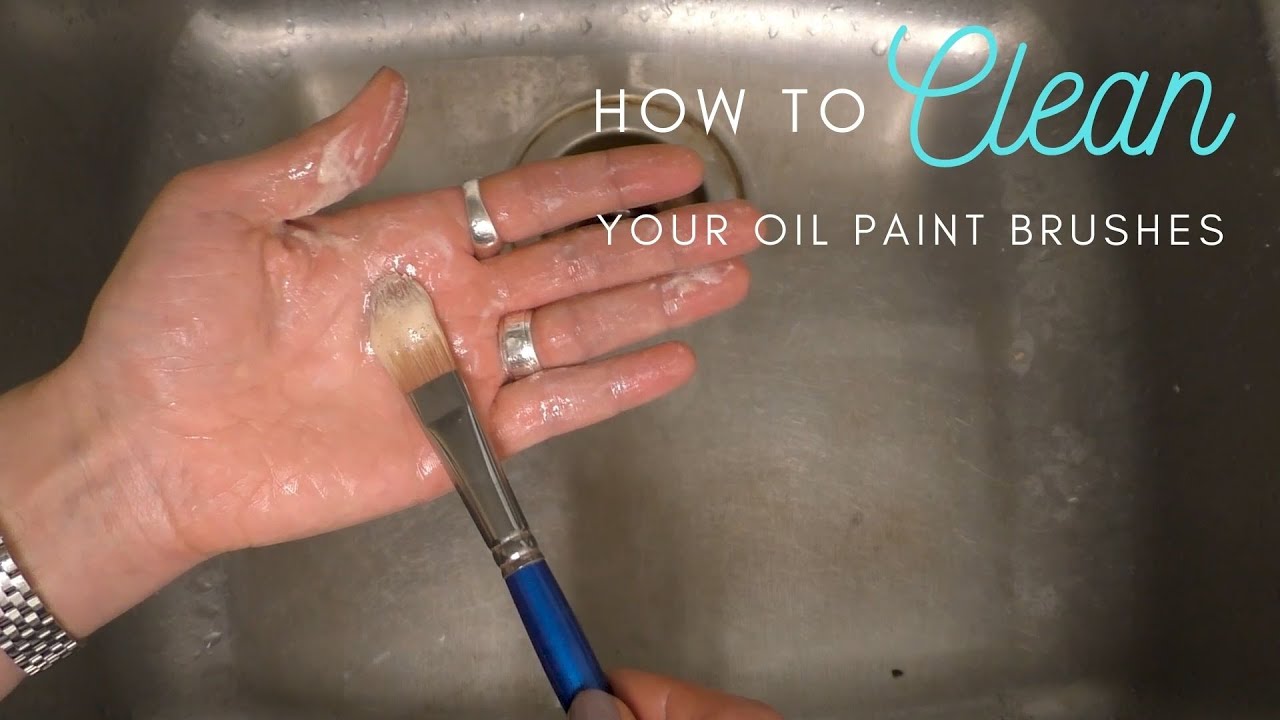
Rinse Thoroughly
Cleaning an oil paint brush requires careful rinsing. This step is crucial for maintaining the brush’s condition. Proper rinsing removes leftover paint and solvents. Follow these steps to rinse your brush thoroughly.
Use Warm Water
Start by using warm water. Warm water helps to loosen the paint. It also makes the bristles more flexible. Hold the brush under a gentle stream. Allow the water to flow from the base to the tip. This ensures the entire brush gets cleaned.
Avoid Harsh Rinsing
Avoid harsh rinsing techniques. Do not scrub the bristles too hard. Harsh scrubbing can damage the brush. It can also cause the bristles to fray. Gently squeeze the bristles with your fingers instead. This helps to remove the paint without causing damage. Repeat this process until the water runs clear.
Dry The Brush
After cleaning your oil paint brush, it’s important to dry it properly. This step ensures the brush remains in good condition and ready for future use. Below are the steps to dry your brush effectively.
Shake Off Excess Water
First, hold the brush by the handle. Gently shake it to remove excess water. This helps in speeding up the drying process. Be careful not to shake too hard, as it might damage the bristles.
Shape The Bristles
Next, use your fingers to shape the bristles. Make sure they return to their original form. This step is crucial for maintaining the brush’s shape and effectiveness. Properly shaped bristles ensure smooth painting strokes.
Store Properly
Properly storing your oil paint brushes is essential. It ensures their longevity and quality. Clean brushes can last years if stored correctly. Here are some tips to store them properly.
Hanging Vs Laying Flat
Decide whether to hang or lay your brushes flat. Hanging brushes is a good option. It keeps the bristles straight and prevents damage. You can use a brush holder or a simple hook.
On the other hand, laying brushes flat is also an option. Make sure to lay them on a clean surface. Avoid letting bristles touch each other. This prevents them from bending or fraying.
Protect From Dust
Protect your brushes from dust. Dust can damage the bristles and affect paint quality. Use a brush cover or a plastic wrap to shield them. Store them in a clean, dry place. This keeps them ready for your next painting session.
Avoid open storage areas. Dust can settle quickly. Use a closed container or a drawer. Keep your brushes dust-free and in good condition.
Maintenance Tips
Maintaining your oil paint brushes is crucial for their longevity. Proper maintenance ensures that your brushes remain in good condition. It also helps in maintaining the quality of your artwork. Regular and deep cleaning methods play a significant role in this process. Let’s explore some maintenance tips to keep your brushes in top shape.
Regular Cleaning Routine
Clean your brushes immediately after each use. Start by wiping off excess paint with a rag or paper towel. Rinse the brush in a container of odorless mineral spirits. Swirl the brush gently to remove remaining paint. Use a brush comb to remove any paint stuck in the bristles. Repeat the rinsing process until the brush is clean. Finish by washing the brush with mild soap and warm water. Dry the brush by reshaping the bristles and laying it flat.
Deep Cleaning Methods
Deep cleaning is essential for brushes used frequently. Begin by soaking the brush in a container of brush cleaner or turpentine. Allow it to sit for a few hours. Use a brush comb to remove any hardened paint. Repeat the soaking process if necessary. Once the paint is removed, wash the brush with soap and warm water. Rinse thoroughly to remove all cleaning agents. Reshape the bristles and let the brush dry flat.
Frequently Asked Questions
How Do You Clean Oil Paint Brushes?
Use mineral spirits or paint thinner. Rinse well. Wash with soap and water.
Can You Clean Oil Paint Brushes With Water?
No, water alone cannot clean oil paint brushes. Use mineral spirits or paint thinner first.
How Often Should You Clean Oil Paint Brushes?
Clean your brushes after each painting session. This keeps them in good shape.
What Do You Use To Clean Oil Paint Off Brushes?
Use mineral spirits or paint thinner. Then wash with soap and water to remove residues.
Can You Reuse Oil Paint Brushes After Cleaning?
Yes, you can reuse them. Proper cleaning keeps the bristles soft and the brush in good condition.
Conclusion
Cleaning an oil paint brush can be simple with the right steps. Use proper cleaning methods to ensure brushes last longer. Always rinse thoroughly with mild soap and warm water. Dry brushes completely before storing them. Proper care can keep your brushes in great condition.
A clean brush helps achieve smooth, precise strokes in your artwork. Follow these tips, and enjoy painting without worrying about brush maintenance. Happy painting!