Table of Contents
To clean a Yeti lid, disassemble the lid, then wash both pieces with soap and warm water. Air dry the parts thoroughly before reassembling.
Ensuring your Yeti lid is clean is essential for maintaining both hygiene and the taste integrity of your beverages. Yeti products are known for their durability and ability to keep drinks at the desired temperature for hours, making them a favorite among outdoor enthusiasts and daily users alike.
A clean Yeti lid not only prevents the buildup of bacteria and mold but also extends the life of the product. Regular cleaning is straightforward and helps in preserving the functionality and appearance of your Yeti lid. This task can easily become part of your routine care for your Yeti products, ensuring they remain in top-notch condition for all your adventures.
Introduction To Yeti Lids
Yeti Lids: A Guide to Maintaining Your Trusty Companion
Yeti drinkware has revolutionized the way we carry beverages. The lids, designed for durability and insulation, require some TLC to keep them as fresh as your drinks. Learning to clean a Yeti lid properly extends the life and performance of these handy containers.
Popular Uses Of Yeti Drinkware
Yeti is not just another cup or bottle. Its design serves many purposes:
- Outdoor Adventures: Keeps drinks hot or cold during long hikes or camping trips.
- Travel: Secure lids make them perfect for on-the-go sipping.
- Daily Hydration: Ideal for water intake throughout the day.
- Social Gatherings: Maintains beverage temperature, so you can enjoy your drink leisurely.
Importance Of Regular Cleaning
Regular cleaning of Yeti lids is crucial because:
- It prevents build-up of bacteria and mold, which can cause health issues.
- Sustains optimal lid functionality, ensuring your drinks are secure.
- It retains aesthetic appeal, by avoiding stains and odors.
Clean lids impact your drinkware’s longevity and your health — don’t overlook this simple but vital task.
Preparing For The Cleanse
Preparing for the Cleanse starts with a methodical approach to ensure your Yeti lid comes out looking spotless and sanitary. Keeping your Yeti’s lid clean not only maintains its appearance but also ensures your beverages remain hygienic and safe to consume. The process is straightforward—but precision and the right tools will make all the difference. Let’s lay the groundwork for a successful clean.
Gathering Necessary Supplies
Before diving into the cleaning process, collect all the supplies you’ll need in one place. The right materials help achieve a thorough clean without damaging your Yeti lid.
- Dish soap: A mild yet effective cleaner.
- Warm water: Loosens debris and residue.
- Soft-bristled brush or sponge: Scrubs without scratching.
- Toothpick (optional): Dislodges small particles.
- Clean towel: For drying after the wash.
Disassembling Your Yeti Lid
Proper disassembly ensures no nook or cranny goes uncleaned. Follow these simple steps:
- Twist and open the lid if it’s a screw top.
- Remove any sliding mechanisms or rubber gaskets gently.
- Inspect for any remaining parts that may separate.
- Set aside the disassembled pieces on a clean surface.
Remember, each part needs attention, so keep them together and organize your workspace to streamline the cleaning process. Now you’re all set for a sparkling clean Yeti lid!
The Cleaning Process
Maintaining a squeaky-clean Yeti lid isn’t just about aesthetics; it’s about hygiene. Your favorite drink companion deserves a thorough cleaning, ensuring flavor and health stay top-notch.
Rinsing Off Loose Debris
Begin with a warm water rinse to wash away obvious bits. Tilt the lid to let the water run through the sipping hole. Shake gently to remove excess water.
Soaking: The Key To Dissolving Grime
- Fill a basin with hot soapy water.
- Submerge the lid for about an hour.
- Prepare for the next step as it soaks.
Scrubbing The Nooks And Crannies
After soaking, tackle the tough spots. Use a small brush or toothpick to scrub around seals and under the handle. Rinse thoroughly again to ensure no soap residue remains.
Sanitizing And Disinfecting
A clean Yeti lid is essential for both taste and health. Sanitizing and disinfecting are crucial steps that go beyond regular washing. They ensure your Yeti lid remains a safe vessel for your favorite beverages. This guide dives into the best practices for keeping lids germ-free.
Choosing The Right Sanitizers
- Dishwasher safe: Yeti lids are designed to withstand high-temperature washing.
- Bleach solution: Mix 1 tablespoon of bleach with a gallon of water.
- Isopropyl alcohol: A quick wipe-down with a 70% solution can do the trick.
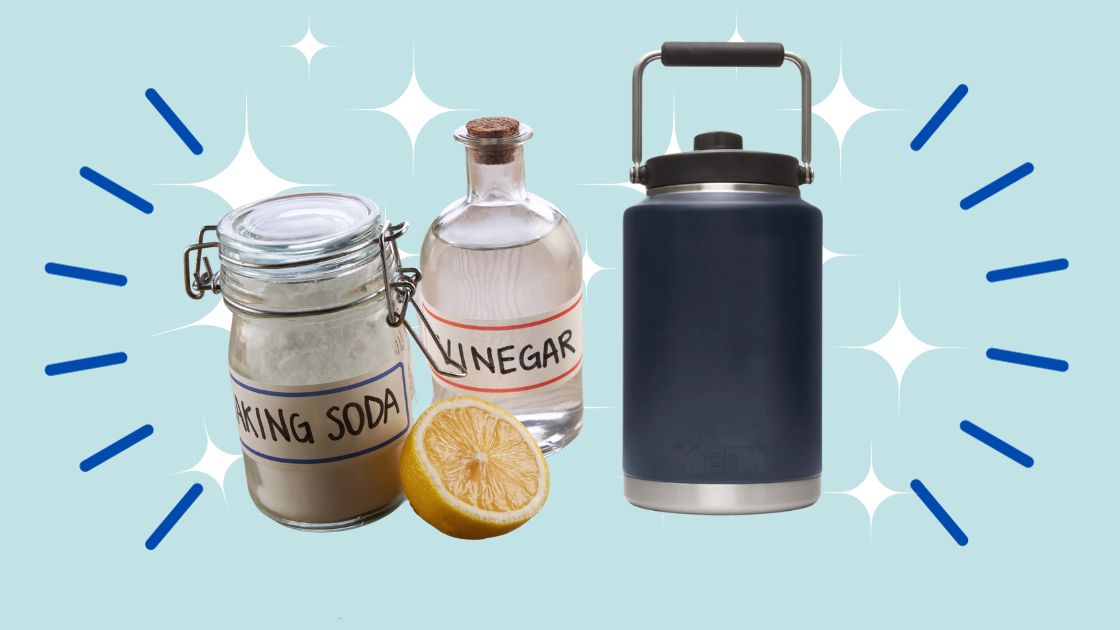
- Vinegar mix: White vinegar and water in equal parts for a natural option.
Choose a sanitizer that fits your preferences and safety requirements. Commercial sanitizers labeled as food safe are also a viable choice. Leave the lid to air dry after sanitizing.
Avoiding Common Sanitizing Mistakes
To ensure effective sanitizing, steer clear of these pitfalls:
- Never mix chemicals: Combining different cleaners can create harmful fumes.
- Rinse thoroughly: Remove all traces of cleaning agents after sanitizing.
- Check for damage: Inspect the lid for cracks that can harbor bacteria.
- Dry completely: Store the lid only when it is fully dry to prevent mold growth.
By following these steps, your Yeti lid will remain a clean companion for all your adventures. Remember, thorough sanitizing not only extends the life of your lid but also protects your health.
Drying And Reassembly
Congratulations on cleaning your Yeti lid! Now, let’s dry and put it back together. These steps ensure a long-lasting lid:
Best Practices For Drying
Thorough drying prevents mold and maintains lid integrity. Follow these tips:
- Use a clean towel: Gently pat all components with a dry cloth.
- Air dry: Let all parts rest on a drying rack.
- Check for water: Inspect nooks for trapped moisture.
Make sure each part is bone dry before reassembly. Water spots lead to bacteria.
Reassembling Your Lid Correctly
Proper reassembly ensures a snug fit and no leaks. Follow these steps:
- Start with the seal: Place the rubber gasket back into the groove.
- Attach the magnetic slider: Align it with the guide tracks.
- Secure the lid: Confirm it clicks into place on the tumbler.
Take your time to fit each piece snugly. Don’t force any part to avoid damage. Your Yeti lid is now ready for your next adventure!
Maintenance Tips
Keeping your Yeti lid clean ensures your sips stay fresh and hygienic. Check these maintenance tips to keep your lid spotless and odor-free.
Regular Cleaning Schedule
Create a cleaning routine to maintain your Yeti lid’s quality. Follow these steps weekly:
- Disassemble the lid into all detachable parts.
- Use warm, soapy water to hand-wash each component.
- Rinse thoroughly under clean water to remove soap residue.
- Dry completely before reassembly.
For a deeper clean, use a cleaning brush. Make sure to get into all crevices.
Preventing Mold And Odor Buildup
Prevent mold and keep smells at bay with these tips:
- Store your Yeti lid in a dry, ventilated area.
- After washing, leave the lid open to air dry.
- Consider a mixture of vinegar and water for a natural cleaning solution. Soak for an hour then rinse.
- Avoid leaving liquids in the lid for long periods. Empty and rinse after use.
Follow these steps, and your Yeti lid will remain clean and fresh.
Frequently Asked Questions Of How To Clean A Yeti Lid
How Do You Clean The Lid On A Yeti Water Bottle?
To clean a Yeti water bottle lid, soak it in warm, soapy water, then scrub with a bottle brush. Rinse thoroughly and let it air dry. Use vinegar for tough stains or odors. Always check the manufacturer’s instructions for specific care guidelines.
How Do You Get Tea Stains Out Of A Yeti Lid?
To remove tea stains from a Yeti lid, soak it in warm soapy water. Then, scrub gently with a soft brush or cloth. For tough stains, use a mixture of baking soda and water or a denture-cleaning tablet dissolved in warm water.
Rinse thoroughly after cleaning.
Can You Remove The Seal On A Yeti Lid?
Yes, you can remove the seal on a Yeti lid for cleaning. Gently pull the gasket to lift it from the groove. Ensure to reseat it properly to maintain the lid’s seal.
How Do You Get Coffee Stains Out Of A Yeti?
To remove coffee stains from a Yeti, make a paste of baking soda and water. Apply it inside, let it sit for a few minutes, then rinse thoroughly. For persistent stains, use a bottle brush and vinegar-water solution, rinse well after scrubbing.
What Is The Best Method To Clean A Yeti Lid?
Regular cleaning with dish soap, warm water, and a bottle brush effectively removes dirt and grime from a Yeti lid.
Conclusion
Keeping your Yeti lid clean is essential for maintaining both hygiene and the lifespan of your product. By following the steps outlined, you ensure your beverage tastes great every time. Remember, routine care prevents mold and preserves the seal. So, embrace cleanliness, and enjoy your Yeti to the fullest!