Table of Contents
To clean a Moen shower head, remove it, soak in vinegar, then scrub with a brush. Reassemble and rinse thoroughly after cleaning.
Maintaining a spotless and efficient shower head is key to a revitalizing shower experience. Over time, mineral deposits and grime can clog the nozzles of a Moen shower head, diminishing its performance and water flow. Regular cleaning not only extends the life of the shower head but also ensures that your daily showers are refreshingly clean.
The process involves simple household items such as vinegar, which acts as a natural descaling agent, and a brush for any stubborn residue. By keeping these tips in mind, your shower head will function optimally, providing that perfect spray pattern for a satisfying shower every time. Remember to follow your product’s manual for specific instructions to avoid any damage or warranty issues.
Introduction To Moen Shower Heads
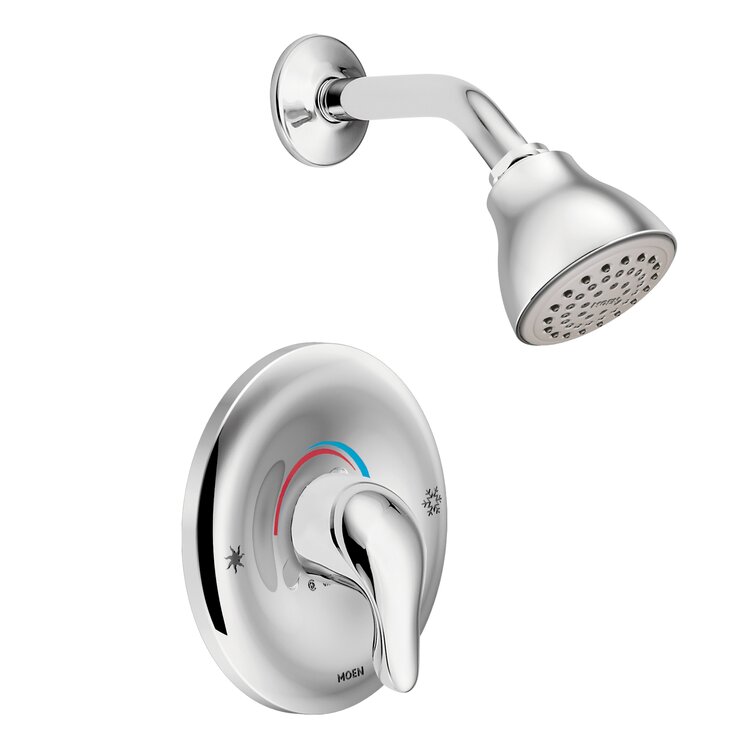
Moen shower heads stand as pillars of excellence in the bathroom fixture industry. Synonymous with innovation and reliability, they provide both aesthetic pleasure and unmatched functionality for your daily cleansing rituals. Users often praise their sleek designs and water efficiency, making them a top choice for modern bathrooms.
Popularity And Quality
Moen has carved its name as a leading brand in shower heads, attributed to its commitment to quality and the diverse selection available. These shower heads not only enhance your bathroom’s aesthetics but also promise durability and effective performance. With Moen, homeowners and hotels alike trust the consistent delivery of a pleasurable shower experience.
Common Issues With Shower Heads
Though Moen shower heads are built to last, they are not immune to common issues. Over time, users may encounter problems such as low water pressure, clogging, or uneven water flow. These issues often stem from mineral buildup or normal wear and tear. Regular maintenance can help preserve the functionality and extend the lifespan of your shower head.
Initial Preparation
Initial Preparation is key to effectively cleaning your Moen shower head. Before you begin, it’s important to gather the right tools. You want a smooth cleaning process. Think of this stage as laying down the groundwork for a sparkling clean shower head.
Gathering Necessary Tools And Materials
To start, ensure you have all tools on hand. This will make the task easier and quicker.
- Vinegar: Your main cleaning agent.
- Bucket or bowl: To soak the shower head.
- Soft cloth: For gentle wiping.
- Old toothbrush: To scrub nozzles.
- Adjustable wrench: If removing the shower head.
- Plumber’s tape: To reseal the connection.
- Rubber bands: If soaking in place.
Safety First: Precautions To Take
Let’s talk safety. It’s a priority. Follow these steps to avoid harm:
- Turn off water: Prevent unexpected sprays.
- Check temperature: Ensure it’s cool.
- Use gloves: Protect your hands.
- Secure footing: Avoid slips.
- Read labels: Know your cleaning agents.
Disassembly Steps
Disassembly Steps: To ensure your Moen shower head performs optimally, regular deep cleaning is key. Over time, minerals can build up, affecting water flow and spray patterns. By disassembling your shower head, you can thoroughly remove buildup and maintain a powerful, consistent water stream. Ready to breathe new life into your shower? Follow these simple steps:
Removing The Shower Head
Start by turning off the water supply to your shower to prevent any accidental sprays. Then, protect the shower head’s finish by placing a cloth around its neck. With an adjustable wrench, gently twist the base of the shower head counterclockwise. Continue twisting until the shower head comes off the arm.
Disassembling For Deep Cleaning
To ensure a thorough clean, it’s crucial to disassemble the shower head. First, locate the screw connecting the faceplate or the shower head and the body. Often, this is hidden behind a logo cap on the front of the shower head. Carefully remove the cap using a flat tool or your fingernail.
- Find the screw and use a screwdriver to carefully loosen it.
- Remove the faceplate or swivel ball to expose the spray nozzles and water channels.
- Take note of how the parts fit together to ease reassembly later.
With the parts separated, you can now proceed to a detailed clean. Removing dirt and limescale from the spray nozzles and water channels gives it that as-new performance and shine.
| Part | Cleaning Method |
|---|---|
| Faceplate | Soak in white vinegar solution; scrub gently with a soft brush. |
| Nozzles | Use a toothpick to remove debris; rinse under running water. |
| Water Channels | Flush with clean water; use a small brush to clear passages. |
Once all parts are clean, dry, and free of debris, reassemble by reversing the disassembly steps. Ensure everything fits snugly but do not over-tighten, as this can damage the parts. With everything back in place, turn on the water supply and enjoy the clean, revitalized water flow of your Moen shower head.
Deep Cleaning Methods
The shine of a Moen shower head can dim with time due to limescale and grime build-up. Deep cleaning is essential for restoring its sleek look and optimal function. Follow these easy methods to give your shower head a thorough cleanse.
Soaking In Vinegar For Limescale Removal
Limescale can block water flow and reduce shower quality. To tackle this, you’ll want to soak the shower head in vinegar, which naturally dissolves mineral deposits. Here’s how to do it:
- Remove the shower head from the hose or fixture.
- Place it fully submerged in a container of white vinegar.
- Let it soak for at least 30 minutes. For heavier buildup, leave it overnight.
- Rinse with water and reassemble the shower head.
Scrubbing With A Brush For Stubborn Grime
After soaking, you might find some persisting grime. Scrubbing is a powerful way to remove these tough deposits. Follow these simple steps:
- Use a small brush like an old toothbrush for scrubbing.
- Gently work around the nozzles and surface.
- For larger areas, consider using a stiffer brush to remove grime.
- Rinse thoroughly and dry before reattaching to the shower.
Reassemble And Maintain
Clean water and a smooth flow make your shower time refreshing. After removing buildup from your Moen shower head, you must put it back correctly. Regular care stops clogs and keeps your showers enjoyable. Learn how to reassemble and maintain your Moen shower head.
Putting The Moen Shower Head Back Together
Reassembling your Moen shower head is simple. Follow these steps:
- Place the screen back into the shower head.
- Return the O-ring or rubber gasket. Ensure it’s flat and snug.
- Reattach the faceplate or shower head casing.
- Carefully screw the shower head back onto the shower arm.
- Hand-tighten until it’s firmly in place.
Test your shower head by turning on the water. Check for leaks. Tighten gently with pliers if needed.
Routine Maintenance To Prevent Build-up
Prevent future blockages with these easy maintenance steps:
- Every month, run hot water for a minute to flush out debris.
- Every three months, soak the shower head in vinegar overnight.
- Use a soft brush to remove loose deposits regularly.
- Check for leaky connections and replace worn parts as necessary.
Remember, a clean Moen shower head means better water pressure and a more enjoyable shower.
Final Touches
Final touches to your Moen shower head can make all the difference. After a thorough cleaning, ensuring the water flow returns to its optimal strength and giving the surface a gleaming polish can bring out the best in your shower experience. Let’s dive into the final steps that will make your Moen shower head look and operate as if it’s brand new.
Testing Water Flow And Pressure
Once the shower head is back in place, it’s crucial to test the water flow and pressure. Turn on the water and observe how it streams out of the nozzles. You’re looking for a strong, even flow that indicates a successful clean. If you notice any inconsistencies, a second round of rinsing may be necessary. Make sure each jet streams water straight and strong for the best shower experience.
Polishing For An Extra Sparkle
Your Moen shower head deserves an extra sparkle that makes it shine. With a soft microfiber cloth and a dab of vinegar or stainless steel cleaner, gently buff the surface of the shower head. This simple action removes any water spots or fingerprints and adds a brilliant shine to the metal. Remember, less is more with cleaning solutions; a small amount can go a long way in achieving that gleaming finish.
- Turn off water before polishing
- Gently wipe in circular motions
- Use only soft materials to avoid scratches
- Inspect the shower head for a uniform sheen
End your cleaning routine by admiring the spotless and efficient Moen shower head, ready to provide a refreshing and invigorating shower once again.
Frequently Asked Questions Of How To Clean A Moen Shower Head
Can You Take A Shower Head Apart To Clean?
Yes, you can disassemble a shower head to clean it. Simply unscrew it from the hose or fixture, then proceed to rinse and clean the parts.
How Do You Remove Limescale From A Shower Head?
Detach the shower head and submerge it in a bowl of white vinegar for an hour. Rinse thoroughly with water, then reattach. For extra tough limescale, repeat if necessary or use a toothbrush for scrubbing.
How Do You Remove Calcium Deposits From A Shower Head?
To remove calcium deposits from a shower head, soak it in white vinegar for several hours, then rinse and scrub with a brush.
How Do You Deep Clean A Shower Head?
To deep clean a shower head, fill a plastic bag with white vinegar and secure it over the head overnight. In the morning, remove the bag and run hot water to rinse away loosened deposits.
Can Vinegar Descale A Moen Shower Head?
Absolutely, vinegar is an effective, natural descaling solution for Moen shower heads. Soak it for a few hours to remove buildup.
Conclusion
Keeping your Moen shower head clean not only ensures a pleasant shower experience but also extends the fixture’s life. By following the simple steps outlined, you can maintain a spotless shower without hassle. Embrace the sparkle of your bathroom’s crown jewel and enjoy the refreshing spray day after day!